Notice: temporary change, see addendum. step 4, Step 5 – Satellite Global (HD Extrusion) User Manual
Page 5
PN 40116 REV C 6-30-11
5
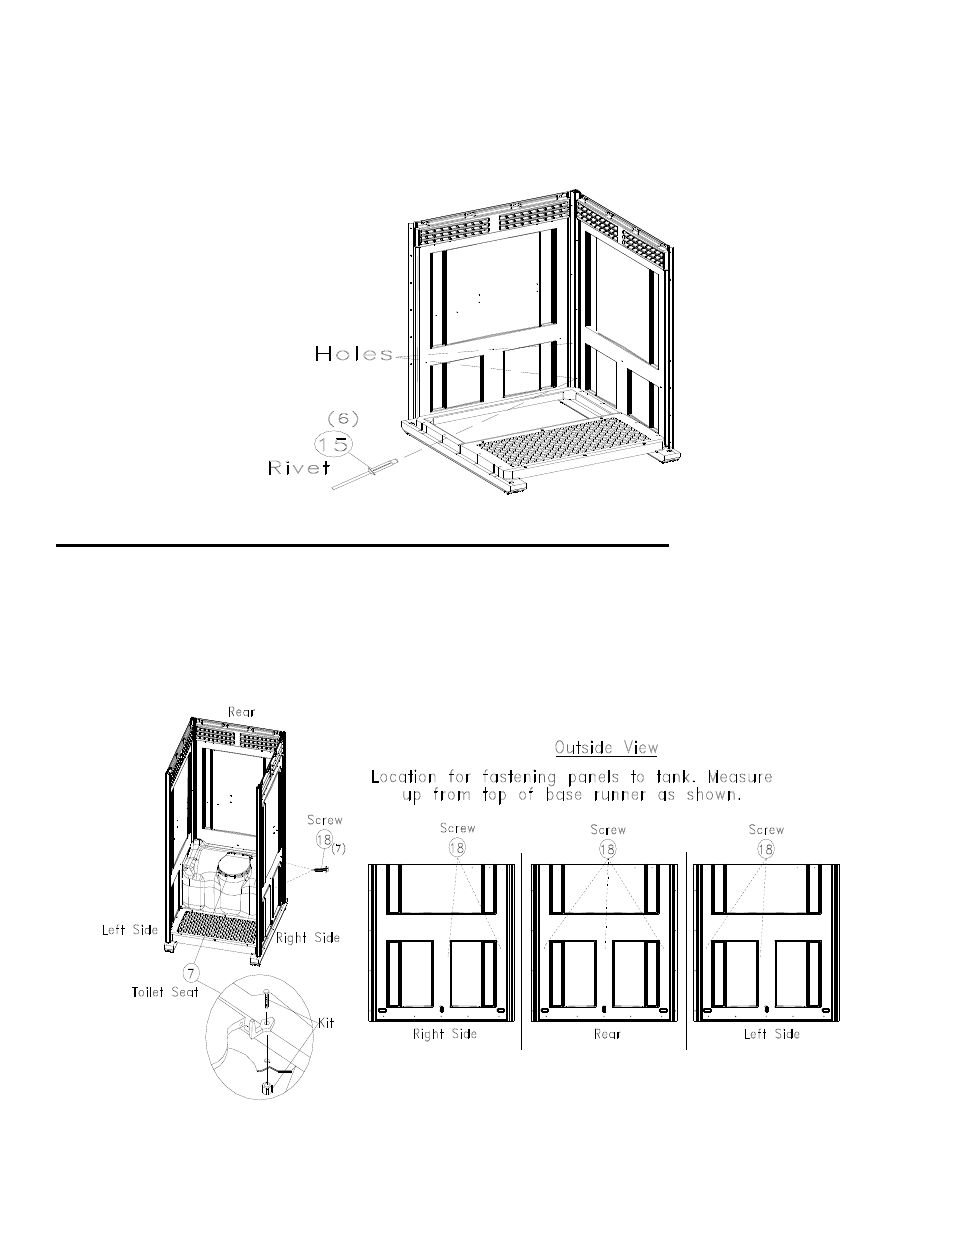
1. Using holes in Extrusion as a guide, drill out using a 3/16” drill bit. Be careful to just drill through
first layer of panel only. (6) Places per side.
2. Fasten Extrusion to panel with expanding rivets.
3. Repeat on other side.
NOTICE: TEMPORARY CHANGE, SEE ADDENDUM.
Step 4:
Fasten Tank to Unit:
4. Position tank against the back wall and attach the tank starting with each side. Have (1) person stand
in tank while lagging panels to tank. This ensures that the tank is in the correct position. Tighten
screws until rubber washer begins to flatten.
BE CAREFUL NOT TO OVER TIGHTEN SCREWS.
5. See location chart below for screw location. Note: Do not use dimples if they don’t match chart
locations.
6. Fasten toilet seat.
Step 5:
Assemble Front to Panels: