2 edp command configuration, 3 front panel configuration, Edp command configuration – Rice Lake 120 Digital Weight Indicator User Manual
Page 12: Front panel configuration, Section 3.1.3
8
120 Installation Manual
3.1.2
EDP Command Configuration
The EDP command set can be used to configure the 120 indicator using a personal computer, terminal, or remote
keyboard. Like Revolution, EDP command configuration sends commands to the indicator EDP port; unlike
Revolution, EDP commands can be sent using any external device capable of sending ASCII characters over a
serial connection.
EDP commands duplicate the functions available using the indicator front panel and provide some functions not
otherwise available. EDP commands can be used to simulate pressing front panel keys, to configure the indicator,
or to dump lists of parameter settings. See Section 5.0 on page 23 for more information about using the EDP
command set.
3.1.3
Front Panel Configuration
The 120 indicator can be configured using a series of menus accessed through the indicator front panel when the
indicator is in setup mode. Table 3-1 summarizes the functions of each of the main menus.
Table 3-1.
120
Menu Summary
Menu
Menu Function
CONFIG
Configuration
Configure load cell sensitivity, grads, zero tracking, zero range, motion band, overload, sample
rate, and digital filtering parameters.
FORMAT
Format
Set format of primary and secondary units, display rate.
CALIBR
Calibration
Calibrate indicator. See Section 4.0 on page 21 for calibration procedures.
SERIAL
Serial
Configure EDP and printer serial ports.
PROGRM
Program
Set power-up mode, regulatory mode, and consecutive number values.
P FORMT
Print Format
Set print format used for gross and net tickets. See Section 5.0 for more information.
TIME
Time
Display and set time
DATE
Date
Display and set date
VERSION
Version
Display installed software version number.
Four front panel keys are used as directional keys to navigate through the menus in setup mode. The
UNITS
( )
and
( ) keys scroll left and right (horizontally) on the same menu level;
ZERO
( ) and
GROSS/NET
( )
move up and down (vertically) to different menu levels. The
TARE
key ( ) serves as an Enter key for selecting
parameter values within the menus. A label under each of these keys identifies the direction provided by the key
when navigating through the setup menus.
To select a parameter, press or to scroll left or right until the desired menu group appears on the display, then
press to move down to the submenu or parameter you want. When moving through the menu parameters, the
default or previously selected value appears first on the display.
To change a parameter value, scroll left or right to view the values for that parameter. When the desired value
appears on the display, press to select the value and move back up one level.
Note
You must press
to save the selected value. The
120
does not automatically save the last-displayed value.
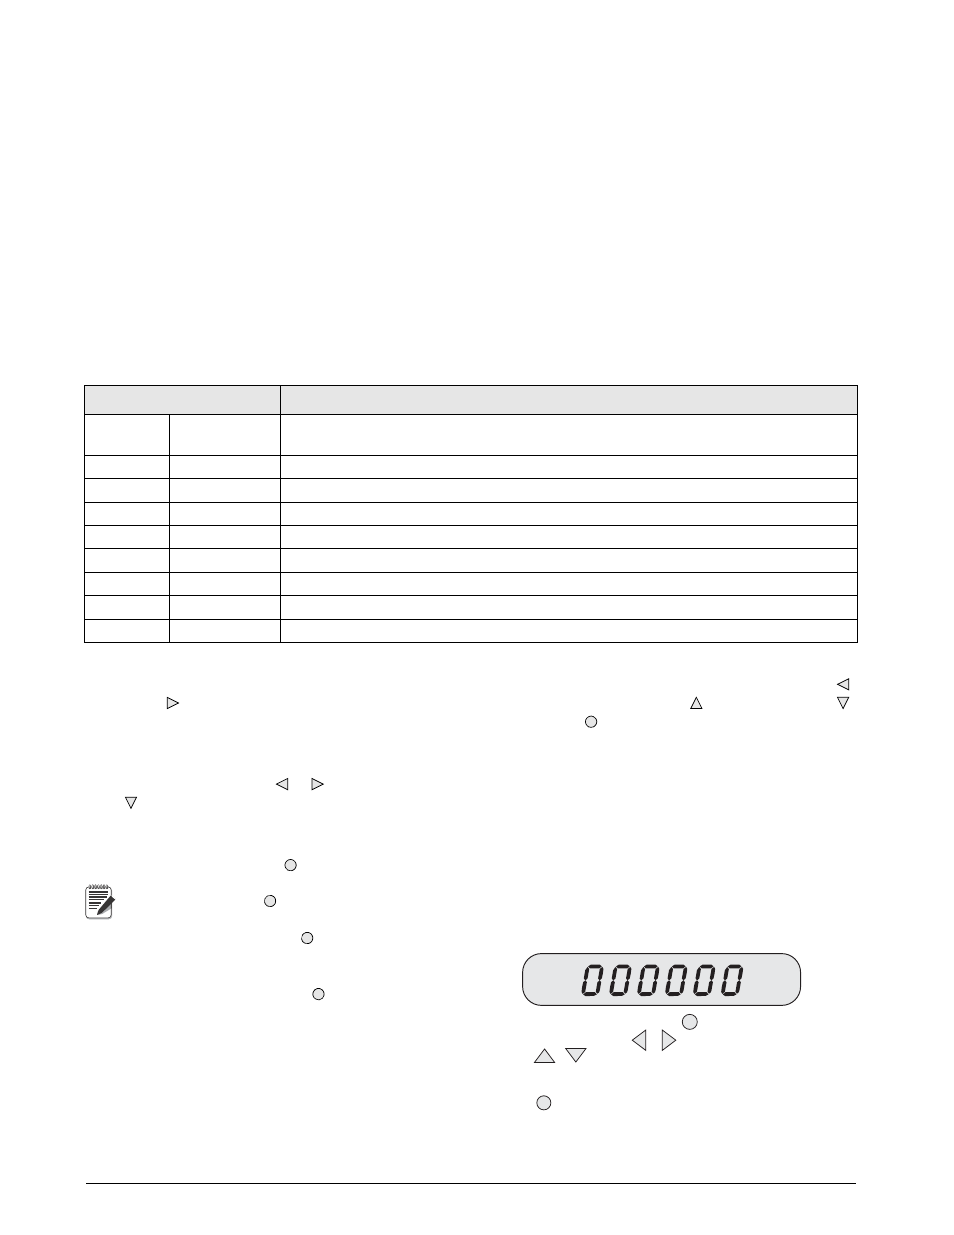
To edit numerical values, press (rightmost digit will
flash), then use the navigation keys to select the digit
and to increment or decrement the value (see
Figure 3.2). When done, press again to save the
edited value.
When editing numeric values, press to allow numeric mode
change entry, then press or to change the digit selected.
Press or to increment or decrement the value of the flashing
selected digit.
Press to save the value entered and return to the level above.
Figure 3-2. Editing Procedure for Numeric Values