Loading the vehicle – Dynojet 250iPX: Installation Guide User Manual
Page 38
Model 200iPX/250iPX Upgrade Installation Guide
C H A P T E R 2
Loading the Vehicle
2-2
. . . . . . . . . . . . . . . . . . . . . . . . . . . . . . . . . . .
LOADING THE VEHICLE
Use the following steps to load a vehicle on the dyno. For detailed information on
loading a motorcycle on the dyno, refer to your motorcycle dyno installation guide.
Risk of injury. Always wear proper eye and ear protection when operating the
dyno.
1
Verify your computer is running. Set the dyno brake on by pressing the red
button on the hand held pendant.
2
Turn the carriage screw handle (or use the control panel to run the power
carriage) until the carriage is all the way out.
3
Drive the vehicle onto the dyno and align the vehicle straight with the dyno.
4
Stop the vehicle when the drive axle is centered on the drum.
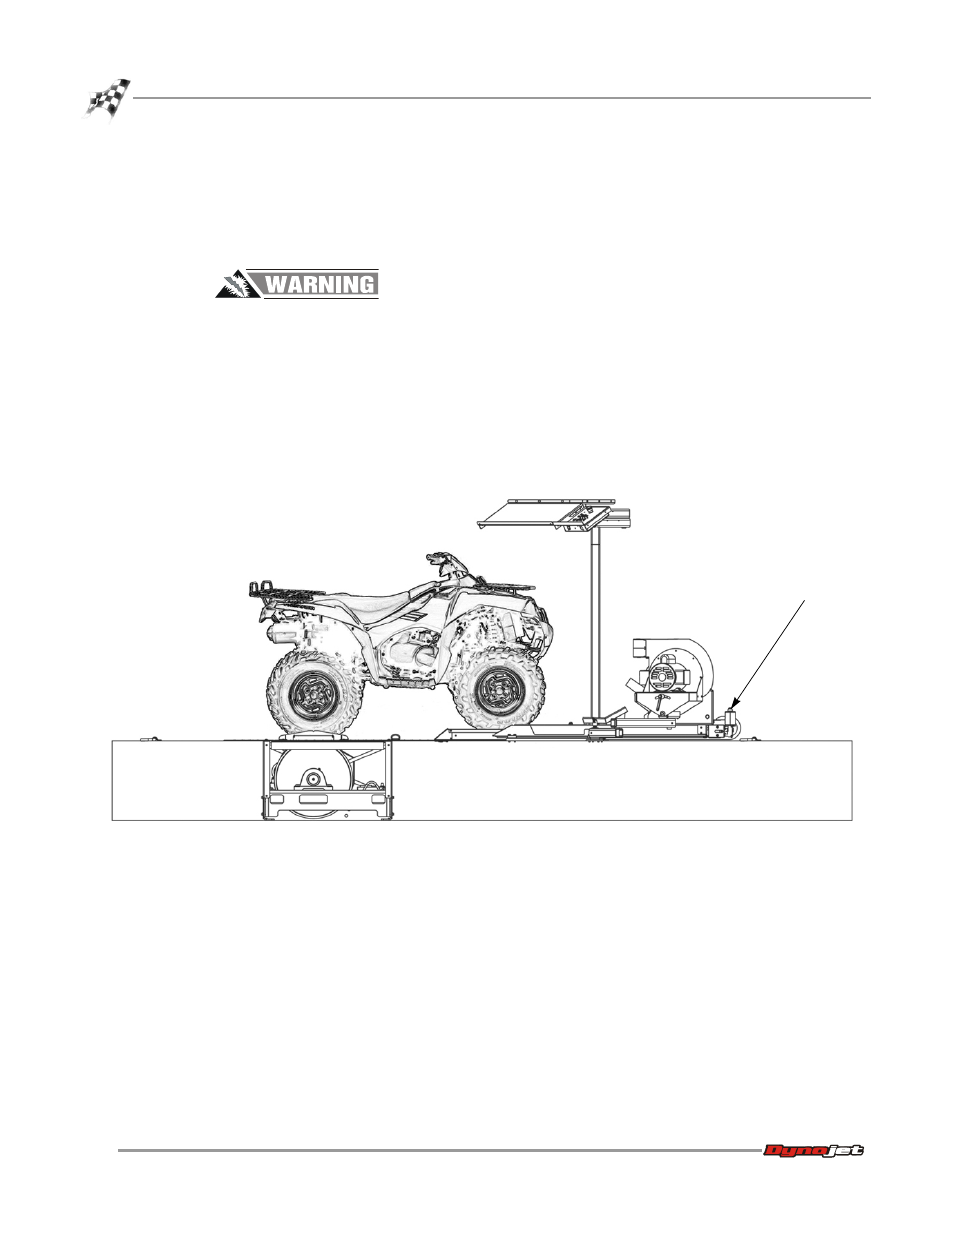
Figure 2-1: Loading the Vehicle
adjust carriage all
the way out
center drive axle
on dyno drum