Drum installation, Removing the items from crate – Dynojet 250iPX: Installation Guide User Manual
Page 25
M O D E L 2 0 0 I P X / 2 5 0 I P X U P G R A D E
Drum Installation
Version 1
Model 200iPX/250iPX Upgrade Installation Guide
1-17
. . . . . . . . . . . . . . . . . . . . . . . . . . . . . . . . . . .
DRUM INSTALLATION
When you receive your iPX upgrade kit, examine the exterior of the shipping
container for any visible damage. If damage is detected at this stage, contact the
shipper or Dynojet before proceeding with unpacking.
Use the following steps to unload drum and items. You will need to provide
equipment capable of lifting a minimum of 363 kg (800 lb.) to move the crated drum
into position in your dyno room.
R
EMOVING
THE
I
TEMS
FROM
C
RATE
1
Move the crate to a clear area near your dyno room.
2
Using a pry bar, or a large flat screwdriver, and a hammer, carefully remove the
top and sides of the crate.
3
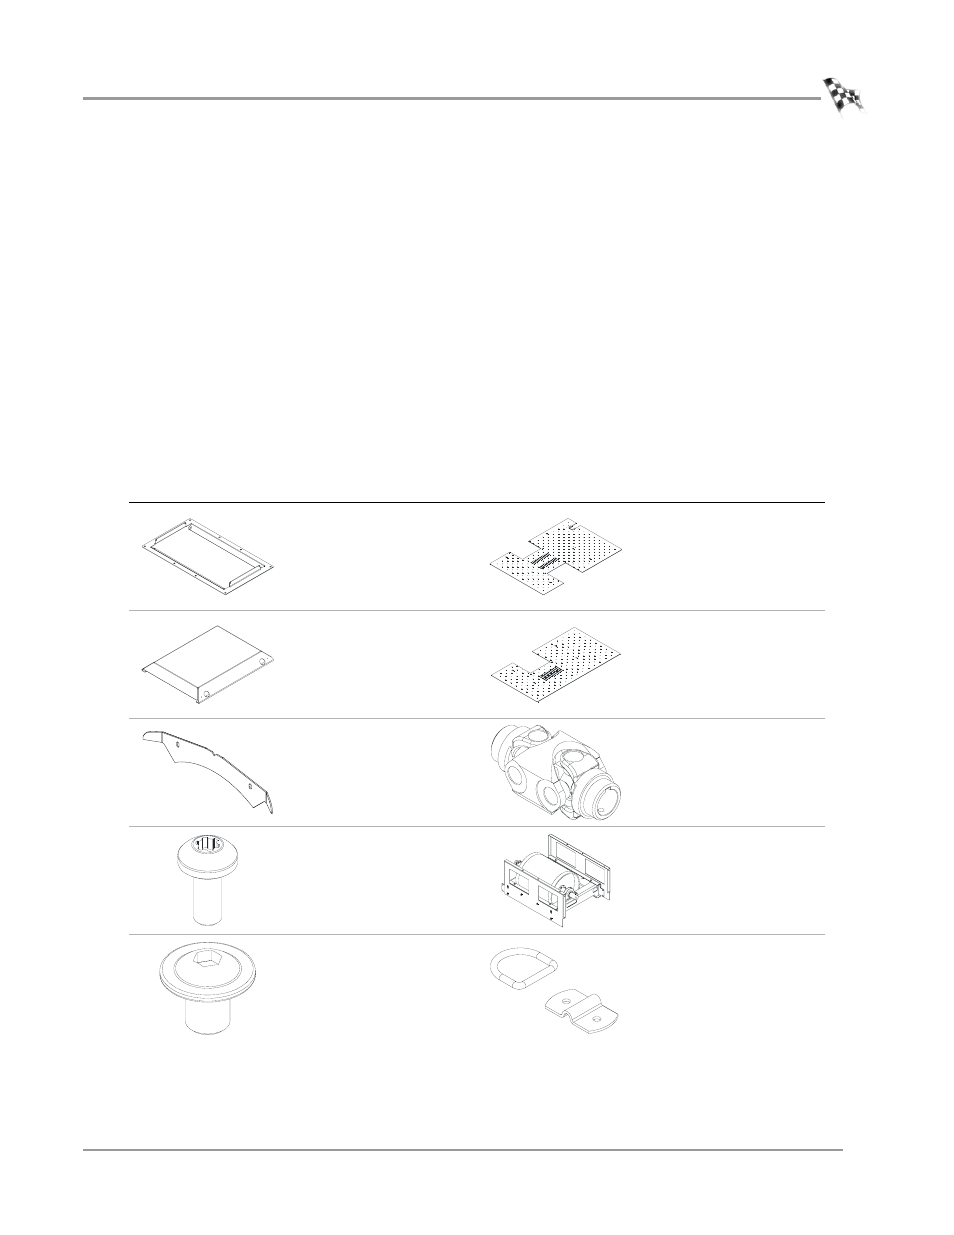
Remove the following parts from the crate and set aside.
part
description
part
description
drum guard mounting
bracket
P/N 21200025
pit cover, middle
P/N 61100005
drum safety cover
P/N 21200038
pit cover, right
P/N 61100006
drum guard (2)
P/N 21229106
retarder driveline assembly
P/N 62240070
screw, 1/4-20 x 5/8", pan-
head, torx (12)
P/N 36561045
drum module, pit
P/N 63200002
bolt, 3/8-16 x 1/2", button-
head, flange, allen (6)
P/N 36580434
ground hook kit (4)
P/N 79190001
see list of parts below