Sony CCD-TR9 User Manual
Page 15
Attention! The text in this document has been recognized automatically. To view the original document, you can use the "Original mode".
iV*-’..;. - ..V-
i*
•i4 :
■«i:}5>:-1
-,.r iX'i'.vï' ”■"
Near the end of
the tape
To eject the tape
The indication, the red iamp inside the viewfinder, and the camera
recording/battery iamp on the camcorder flash siowiy. When the tape reaches the
end, the flashing isecomes rapid.
Make sure that the power source is attached.
1 Remove the grip strap.
2 Press EJECT.
The cassette compartment opens toward you.
3 Take out the cassette and press PUSH CLOSE on the cassette compartment
to ciose it.
4 Attach the grip strap.
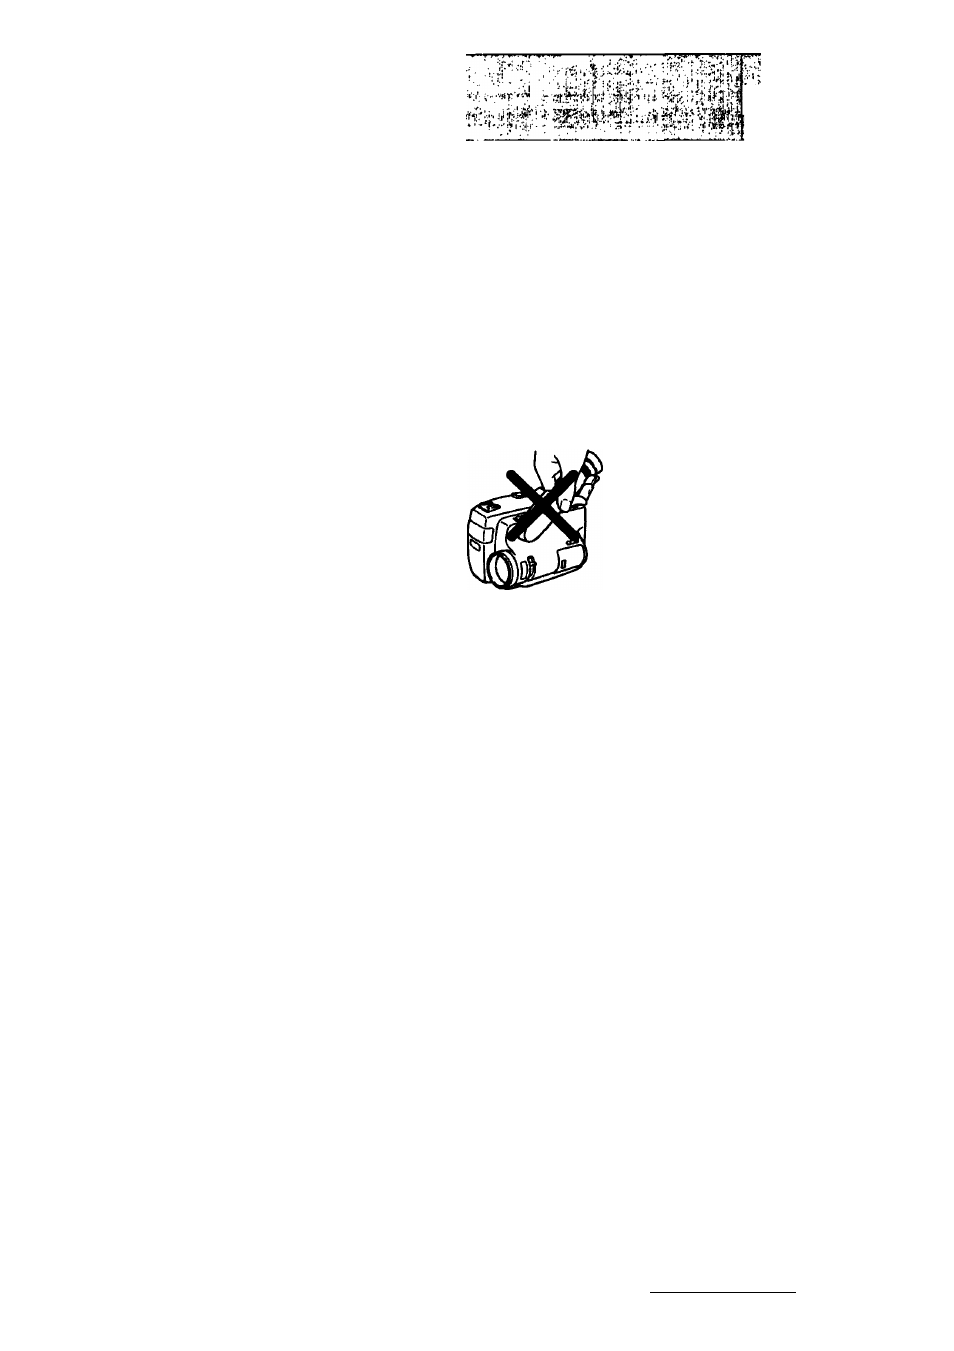
Note on handling Do not pick up the camcorder as shown in the iliustration.
If you wear glasses You can bend back the eyecup to get a better view of the viewfinder.
Notes on recording
If you leave the
camcorder in the
standby mode for 5
minutes or more
If the light source
changes suddenly
• When you record from the beginning of the tape, run the tape for about 15
seconds before actual recording. This will ensure that you will not miss any
Start-up scenes when the tape is played back.
• If you move POWER during recording, the tape stops.
•
When moving from indoors to outdoors, or vice versa, turn STANDBY up and
point the camcorder at a white object for about 15 seconds so that the white
balance is properly adjusted.
• The autofocus frame is not recorded.
The camcorder goes off automatically. To re-enter standby mode, turn STANDBY
down once and turn it up again. To start recording, press START/STOP.
When you shoot a subject under bright conditions just after you shoot in a dark
place, the picture may not appear inside the viewfinder. In this case, point the
camcorder in another direction.
Chapter 2: Basic Operation
15