Removing the right daughter board, Replacing the right daughter board – Dell Adamo XPS (Late 2009) User Manual
Page 58
1.
Follow the instructions in
Before You Begin
.
2.
Place the left daughter board on the base of the computer.
3.
Replace the two screws that secure the left daughter board to the computer base.
4.
Connect the touch pad cable, speaker cable, and the bridge battery cable to the connectors on the left daughter board.
5.
Connect the left daughter board cable to the connectors on the system board and the left daughter board.
6.
Replace the palm rest assembly (see
Replacing the Palm Rest Assembly
).
7.
Replace the computer battery (see
Replacing the Computer Battery
).
Removing the Right Daughter Board
1.
Follow the instructions in
Before You Begin
.
2.
Remove the computer battery (see
Removing the Computer Battery
).
3.
Open the display (see
Opening the Display
).
4.
Remove the palm rest assembly (see
Removing the Palm Rest Assembly
).
5.
Remove the solid state drive (see
Removing the Solid State Drive
).
6.
Remove the Bluetooth card (see
Removing the Bluetooth Card
).
7.
Remove the WLAN card (see
Removing the WLAN Card
).
8.
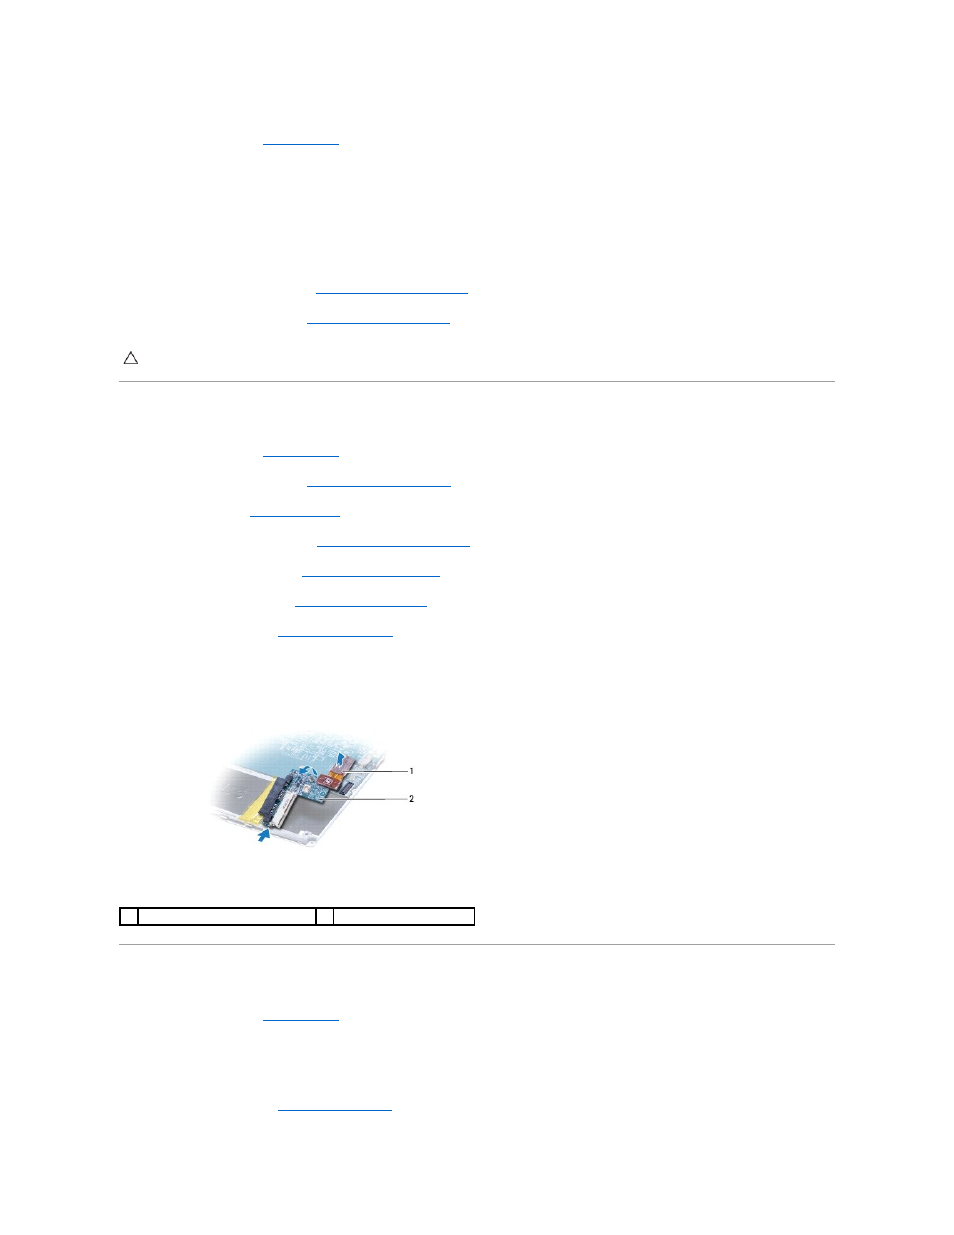
Disconnect the right daughter board cable from the connector on the system board.
9.
Lift and slide the right daughter board away from the computer.
Replacing the Right Daughter Board
1.
Follow the instructions in
Before You Begin
.
2.
Slide and place the right daughter board towards the edge of the computer.
3.
Connect the right daughter board cable to the connector on the system board.
4.
Replace the WLAN card (see
Replacing the WLAN Card
).
CAUTION:
Before turning on the computer, replace all screws and ensure that no stray screws remain inside the computer. Failure to do so may
result in damage to the computer.
1
right daughter board cable
2
right daughter board