Dell OptiPlex GX150 User Manual
Page 62
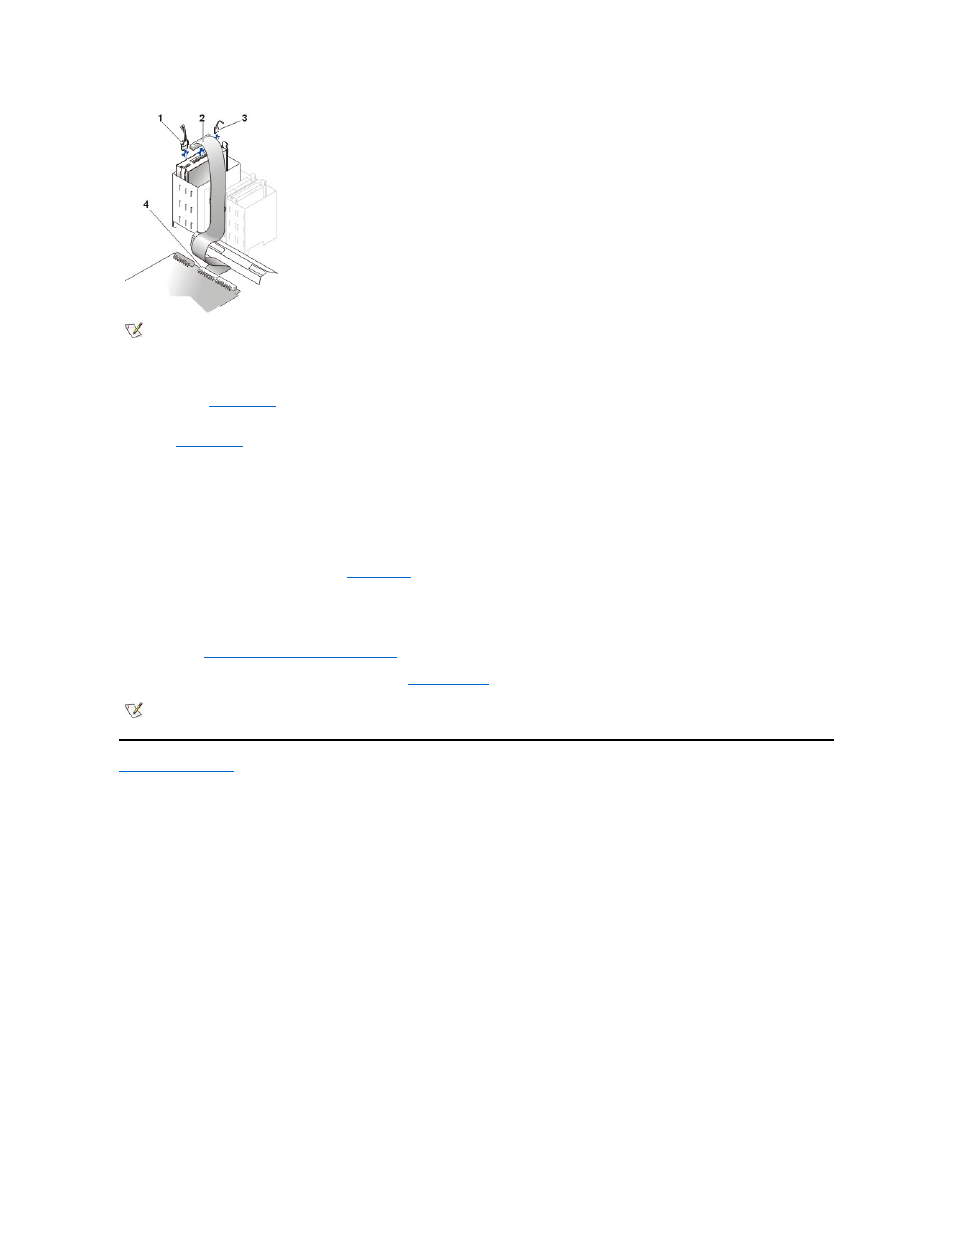
10. Connect the interface cable to the system board or a controller card, depending on the type of drive.
l
For an EIDE tape drive or CD-ROM drive, connect the other end of the interface cable to the interface connector labeled "IDE2"
on the
system board
.
l
For a floppy drive or non-EIDE tape drive, connect the cable from the drive to the interface connector labeled "DSKT" on the
system board
.
l
For a drive that comes with its own controller card, connect the other end of the interface cable to the controller card.
11. Check all cable connections, and fold cables out of the way to provide airflow for the fan and cooling vents.
12. Close the computer cover, reconnect your computer and peripherals to their electrical outlets, and turn them on.
13. Update your system configuration information.
l
If you installed a floppy drive, enter
system setup
and update the appropriate Diskette Drive A or Diskette Drive B option to
reflect the size and capacity of your new floppy drive.
l
If you installed a non-EIDE tape drive as the second drive, set the Diskette Drive B option to Not Installed.
l
If you installed an EIDE CD-ROM or tape drive, set the appropriate Drive option (0 or 1) under Drives: Secondary to Auto.
See "
Primary Drive n and Secondary Drive n
" for more information.
14. Verify that your system works correctly by running the
Dell Diagnostics
.
Back to Contents Page
1 DC power connector
2 Floppy/tape drive interface connector
3 Audio connector
4 System board interface connector (IDE2)
NOTE: If you install a second 5.25-inch device, do not route the cable through the plastic clips on the side of the 3.5-inch bay.
NOTE: Tape drives sold by Dell come with their own operating software and documentation. After you install a tape drive, refer to the
documentation that came with the drive for instructions on installing and using the tape drive software.