Troubleshooting, Setup problems, Computer problems – Dell P703w All In One Photo Printer User Manual
Page 42
Troubleshooting
Dell™ Photo P703w All-In-One Printer User's Guide
General Guidelines for Selecting or Loading Print Media
Setup Problems
Computer Problems
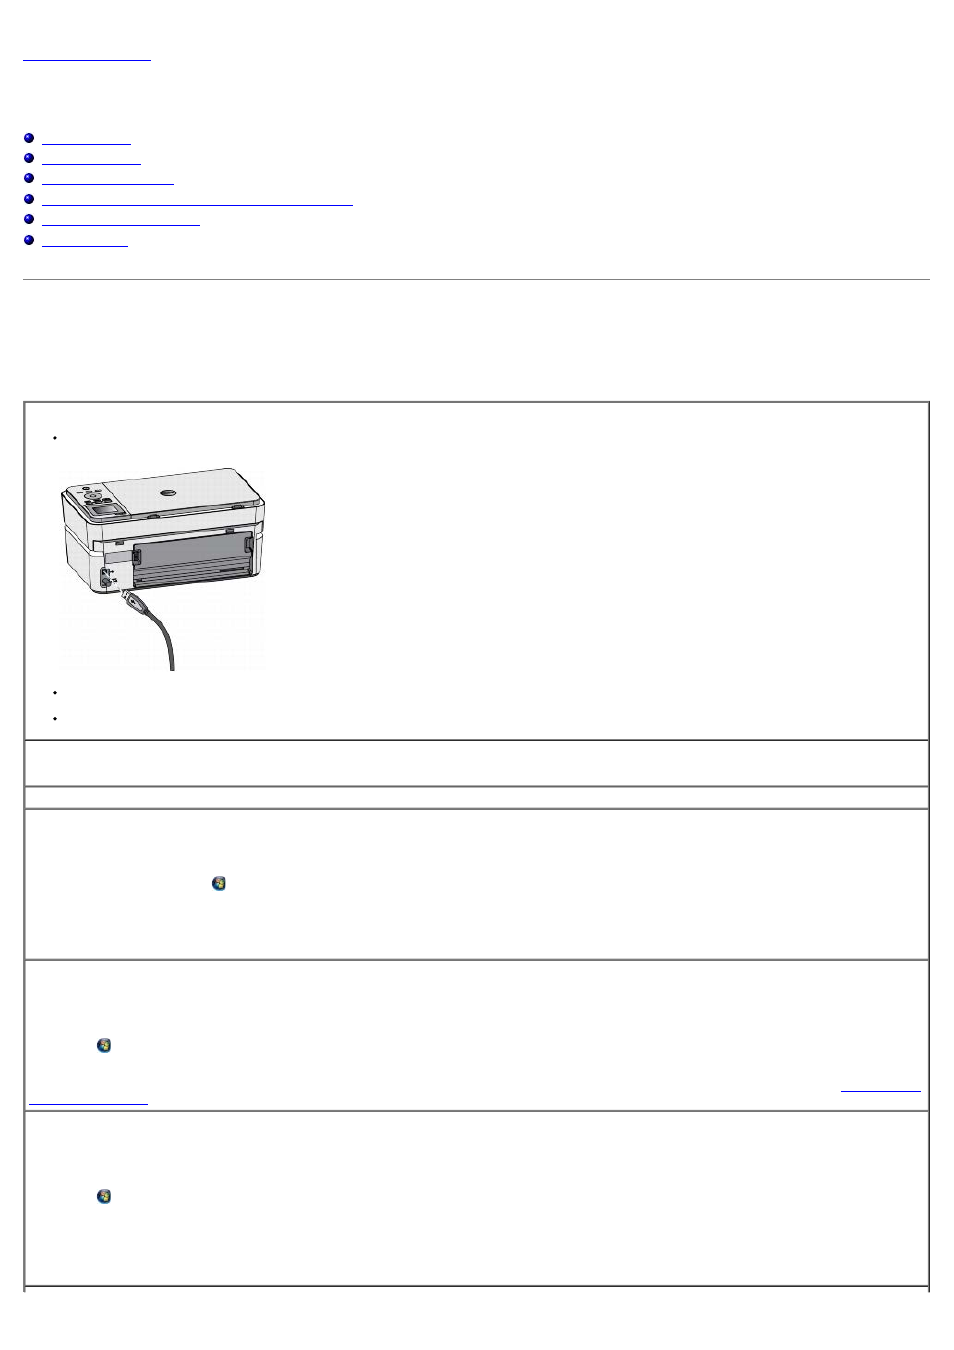
Correct communication problems between the printer and the computer.
Remove the USB cable from your printer and your computer. Reconnect the USB cable.
Turn off the printer. Unplug the printer power cable from the electrical outlet. Reconnect the printer power cable into the electrical outlet, and turn on
the printer.
Restart your computer.
Verify your printer is compatible with the computer.
The printer supports Windows XP Professional x32, Windows XP Professional x64, Windows Vista® x32, and Windows Vista® 64.
Ensure that your printer and computer are turned on.
If the software installation screen does not appear automatically, install the software manually.
1. Insert the Drivers and Utilities CD.
2. In Windows XP, click Start
® My Computer.
In Windows Vista®, click
® Computer.
3. Double-click the CD/DVD drive icon, and then double-click setup.exe.
4. When the printer software installation screen appears, click Personal Installation or Network Installation.
5. Follow the instructions on your screen to complete the installation.
Determine if the printer software is installed.
In Windows XP, click Start
® Programs or All Programs® Dell Printers.
In Windows Vista®:
1. Click
® Programs.
2. Click Dell Printers.
If the printer does not appear in the list of printers, the printer software is not installed. Install the printer software. For more information, see
Set your printer as the default printer.
1. In Windows XP, click Start
® Control Panel® Printers and Other Hardware® Printers and Faxes.
In Windows Vista®:
a. Click
® Control Panel.
b. Click Hardware and Sound.
c. Click Printers.
2. Right-click Dell Photo P703w AIO.
3. Select Set as Default Printer.