Section 12 | loading reagents, Reagent layout map screen – Dako Autostainer Plus User Manual
Page 77
Dako Autostainer Plus
|
User Guide
77
Section 12 |
Loading Reagents
After programming is completed the Dako Autostainer Plus calculates the time required for the
staining run, the amount of wash buffer/deionized water required and the most efficient placement for
the reagent vials.
1. When the Bar Code feature is disabled, select the NEXT button in the PROGRAMMING
GRID screen.
2. A dialog box prompts “Save program on disk”.
3. Select the YES button and the “Save program on disk” window is displayed. Enter a name
for the program and select the OK button. The name cannot exceed 8 alpha-numeric
characters; symbols and spaces cannot be used. The REAGENT LAYOUT MAP screen
is displayed.
Selecting the NO button displays the REAGENT LAYOUT MAP:LOAD REAGENTS
screen and the program is not saved. Selecting the CANCEL button reverts back to the
programming grid.
NOTE: When the Bar Code feature is enabled, select an option other than CANCEL in
the dialog box SAVE PROGRAM ON DISK?screen. The PRINT SLIDE LABELS screen
will be displayed.
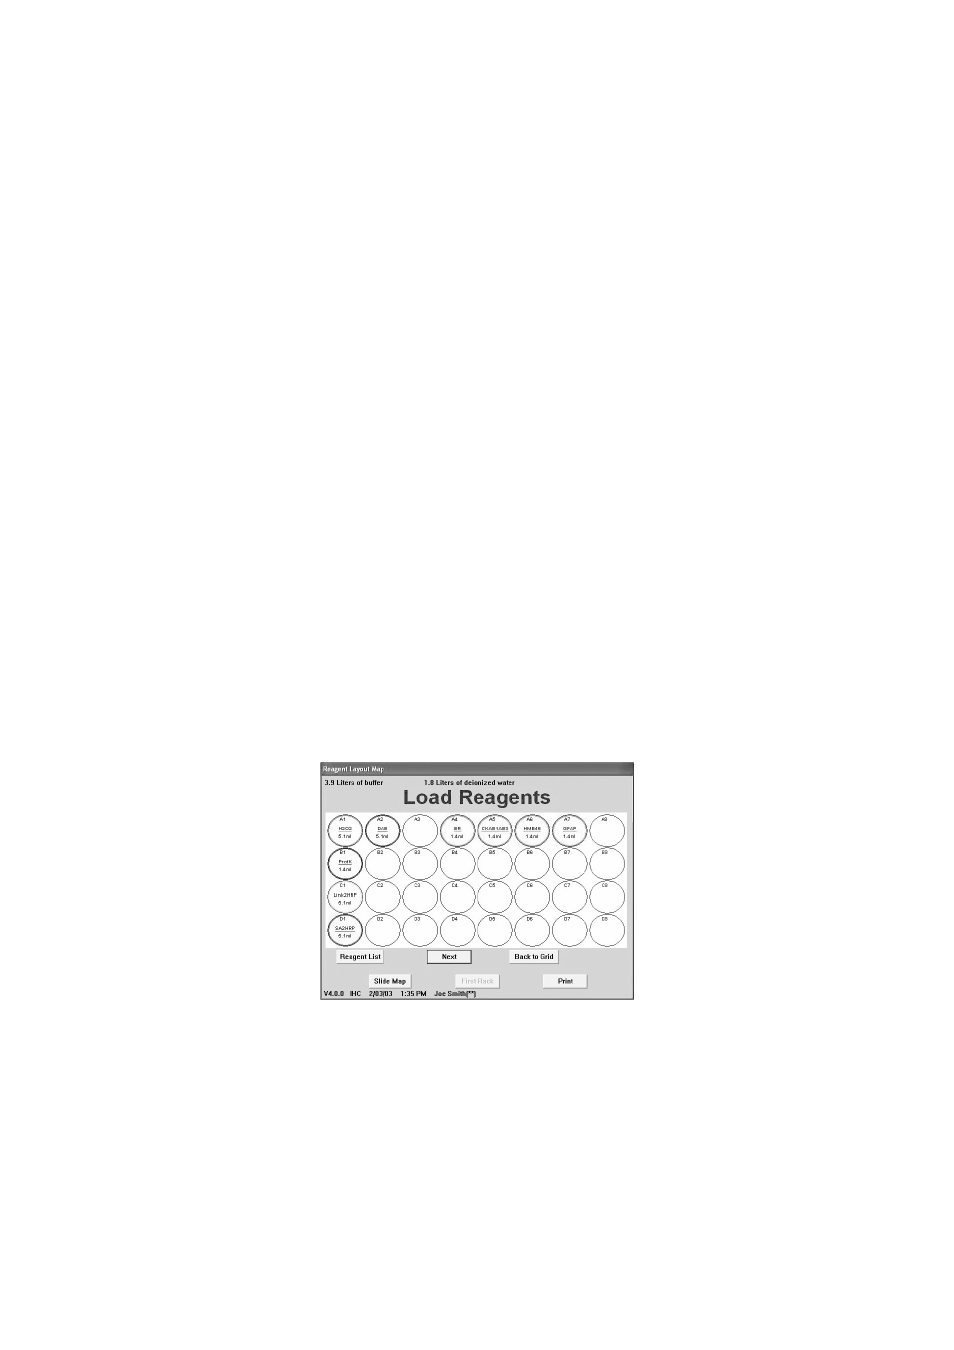
Reagent Layout Map Screen
The REAGENT LAYOUT MAP documents the rack positions of the reagents including the fill volume
needed for completing the staining run.
The REAGENT LAYOUT MAP displays a maximum of 32 reagent vials per rack. The abbreviations
for the reagents are displayed in their appropriate alpha-numeric rack positions.
Each reagent position is color coded to correspond to Dako reagent colors and the colors from the
PROGRAMMING GRID.
If more than 32 reagent vials are required by the run, a SECOND RACK button becomes available at
the bottom of the screen.