Deleting reagents from reagent lists, Updating a reagent lot number and expiration date – Dako Autostainer Plus User Manual
Page 73
Dako Autostainer Plus
|
User Guide
73
Deleting Reagents from Reagent Lists
1. From the PROGRAMMING GRID select Edit lists on the menu bar. The reagent list
categories are displayed.
2. Select the reagent category. The corresponding EDIT REAGENT LIST screen is
displayed and the cursor will be flashing in the Reagent Name box.
3. Display the specific reagent by using the down arrow button in the Reagent Name box or
press the UP or DOWN arrow key on the keyboard until the target reagent appears
highlighted. Press ENTER and the reagent information is displayed.
4. Select the DELETE button. A dialog box asks if you want to delete the selected reagent.
5. Select the YES button. The EDIT REAGENT LIST screen appears and the reagent is
deleted. Selecting the NO button displays the EDIT REAGENT LIST screen and the
reagent is not deleted.
6. Select the OK button. A dialog box asks if you want to save the changes made to the
reagent file. Select the YES button to save changes. Selecting the NO button deletes the
reagent. Select the CANCEL button to discard changes. The PROGRAMMING GRID is
displayed.
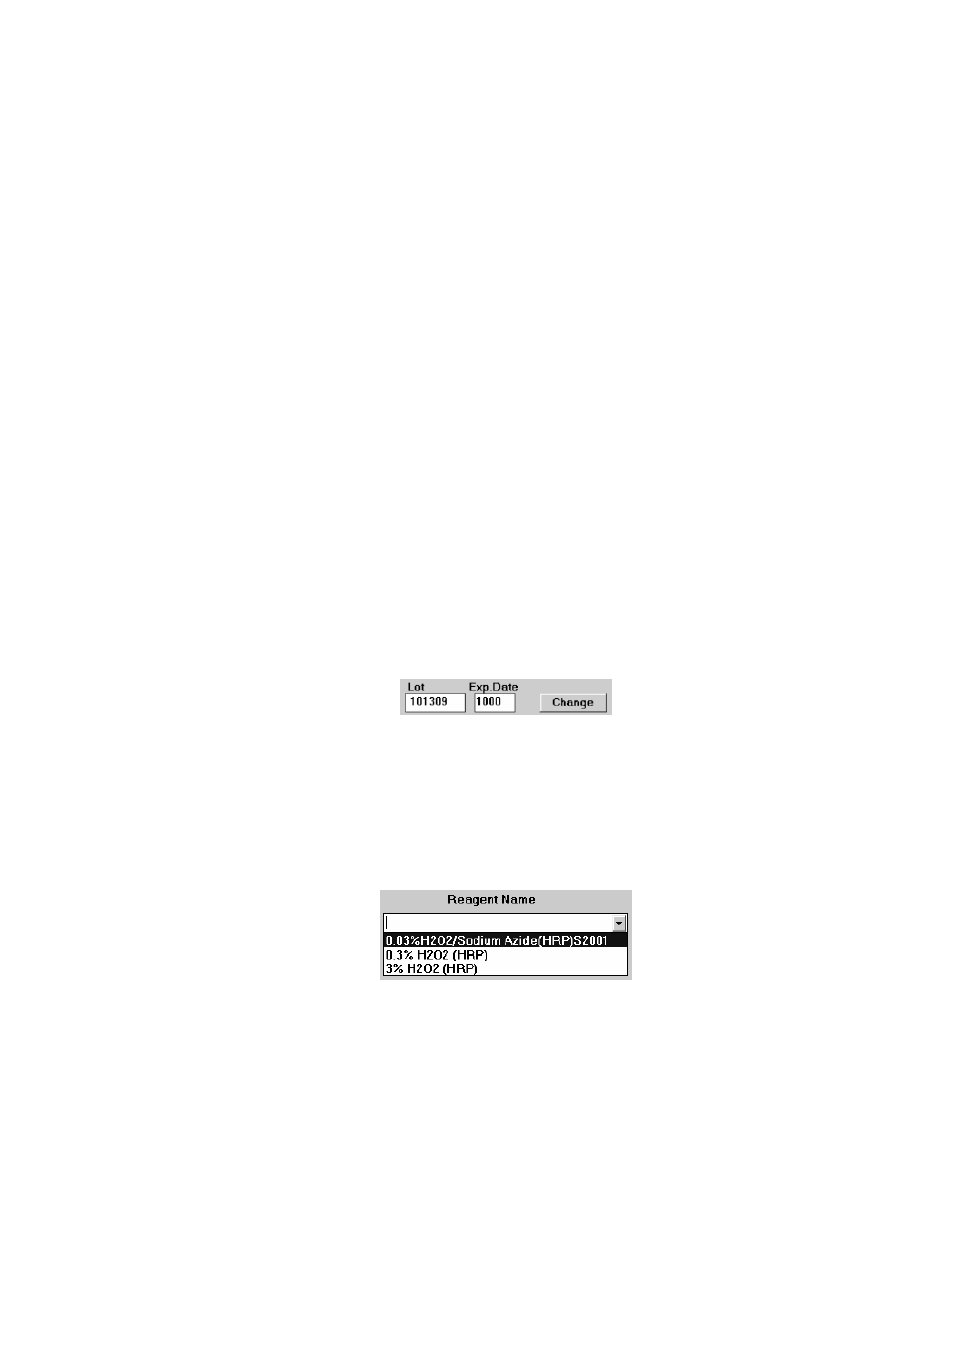
Updating a Reagent Lot Number and Expiration Date
1. From the PROGRAMMING GRID, select Edit lists on the menu bar. The reagent list
commands are displayed.
2. Select the reagent category. The corresponding EDIT REAGENT LIST screen is
displayed with the cursor in the Reagent Name box.
3. Display the specific reagent by selecting the scroll bar in the Reagent Name box or press
the UP or DOWN key on the keyboard until the target reagent appears highlighted. Press
ENTER or select the left mouse button and reagent information is displayed. Negative
controls are listed at the end of the primary antibody list. The symbols for the Universal
Negative Controls are “_UNC” and “_UNC+”. Use the list scroll bar or type “_NC” and
software moves the highlight to the negative control antibodies.
4. Highlight the current lot number displayed in the lot box. Type the new lot number and the
CHANGE button appears.
5. Press the TAB key to move to the Exp. Date box. Highlight the date displayed in the box
and type the new expiration date.
6. Select the CHANGE button. All fields are cleared.
7. Select the OK button or press ENTER until a dialog box prompts “Save changes on disk?”
8. Select YES to save the new lot number and expiration date.
Select the NO button and the reagent is not edited. The PROGRAMMING GRID is
displayed.