Scan, Custom scan, Scan custom scan – Brother MFC 9840CDW User Manual
Page 187
ControlCenter2
180
10
c
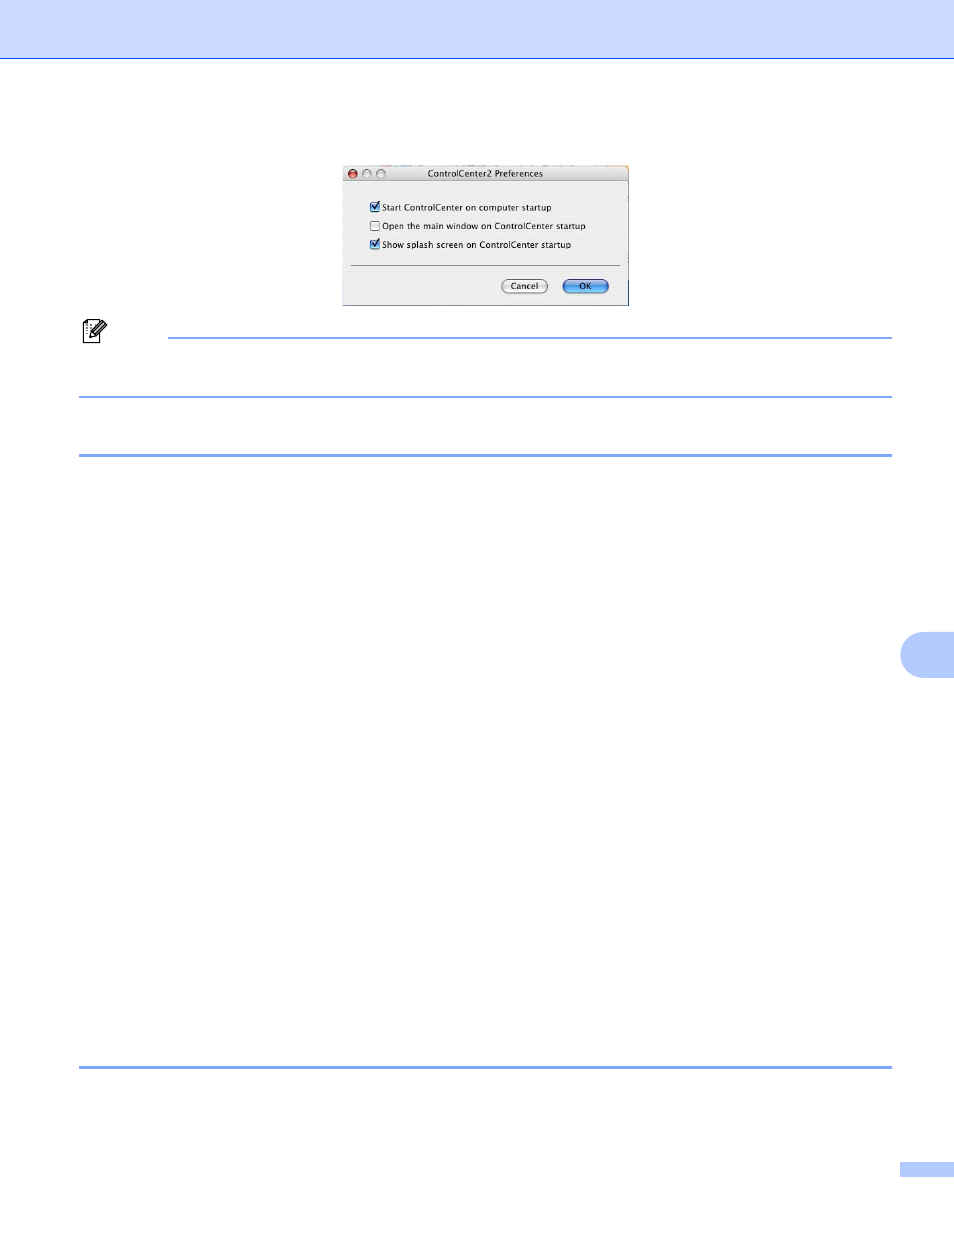
Click OK to close the window.
Note
The ControlCenter2 application icon is in Macintosh HD/Library/Printers/Brother/Utilities/
ControlCenter.
SCAN
10
There are four scan buttons for the Scan to Image, Scan to OCR, Scan to E-mail and Scan to File
applications.
Image (Default: Apple
®
PreView)
Lets you scan a page directly into any graphic viewer/editor application. You can choose the destination
application, such as Adobe
®
PhotoShop
®
or any kind of image editing application on your Macintosh
®
.
OCR (Default: Apple
®
Text Edit)
Lets you scan a page or document, automatically run the OCR application and put text (not a graphic
image) into a word processing application. You can choose the target word processing application, such
as Microsoft
®
Word or any word processing application on your Macintosh
®
. You must have Presto!
®
PageManager
®
installed on your Macintosh
®
.
E-mail (Default: your default E-mail software)
Lets you scan a page or document directly into an E-mail application as a standard attachment. You can
choose the file type and resolution for the attachment.
File
Lets you scan directly to a disk file. You can change the file type and destination folder, as needed.
ControlCenter2 gives you the ability to configure the hardware Scan key on your machine and the
ControlCenter2 Software button for each scan feature. To configure the hardware Scan key on your machine
choose the Device Button (click each of the Control Center buttons while holding down the Ctrl key and
choose Device Button.) in the configuration menu for each of the SCAN buttons. To configure the Software
button in ControlCenter2, choose the Software Button tab (click each of the Control Center buttons while
holding down the Ctrl key and choose Software Button.) in the configuration menu for each of the SCAN
buttons.
CUSTOM SCAN
10
You can configure the button name and settings for each of these buttons to meet your specific needs by
clicking a button while holding down the Ctrl key and following the configuration menus.