Hinging the ailerons – E-flite Twist 3D 480 ARF User Manual
Page 6
6
E-flite Twist 3D 480 ARF Assembly Manual
hinging the Ailerons
Required parts
Wing panel (right and left)
Aileron (right and left
CA hinge (8)
Required Tools and Adhesives
Thin CA
T-pins
Pin vise
Drill bit: 1/16-inch (1.5mm)
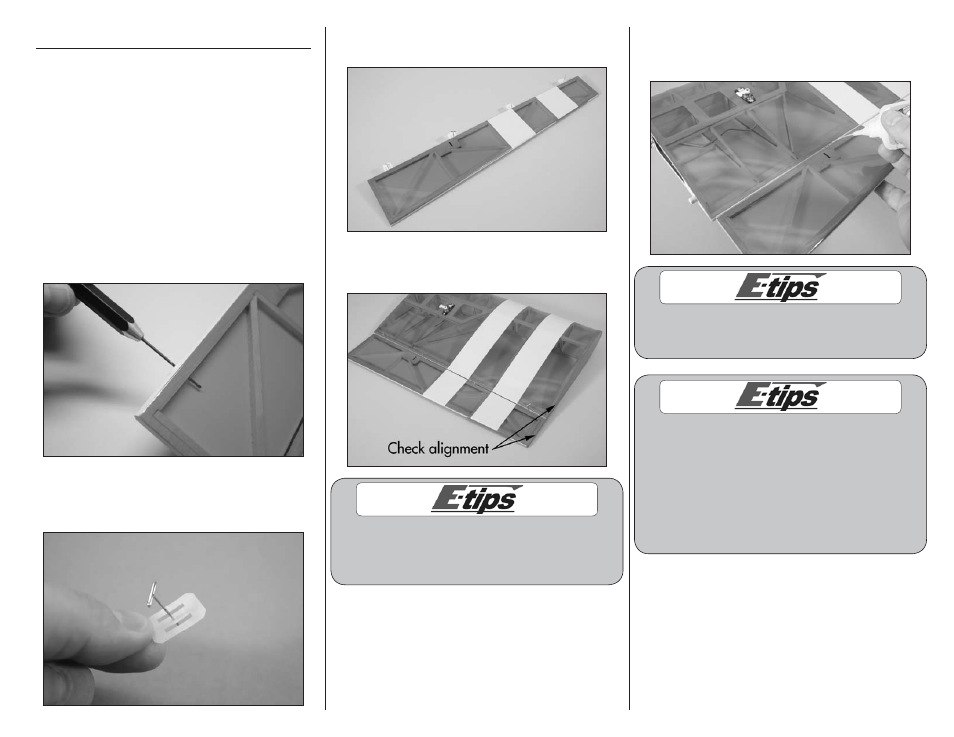
1. Use a pin vise and 1/16-inch (1.5mm) drill bit
to drill a hole in the center of each hinge slot in the
aileron and wing to create a tunnel for the CA to
wick into. This will allow the CA to penetrate the
hinge, creating a better bond between the hinge
and surrounding wood.
2. Place a T-pin in the center of each of the five
hinges. This will center the hinges equally in the
aileron and wing when they are installed.
3. Insert the hinges in the ailerons. The T-pin should
rest on the edge of the aileron bevel.
4. Slide the aileron back into position. Make sure the
tip of the aileron is flush with the tip of the wing.
Placing a #11 hobby blade between the aileron
leading edge and wing trailing edge to position
the aileron will result in a nice free moving
hinge for 3D throws without any binding.
5. Remove the T-pins from the hinges. Saturate
each hinge with thin CA. Apply CA to both the top
and bottom of the hinge.
Do not use CA accelerator when gluing the hinges.
The CA must be allowed to soak into the hinge for the
best bond between the hinge and surrounding wood.
If you are in a humid environment, it is possible that
after the CA cures, a white “fog” will be visible. In
most cases, this can be wiped off with acetone or CA
debonder on a paper towel. In the event that the fog
forms UNDER the transparent covering, often times a
heat gun can be used to carefully heat the covering to
minimize or eliminate the appearance of the CA fog.
If accelerator is used to cure the CA, the fog that forms
will likely be permanent and this method will not work.