Stabilizer installation – E-flite Twist 3D 480 ARF User Manual
Page 12
12
E-flite Twist 3D 480 ARF Assembly Manual
3. Use an M3 x 10 socket head cap screws and an
M3 washer to secure the position of the wing. Use
a 2.5mm hex wrench to tighten the screw. Plug the
aileron servo into the receiver if you are preparing
your model for flight.
4. Repeat steps 2 and 3 to install the second wing
panel.
Stabilizer Installation
Required parts
Fuselage assembly Stabilizer
Required Tools and Adhesives
Thin CA
Ruler
Hobby knife with #11 blade
Medium grit sandpaper
It is important to check the alignment of the
stabilizer in relationship to the wing. Not doing
so may cause your airplane to require excessive
amounts of trim to correct for poor alignment,
resulting in poor flight performance.
When cutting through the covering, use a new
#11 blade and light pressure to avoid cutting into
the underlying wood, which could weaken the
underlying structure, causing it to fail in flight. We
also recommend using a hot knife to melt through
the covering to help reduce damaging the wood.
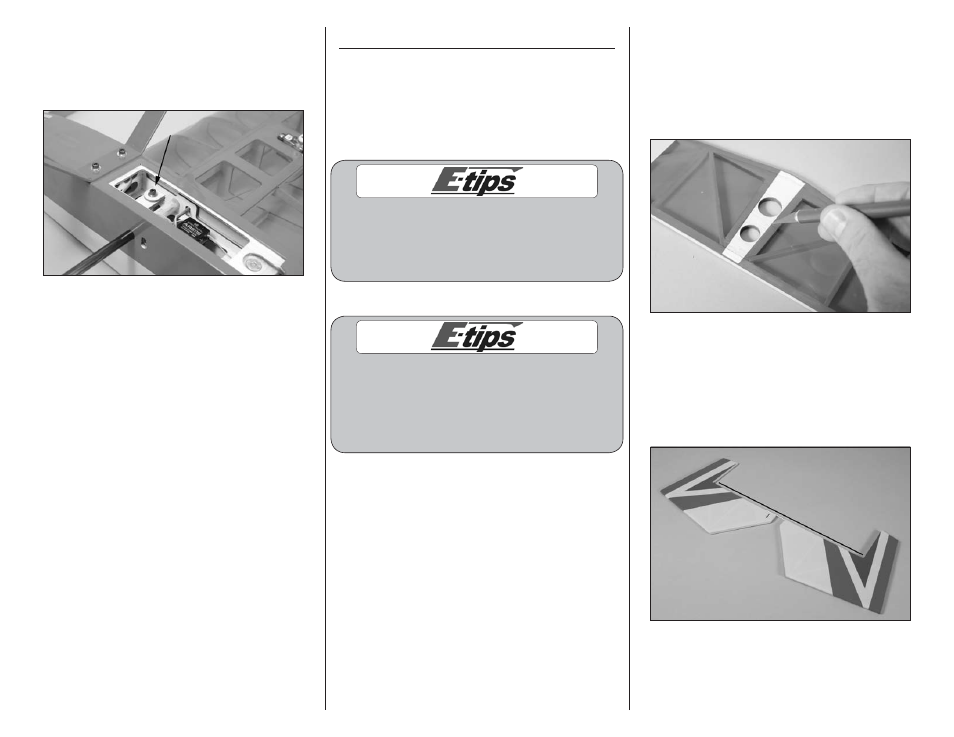
1. Remove the elevators from the stabilizer. Set the
elevators, joiner wire and four CA hinges aside
until later. Align a ruler tangent to the edges of the
lightening holes in the stabilizer center section and
use this as a guide to cut the covering for removal,
erring to the inside slightly. Remove covering from
both the top and bottom of the stabilizer.
2. Fit the joiner wire into the elevators. Check to
make sure the elevators are in alignment with each
other by placing the assembly on a flat surface. It
may be necessary to bend the joiner wire slightly to
align both elevator halves. Make sure to mark the
elevators and joiner wire so they can be oriented
later in this section of the manual.