Wing installation – E-flite Twist 3D 480 ARF User Manual
Page 11
11
E-flite Twist 3D 480 ARF Assembly Manual
8. Apply the matching hook and loop tape from
step 5 to the bottom of the battery. This will keep
the battery from moving forward or aft in the
fuselage. Use the hook and loop strap to secure the
battery to the battery tray.
9. Turn on the transmitter. Connect the battery
to the power lead of the speed control. Check
the rotation of the motor to make sure it rotates
counterclockwise when viewed from the front of the
fuselage. If not, swap any two of the motor leads to
correct the direction of rotation.
Always balance your propeller. An unbalanced
propeller can cause vibrations to be transmitted
into the airframe, which could damage the
airframe or other components, as well as
produce unwanted flight characteristics.
10. Use the propeller adapter to secure the
propeller to the motor. Slide a 2.5mm hex wrench
through the hole in the adapter to tighten it,
securing the propeller.
Wing Installation
Required parts
Assembled wing panel (right and left)
Fuselage assembly
Carbon fiber wing tube
M3 x 10 socket head cap screw (2)
M3 washer (2)
Required Tools and Adhesives
Hex wrench: 2.5mm
Hobby knife with #11 blade
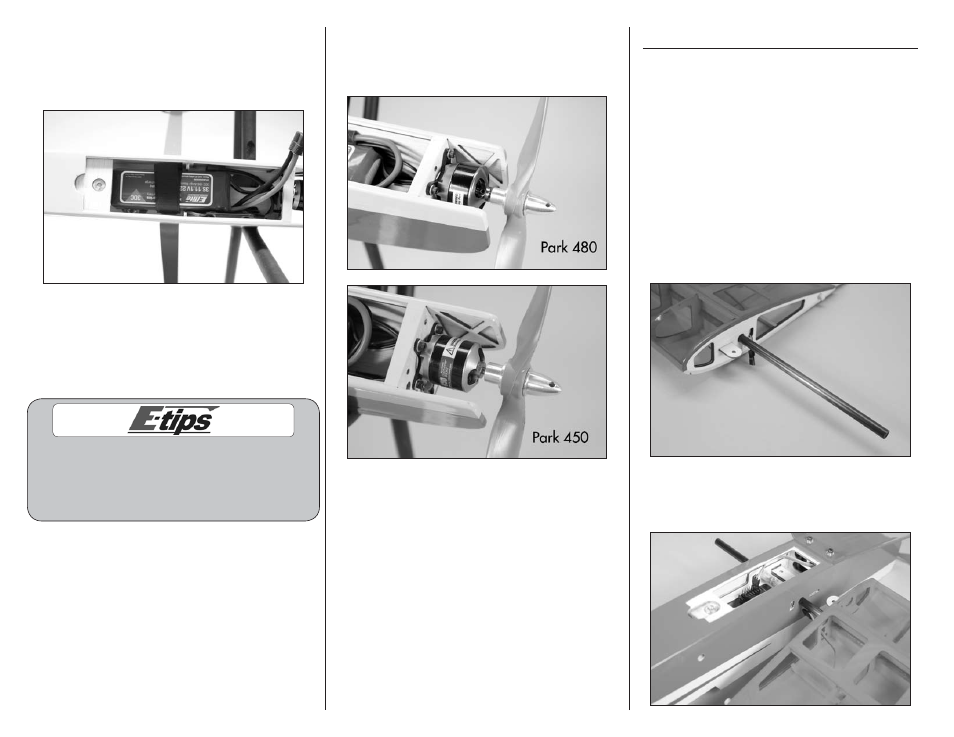
1. Slide the carbon fiber wing tube into the socket
in the wing panel. The socket has a cap on it, so
do not force the wing tube in the wing any farther
than it will easily slide.
2. Slide the tube into the socket in the fuselage.
Make sure to guide the lead for the aileron servo in
the fuselage when positioning the wing.