DgFlick PrintXpress User Manual
Page 35
User Manual-1.0
3. Alternatively, you could enter the values manually in the value boxes above the respective sliders.
4. Clicking on the ‘Auto Colour’ button at the top will adjust the colour automatically.
5. The changes can be reset by clicking on
.
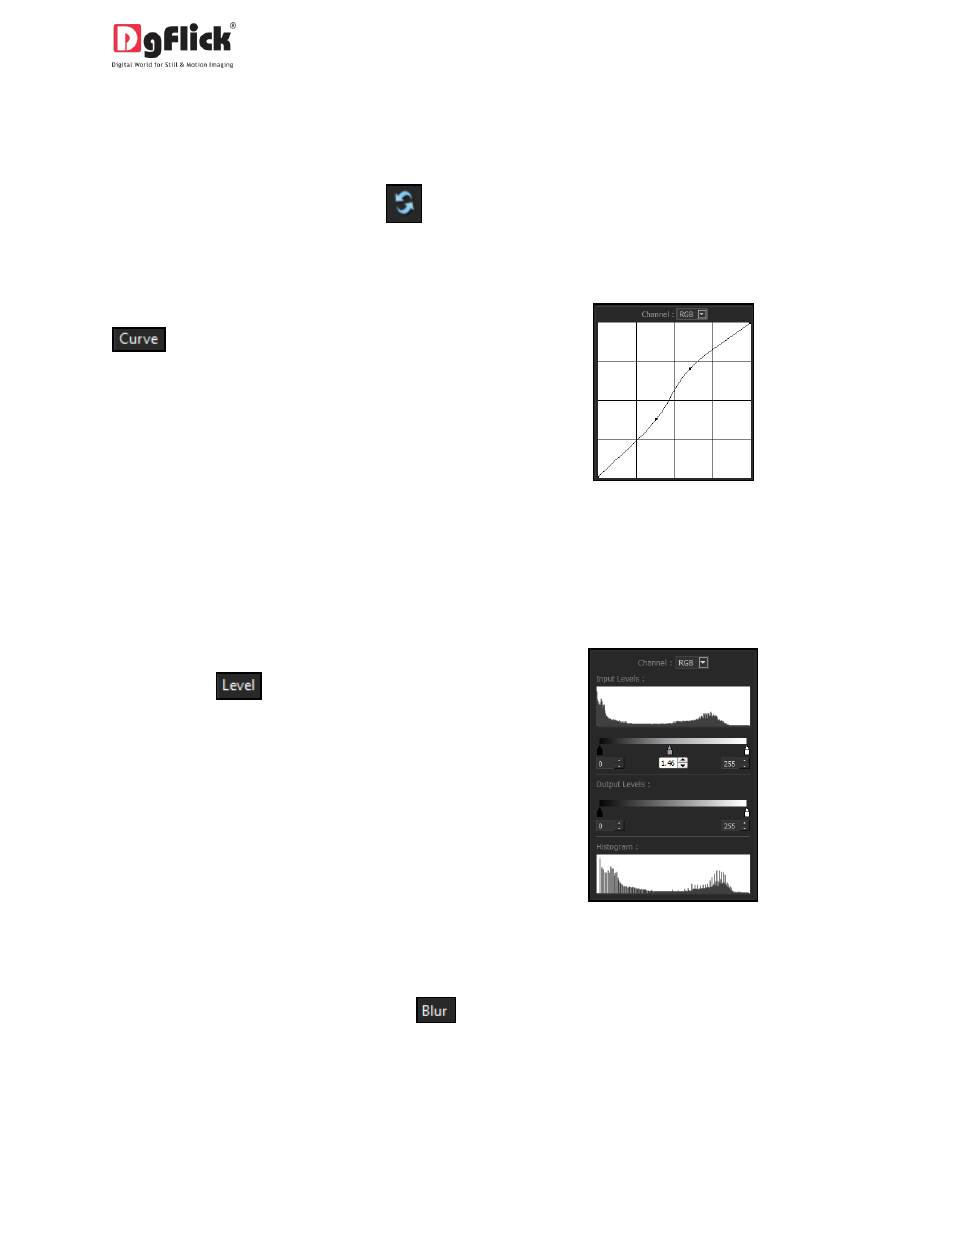
Curve
1. Colour intensities can be adjusted by clicking on
button on the options bar of the ‘Edit
Photo’ window.(Image 4.1.1.1)
2. Select the colour to be adjusted (RGB i.e. red,
green, or blue) from the drop list under the
‘Channel’ button.
3. Adjust the intensity by clicking on the curve and
moving it as per your requirement.
Level
1. To adjust the input and output levels of the
photo, click on
button on the options bar
of the ‘Edit Photo’ window (Image 4.1.1.1).
2. Select the colour for which the input and output
levels need to be modified (RGB i.e. red, green
or blue) from the drop list under the ‘Channel’
button.
3. Modify the ‘Input’ and ‘Output’ level values in
the value boxes as required.
Blur
1. To give the photo a blurred effect, click on
button on the options bar of the ‘Edit Photo’ window
(Image 4.1.1.2).