DgFlick PrintXpress User Manual
Page 31
User Manual-1.0
Image.3.3.2.3: The ‘Create layout Window’….Copies of the same size arranged
Here the white page is considered as the front side of the page and the grey page is considered as the
back side of the page. Select the entire package by pressing ‘Ctrl+A’ and copy, paste it on the grey page
with ‘Ctrl+C’ and ‘Ctrl+V’ and align it by clicking on it and dragging it wherever required. (Image.3.3.2.3)
Now you need to number each print size according to the way it is going to be printed.
To change the number of each print size select the print size, keep the Shift key pressed and with the
help of Up/Down/Front/Back keys change the number accordingly.
Now let’s start with the numbering of the individual print sizes.
Since this is a Duplex design, the packages will be printed on both the sides i.e. offset printing so have to
number the sizes such that the back side gets printed exactly behind the front side of the page.
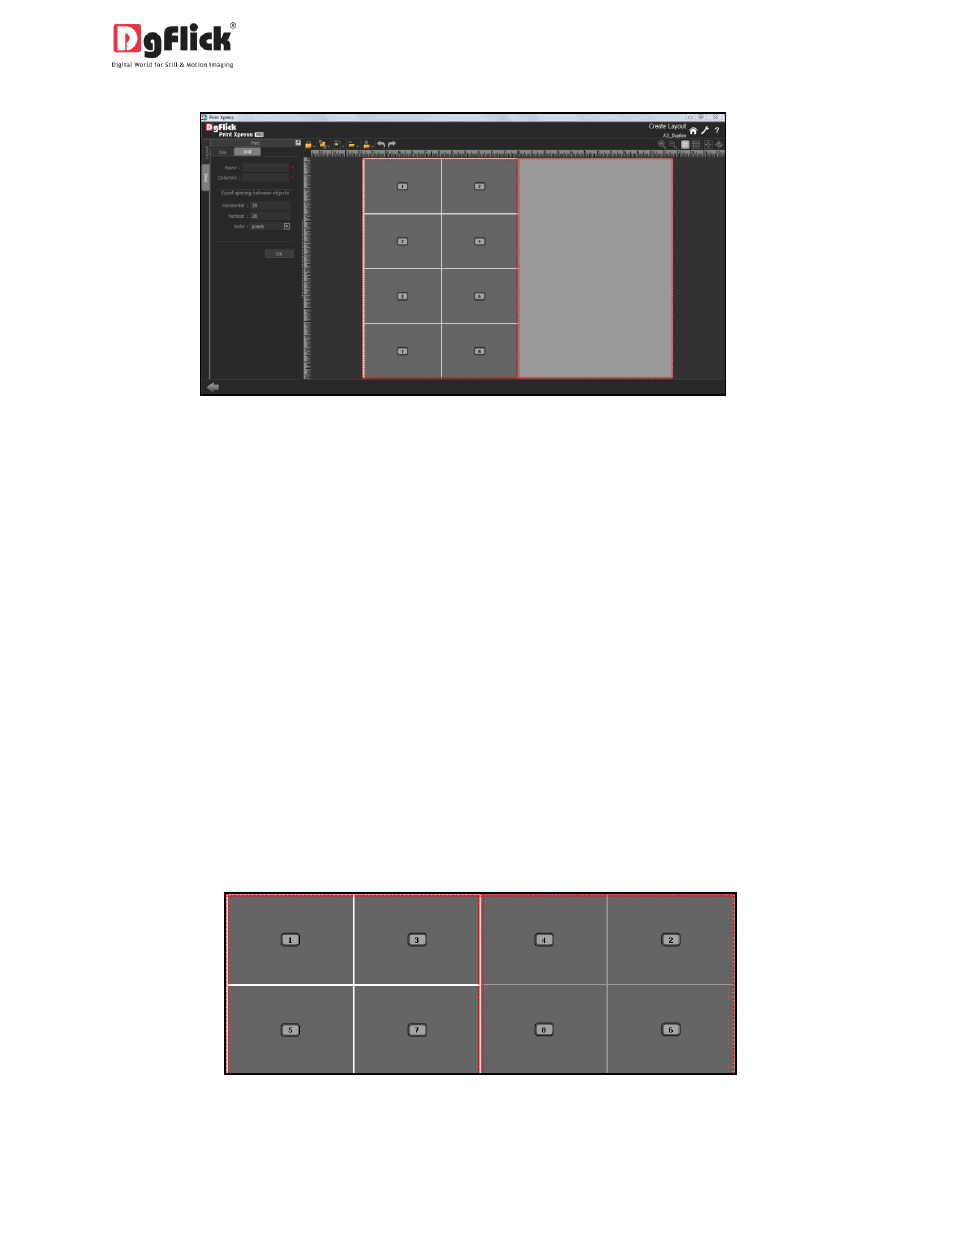
If we consider the left print size of the front page as ‘1’ then we will have to number the right print size
of the back page as ‘2’ since it will be printed exactly behind the print size number ‘1’. Now, we will
number the right print size of the front page i.e. the print size next to ‘1’ as ‘3’ and for the print size on
the back page to be printed exactly behind ‘3’ let us number the left print size of the back page as ‘4’.
Image 3.3.2.4 : The Duplex numbering