Remove existing adapter, Install replacement adapter – Rockwell Automation 1440-ACNR XM ControlNet Adapter User Manual
Page 19
Publication ICM-UM001C-EN-E - March 2013
19
Install the Adapter Chapter 2
Remove Existing Adapter
Remove the existing adapter from the DIN rail as follows.
1. Disconnect any wiring jumpered to the adjacent terminal base.
2. Disconnect the BNC connector(s) from the front of the adapter.
3. On the XM module adjacent to the adapter, open the latching
mechanism and remove the module from the terminal base unit that is
attached to the adapter.
4. Push the XM Bus connector toward the right side of the terminal base
to unplug the backplane connection.
5. Release the locking tab and remove the adapter module.
Install Replacement Adapter
Install the replacement adapter on the DIN rail as follows.
1. Before installing the replacement adapter, make certain the XM Bus
connector of the XM terminal base is fully retracted into the base unit.
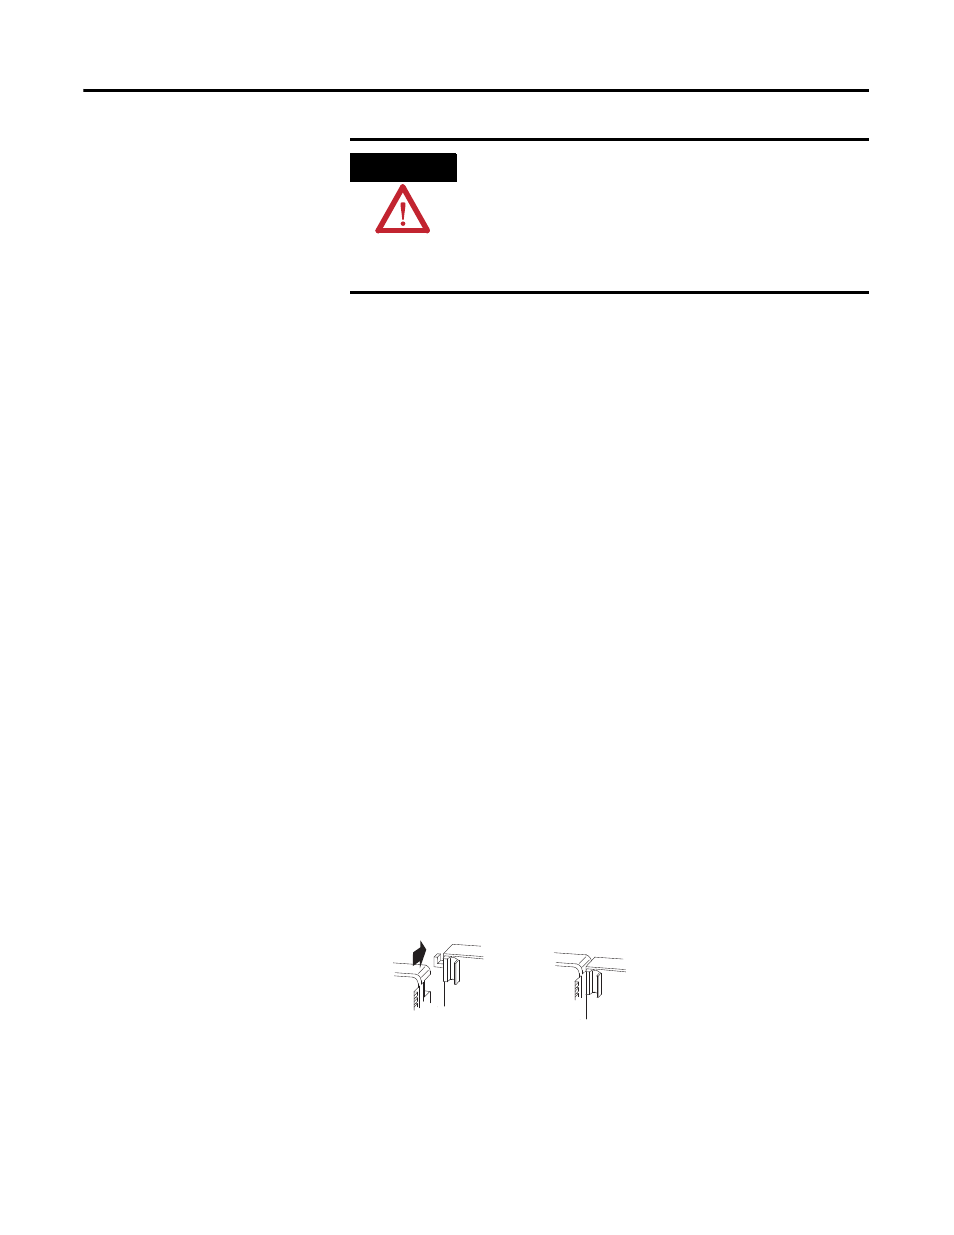
2. Position the replacement adapter on the DIN rail. The hook on the
terminal base slides under the edge of the adapter.
3. Push down and in at the same time to lock the adapter to the DIN rail.
If the adapter does not lock in place, use a screwdriver or similar device
to move the locking tab down while pressing the adapter flush onto the
DIN rail, and release the locking tab to lock the adapter module in place.
WARNING
If you connect or disconnect the communications cable with
power applied to this module or any device on the network, an
electrical arc can occur. This could cause an explosion in
hazardous location installations.
Be sure that power is removed or the area is nonhazardous
before proceeding.