Sensor mounting, Types of sensor mounting, Mounting sensors directly on the case – Rockwell Automation 9000 Series Sensor User Manual
Page 13
Sensor Mounting
Entek 9000 Series Sensor Installation Guide
5
Sensor Mounting
Next to choosing the correct sensor, the sensor mounting is the most important
consideration in getting accurate readings from the sensor.
Types of Sensor Mounting
The actual frequency range of a sensor depends on how well it is attached to the machine.
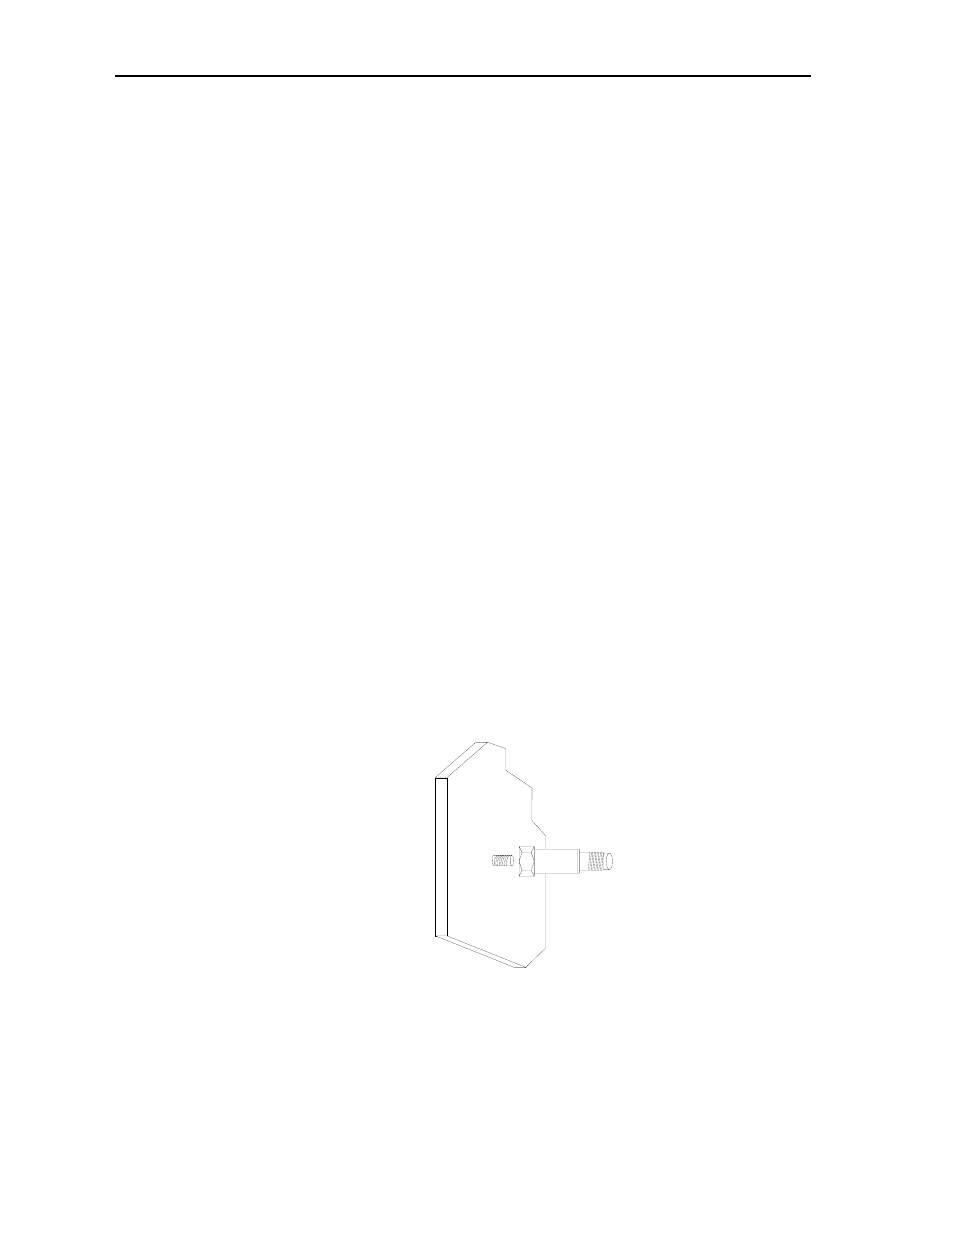
Mounting sensors directly on the case
Mounting sensors directly to the machine is the most common mounting technique for many
vibration sensors. Sensors designed for stud mounting have a base that is drilled and tapped
for that purpose. There are two common methods of stud mounting a sensor. In both cases, it
is crucial to prepare a flat, smooth, and clean area at least as large as the base of the sensor.
If the surface is not prepared properly, some of the vibration energy will be lost, and will not
be transmitted to the sensor. Improper mounting can also allow chatter, creating false data.
Note: Entek recommends following the API 670 requirements for surface finish and flatness, even
for non-API installations. If the surface is not properly prepared, it can reduce the detection
of higher frequencies.
1. The first method is to spot face the surface, then drill and tap a hole in the machine case
or bearing housing where you want to install the sensor. Per the requirements of API
670 Appendix C.2.1, the surface finish should be within 0.8 micrometers (.032 mil, or
32 µinches) and the flatness should be below 25 micrometers (1 mil).
2. Clean the finished area to remove any rust, dirt, paint, or grease.
3. Insert a set screw leaving enough of the screw above the case to attach the sensor,
typically 1/4 inch. Some sensors come with captive mounting screw and do not need a
separate set screw.
4. Apply a thin coating of grease or silicone lubricant to the surface.
5. Use a torque wrench to attach the sensor. Refer to the following table.