Marshalltown SP684 SURFACE SHARK Surface Planer User Manual
Page 39

SP684 SuRFACE ShARK SuRFACE PLANER
PAGE 39
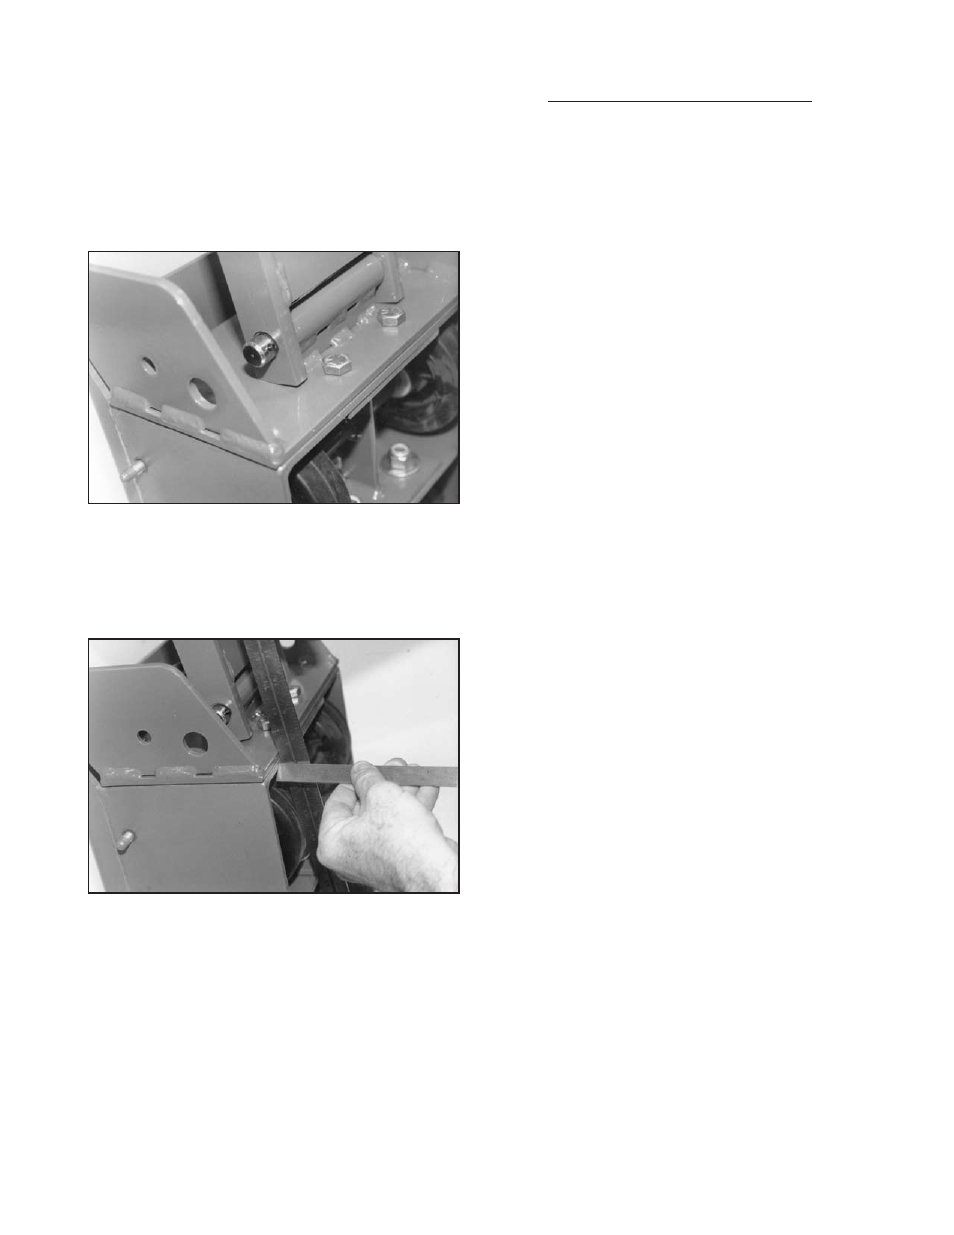
6.35 mm). It is important that the straightedge be
positioned on both sets of casters in the same relative
position on the caster faces. FIGuRE 49.
6) Tighten the fasteners with the torque wrench to 85
ft lbs (115 Nm.). The addition of clamps will minimize
any movement or location change while tightening the
fasteners.
FIGuRE 48
7) Repeat Step 5 to determine that alignment did not
change while tightening the fasteners. If alignment did
change, repeat Steps 2 thru 6 until satisfactory results
have been achieved.
FIGuRE 49
CHECKING DRIVESHAFT RUN OUT
Application: SP684 SURFACE SHARK
Tools Required:
1 each, 3/4 inch wrench
1 each, dial indicator and magnetic base
Parts Required:
1 each, Part# MNSP8-0241 driveshaft (if required)
Proper driveshaft run out limits are essential to produce
an even cutting action by the flails. Driveshaft run out
limits are measured with the use of a dial indicator for
accuracy.
1) Position the Surface Planer on a suitable work
surface. If the engine is not to be removed, fuel and
oil must be drained from the fuel tank and crankcase.
The normal position for checking driveshaft run out is
with the main frame perpendicular to the work surface.
Support the unit with proper blocking.
2) using the 3/4 inch wrench, remove the cap screws
that retain the access door to the main frame.
3) Clean and remove any excessive material build-
up from the threaded bosses and surrounding area.
Material build-up can affect the driveshaft run out.
4) Remove the flail drum and replace the access
door. Tighten the cap screws with the wrench until the
access door is secured.
5) Install the dial indicator with the magnetic base
attached to the main frame. Driveshaft run out can be
measured by the dial indicator at two locations:
a) Position the dial indicator to measure run out on
the driveshaft flange. Maximum run out (as measured
by the dial indicator gauge) is + - .010 inches (.254
mm). A worn flange surface may not allow an accurate
measurement to be taken. FIGuRE 50.
