2 replacing the diaphragm – Heidolph ROTAVAC Vario pumping unit User Manual
Page 53
page 53 of 61
Documents are only to be used and distributed completely and unchanged. It is strictly the users´ responsibility to check carefully
the validity of this document with respect to his product. Manual-no.: 999248 / 28/04/2011
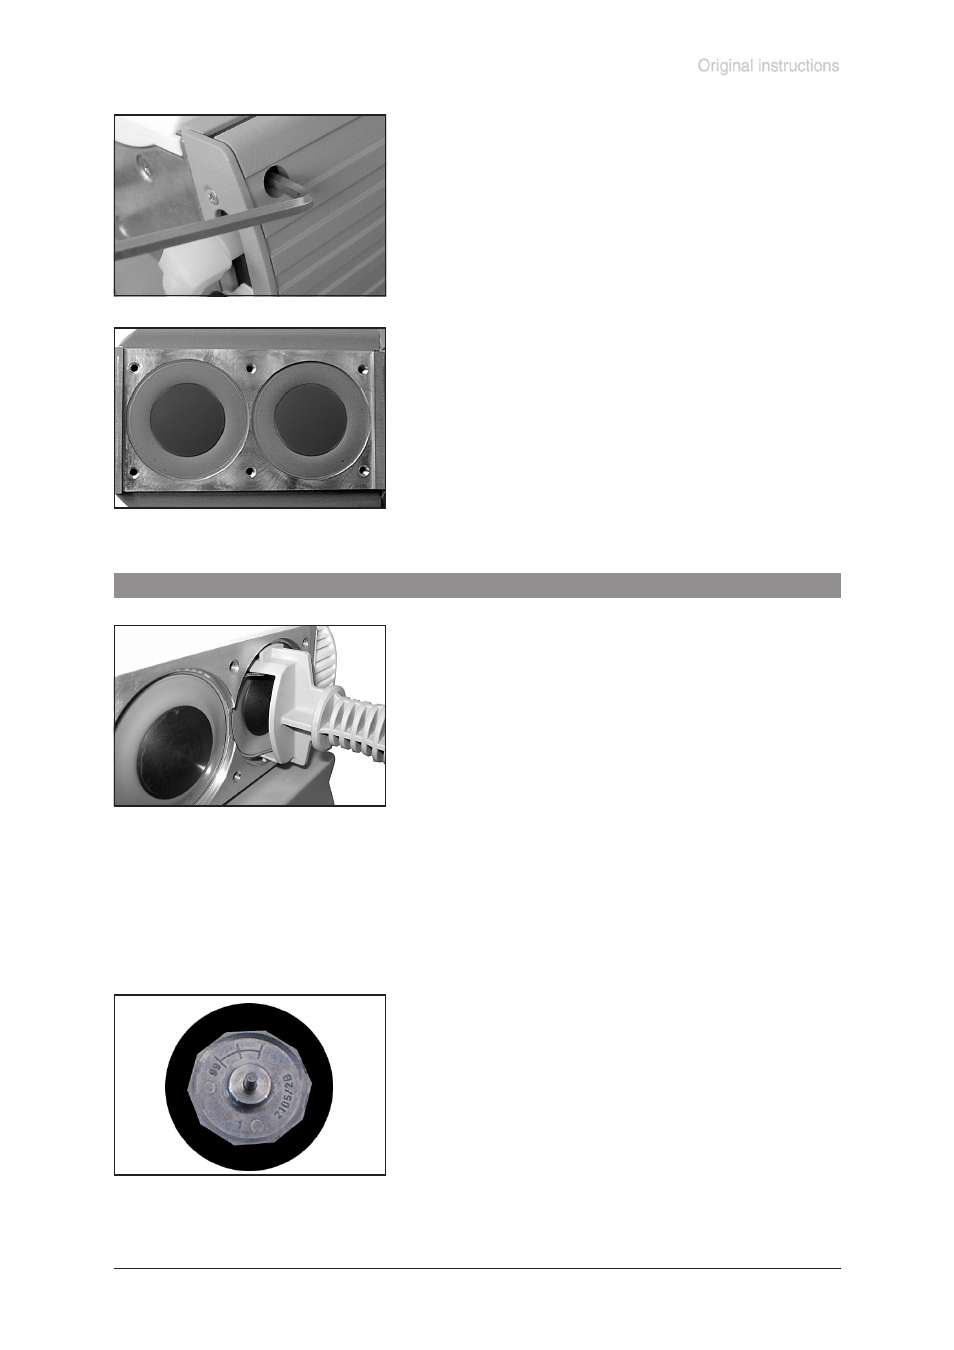
11.2 Replacing the diaphragm
➨
Use a hex key size 4 to loosen the six socket head screws
at the pump head and remove the upper housing (housing
cover with housing cover insert).
☞
Never remove parts using a spiky or sharp-edged tool (e.
g. screw driver), we recommend to use a rubber mallet or
compressed air (to be blown carefully into port).
➨
Take the head covers carefully off the housing to check the
valves.
Note the position of the valves and remove them.
☞
Replace valves if damaged.
Use petroleum ether or industrial solvent to remove de-
posits. Do not inhale.
➨
Check the diaphragms for damage and replace if neces-
sary.
➨
Position new diaphragm between diaphragm clamping
disc with square head screw and diaphragm support disc.
☞
Attention: Position diaphragm with pale side towards dia-
phragm clamping disc (to pump chamber).
➨
Lift diaphragm carefully.
➨
Apply pressure to the adjacent clamping disc to bring con-
necting rod into upper turning point position if necessary.
☞
Never use a spiky or sharp-edged tool to lift the dia-
phragm.
➨
Use the diaphragm key to grip the diaphragm support disc
below the diaphragm.
➨
Apply pressure to the diaphragm clamping disc to bring
the diaphragm into the lower turning point position. Press
diaphragm key against diaphragm clamping disc, unscrew
and remove diaphragm support disc with diaphragm.
☞
If the old diaphragm is difficult to separate from the support
disc, immerse assembly in naphtha or petroleum ether. Do
not inhale!
☞
Check for washers under clamping disc. Do not mix the
washers from the different heads. Make sure that the origi-
nal number is reassembled at the individual pump head.