Erico, Cadweld, And erico – ERICO Connections to Foot of Continuously Supported Rail and Non-Load Bearing Rail User Manual
Page 4
Refer to the mold tag for applicable instruction sheets.
IPRF_C
www.erico.com
4
ERICO
®
CADWELD
®
AND ERICO
®
CADWELD
®
PLUS Connections to Foot of Continuously
Supported Rail and Non-Load Bearing Rail
!
!
!
!
CAUTION:
Allow 15 seconds for mold cooling after
the reaction. This will permit the molten metal to solidify. Then
carefully disengage the welder device and pull the mold straight
back from the rail. Failure to observe this may result in mold
damage and its premature scrapping. Molds can generally be
used for up to 50 welds.
5.
Carefully open the mold cover and break up the slag in the
crucible using the blade of the mold cleaning tool. Dump the
slag from the crucible and remove slag from the tap hole using
the curved end of the mold cleaner. Dispose of the slag
according to local regulations.
6.
Check the molds for breakage or residual slag before
proceeding with the next weld.
V.
WELDING PROCEDURE FOR CADWELD
PLUS
WARNING:
Correctly positioning the mold against
the rail is critical for safety and success in making a
connection.
There must be no clearances between the mold
that contains the weld cavity and the rail surface; if a clearance is
present or mold is worn, the mold should be discarded and a new
one used. (Molds can generally be used for up to 50 welds) The
exothermic reaction reaches a temperature in excess of 4000°F,
therefore great care must be exercised to avoid spillage of the
molten metal. Failure to observe this warning may result in molten
metal leakage onto the rail with the immediate risk of personal
injury, and potentially serious structural damage to the rail.
1.
After mold is properly positioned according to the connection-
specific instruction print(s):
CAUTION:
Install only the specified welding material
in the mold crucible. Use only the welding material size that is
specified on the mold. ERICO welding material (F80) is formulated
specifically for use with rail steels.
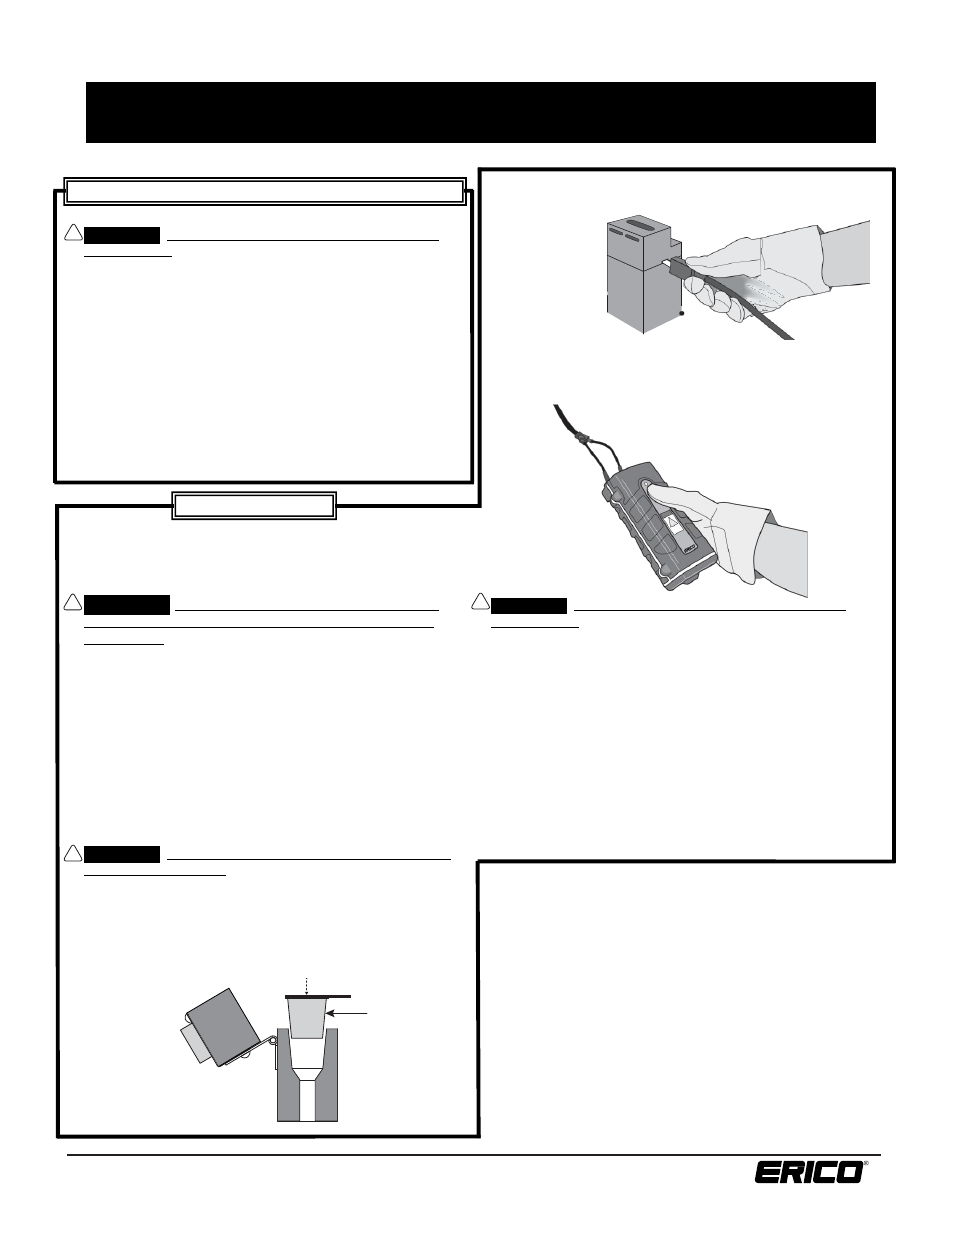
2.
Insert CADWELD PLUS welding material cup into mold. See
Figure 10.
3.
Attach Control Unit termination clip to ignition strip, align the
strip and close the cover. See Figure 11.
4.
Position yourself upwind of the mold, on the field side of the
rail. Press and hold Control Unit operator button until the
ready light turns off and wait for ignition. See Figure 12.
CAUTION:
Allow 15 seconds for mold cooling after
the reaction. This will permit the molten metal to solidify. Then
carefully disengage the welder device and pull the mold straight
back from the rail. Failure to observe this may result in mold
damage and its premature scrapping. Molds can generally be
used for up to 50 welds.
5.
Carefully open the mold cover and break up the slag in the
crucible using the blade of the mold cleaning tool. Dump the
slag and steel cup from the crucible and remove slag from the
tap hole using the curved end of the mold cleaner. Dispose of
the slag according to local regulations.
6.
Check the molds for breakage or residual slag before
proceeding with the next weld.
Note: If you have any questions or require further instructions, or
would like training, contact ERICO at 1-800-447-7245.
FIGURE
10
FIGURE
11
CADWELD PLUS
FIGURE
12
CADWELD (Blue Tube with Yellow Cap)
cont.
CADWELD PLUS F80