Direct drive, Match mount – COATS 1055 Balancer User Manual
Page 20
14 • COATS 950/1025/1050/1055 Wheel Balancer
The balancer will be idle while the tire is being rotated on
the wheel. During these times, another operator without
terminating the Match Mount procedure can use the bal-
ancer. The second operator selects the other operator memory, per-
forms a balance, and then returns the balancer to the previous mem-
ory. The original operator can now continue the Match Mount proce-
dure.
As with any balancing procedure, remove any weights attached to
the wheel and inspect the tire and wheel before beginning.
Instructions
1. Mount the wheel to the balancer.
2. Select the appropriate operator memory as required. Make a
note of the memory being used in the event the memory is changed
during the Match Mount procedure.
3. Enter the A, W, and D measurements and select the mode that
will be used for the final balancing.
4. Lower the hood and press START.
5. Wait for the wheel to brake to a stop and for the displays to
show weight readings.
Does the balancer indicate that 2-ounces or more is required on
either plane of the wheel in dynamic mode? Higher weights may be
indicated when using an alloy mode to compensate for weight loca-
tion.
If so, advise supervisor or customer to continue with the Match
Mount procedure. DO NOT attach weights at this point.
If not, the Match Mount procedure is most likely not necessary, and
will not improve the balance. Continue to balance the wheel accord-
ing to the mode selected.
6. If hood start option is on, turn it off now.
7. Press the MODE key until Match Mount is selected.
8. 1 will now be displayed in the outer weight display.
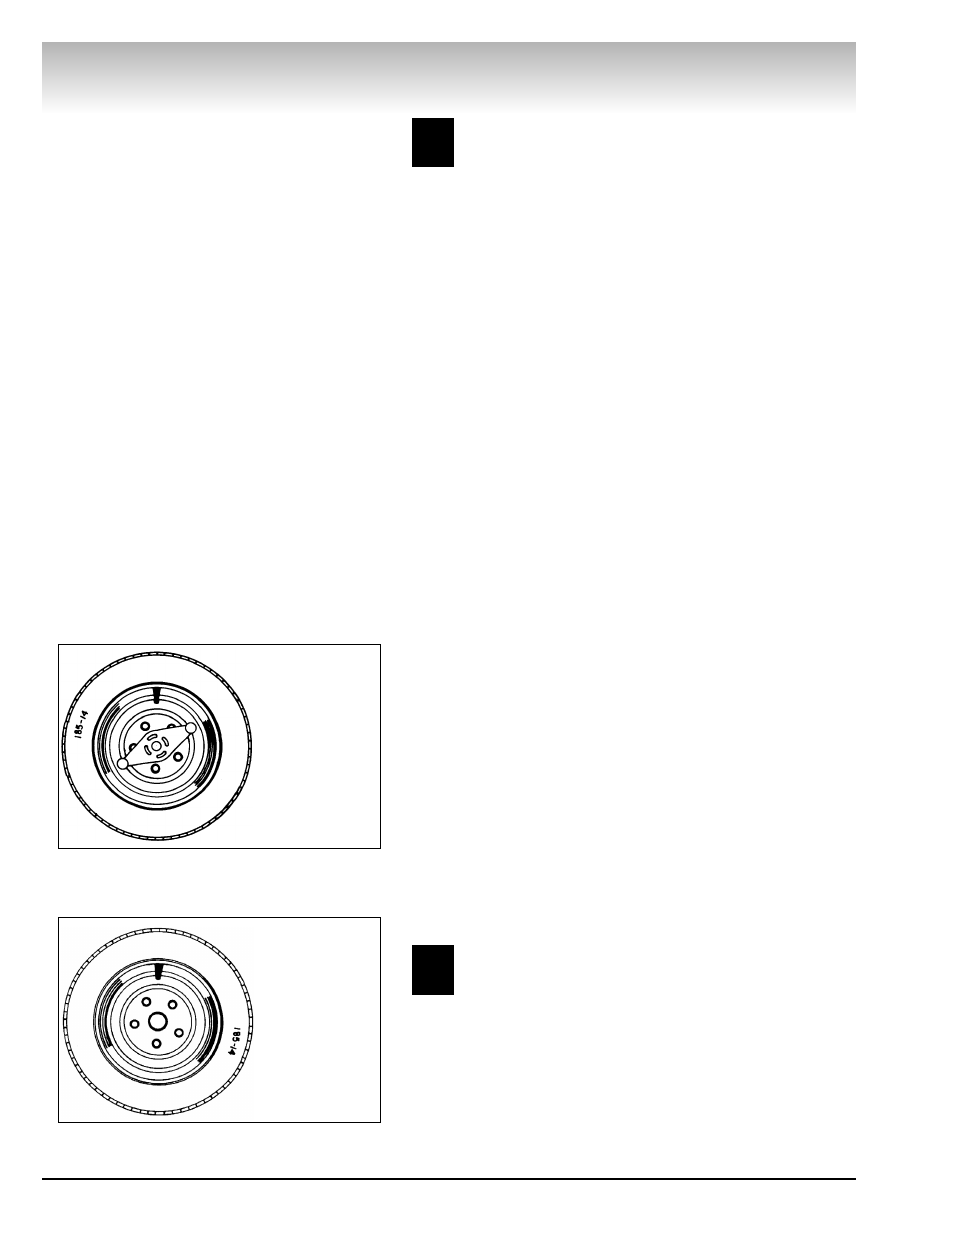
9. Raise the hood and rotate the wheel until the valve stem is at
top-dead-center.
10. Press (1) on the control panel. 2 is now displayed in the weight
display.
11. Remove the wheel from the balancer. Completely deflate the
tire by removing the valve core. After all the air pressure is
exhausted, follow the tire changer manufacturer's instruction for
loosening the tire beads.
A second operator can use the balancer while the Match
Mount operator does Steps 12, 13, and 14.
Remember:
All
data for the Match Mount procedure will be kept in the
Match Mount operator's memory.
12. Lubricate both tire beads and wheel to aid in rotating the tire
and bead sealing and seating. Always use the tire manufacturer's
approved rubber lubricant.
13. Rotate the tire 180° on the wheel.
1025
1050
1055
1025
1050
1055
Direct Drive
Match Mount
Description
The Match Mount program assists the user in
determining the best possible mating of the tire
and wheel, thereby reducing the amount of addi-
tional weight required for balancing. This mating of
tire and wheel normally allows the least amount of
total runout of the assembly, resulting in better
balancing, better ride conditions, and more satis-
fied customers. Use Match Mount when:
• Excessive radial runout is noticed in the tire
and wheel assembly during balancing.
• The customer complains of ride problems.
• The balancer calls for weights in excess of 2-
ounces on either plane on passenger car tires
in the Dynamic mode.
Match Mount balancing requires loosening both
tire beads and inflation of the tire. You will need to
be trained in the operation of your Coats tire
changer and the dangers involved during bead
seating and tire inflation. Read the operators man-
ual supplied with the tire changer and consult your
supervisor.
Figure 17 - Rotate the wheel
Figure 18 - Rotate Tire on Wheel
Tire/wheel
assembly rotated
until valve stem
is at top-dead-
center.
Tire rotated 180
degrees on the
wheel.