C.B.S. Scientific HTLE-7002 User Manual
Page 18
C. B. S. Scientific 18
HTLE-7002
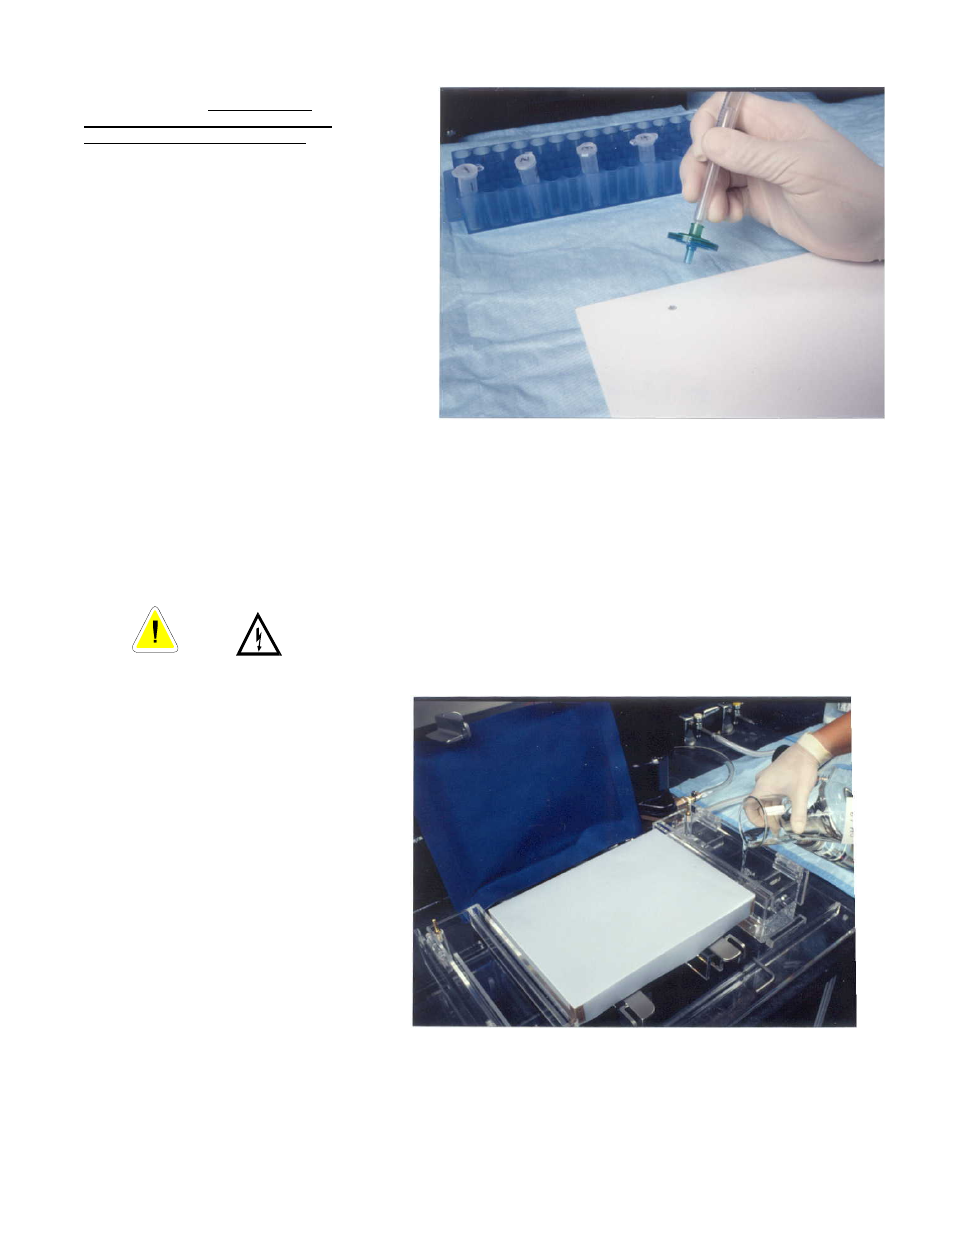
11. Dry sample with air stream. As
shown in Figure H. The air line and
pipetor are held in different hands so
one can alternately load and dry . A
5
μl sample is usually applied in about
10-12 controlled spottings. Try to keep
the area wetted during each application
to a maximum 3mm in diameter, and try
to exactly superimpose the position as
each drop is added. You may see a
faint brown ring forming around the
circumference of the spot and the cross
mark should be directly in the center.
Once the samples are loaded return the
plate to the plate holder. The samples
are quite stable on plates and can be
spotted the day before electrophoresis.
D.
Preparing the Apparatus for Electrophoresis
12. Once a plate is prepared you should begin to prepare the electrophoresis apparatus. The apparatus that has been
properly installed is on a flat surface and is hooked up to an electrophoresis power supply capable of delivering at least
1.0kV at 100mA, running water and a constant-pressure air line with a regulator valve (see manufacturers instructions for
complete installation). To get ready for the run you need to assemble the buffer tanks and hook up the electrodes to the
power supply.
13.
Remove the pins which fasten the
restraining lid of the machine and lift the
lid up together with the attached nylon
air bag. Place the Teflon sheet and
thick neoprene pad to one side. Fill
each electrode tank with about 500ml of
the appropriate buffer (see Fig. I). Cut
two sheets of thin (0.004”) polyethylene
plastic that are large enough to cover
the surface of the electrophoresis bed
(about 22 x 38cm), allowing about 1” of
overlap on each side. Make sure that
there are no large creases or folds in the
sheeting that will keep the plate from
laying completely flat while under
pressure.