Id200 series imprinter character dial instructions – BAND-IT ID200 Series Imprinter User Manual
Page 4
BAND-IT-IDEX, Inc.
A Unit of IDEX Corporation
4799 Dahlia Street
Denver, CO 80216-3070 USA
P: 1-800-525-0758
F: 1-800-624-3925
Document # P98289 rev. C
© Copyright
BAND-IT-IDEX, Inc. 2007
All rights reserved
www.BAND-IT-IDEX.com
Page 4 of 14
ID200 Series
Imprinter
Character Dial
Instructions
Remove screw in center of dial and take dial and knob assembly off. Place new dial and knob in
position and tighten with retaining screw. Replace line and letter indicator with corresponding parts
from kit. Slide table to extreme right and remove table limit screw.
Caution: Table is under tension when pushed all the way to the right.
To safely return table to the left, hold table to the right and push spacer button to allow table to move
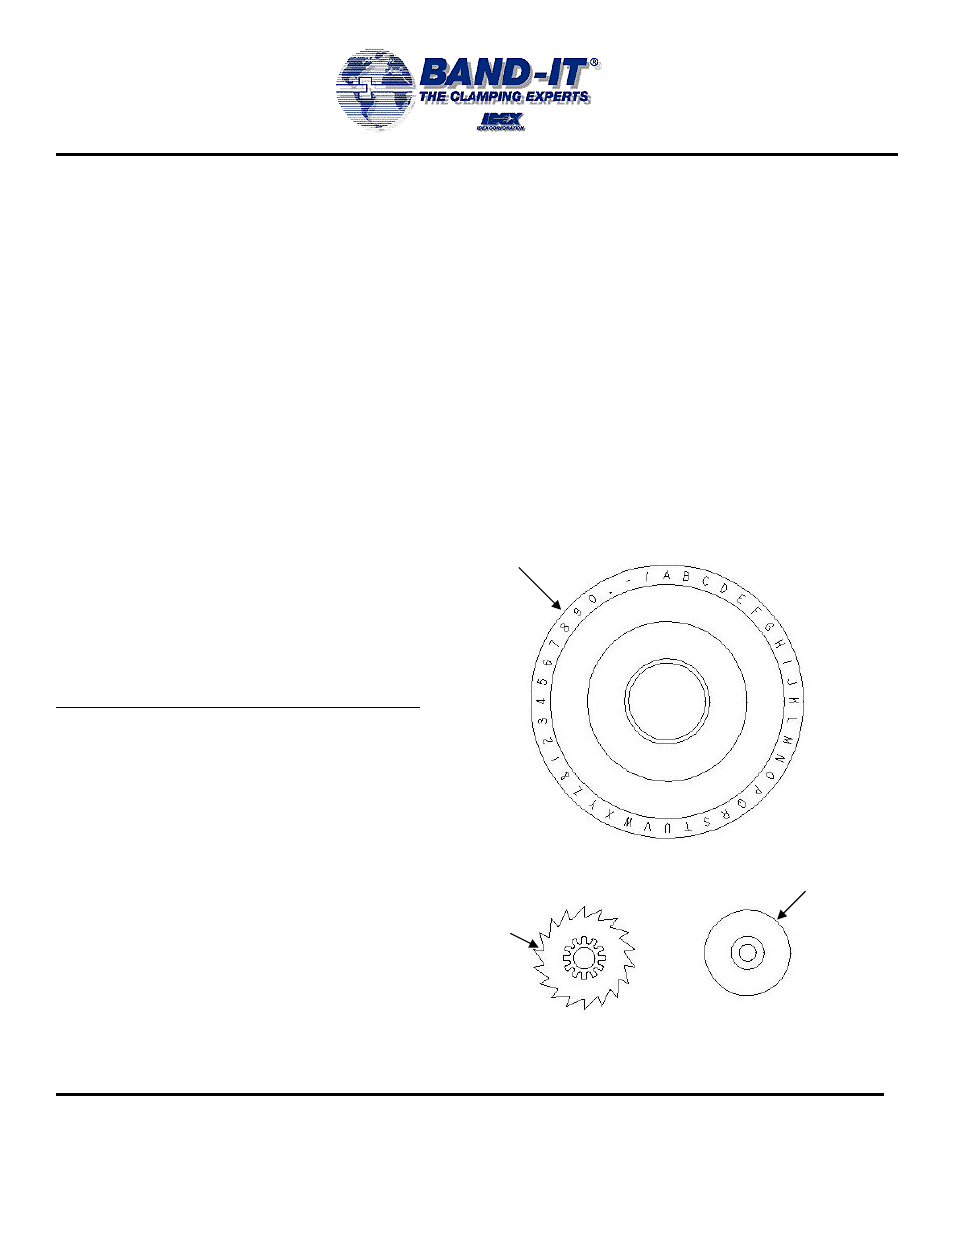
slowly to the left and expose spacing mechanism. Remove escapement wheel screw, dial washer
and escapement wheel and replace with parts from kit. Move table all the way to the right and
reassemble table limit screw. To return table to imprinting position, reset line and letter indicator to
line and letter chart provided with kit.
Dial Kits:
Dial kits come complete with dial
wheel, escapement wheel, dial washer
line spacing indicator with decal and
a letter spacing indicator with decal.
Catalog Number
Description
ID2816
1/16” Letter Dial Kit
ID2906
3/32” Letter Dial Kit
ID2826
1/8” Letter Dial Kit
ID2836
3/16” Letter Dial Kit
ID2846
1/4” Letter Dial Kit
Dial Washer
Escapement Wheel
Dial Wheel