Tj 231 cable shifter – Advance Adapters 715543231 User Manual
Page 6
ADVANCE ADAPTERS INC.
P/N: 715543-231
P.O. Box 247, 4320 Aerotech Center Way
New Item: (10/10)
Paso Robles, CA 93447
PAGE 6 of 8
Telephone: (800) 350-2223
Fax: (805) 238-4201
Page Rev. Date:
10-11-10
SPECIAL NOTE:
The components packaged in this kit have been assembled and machined for specific type of conversions. Modifications to any of the components
will void any possible warranty or return privileges. If you do not fully understand modifications or changes that will be required to complete your conversion, we
strongly recommend that you contact our sales department for more information. This instruction sheet is only to be used for the assembly of Advance Adapter
components. We recommend that a service manual pertaining to your vehicle be obtained for specific torque values, wiring diagrams and other related equipment.
These manuals are normally available at automotive dealerships and parts stores.
TJ 231 CABLE SHIFTER
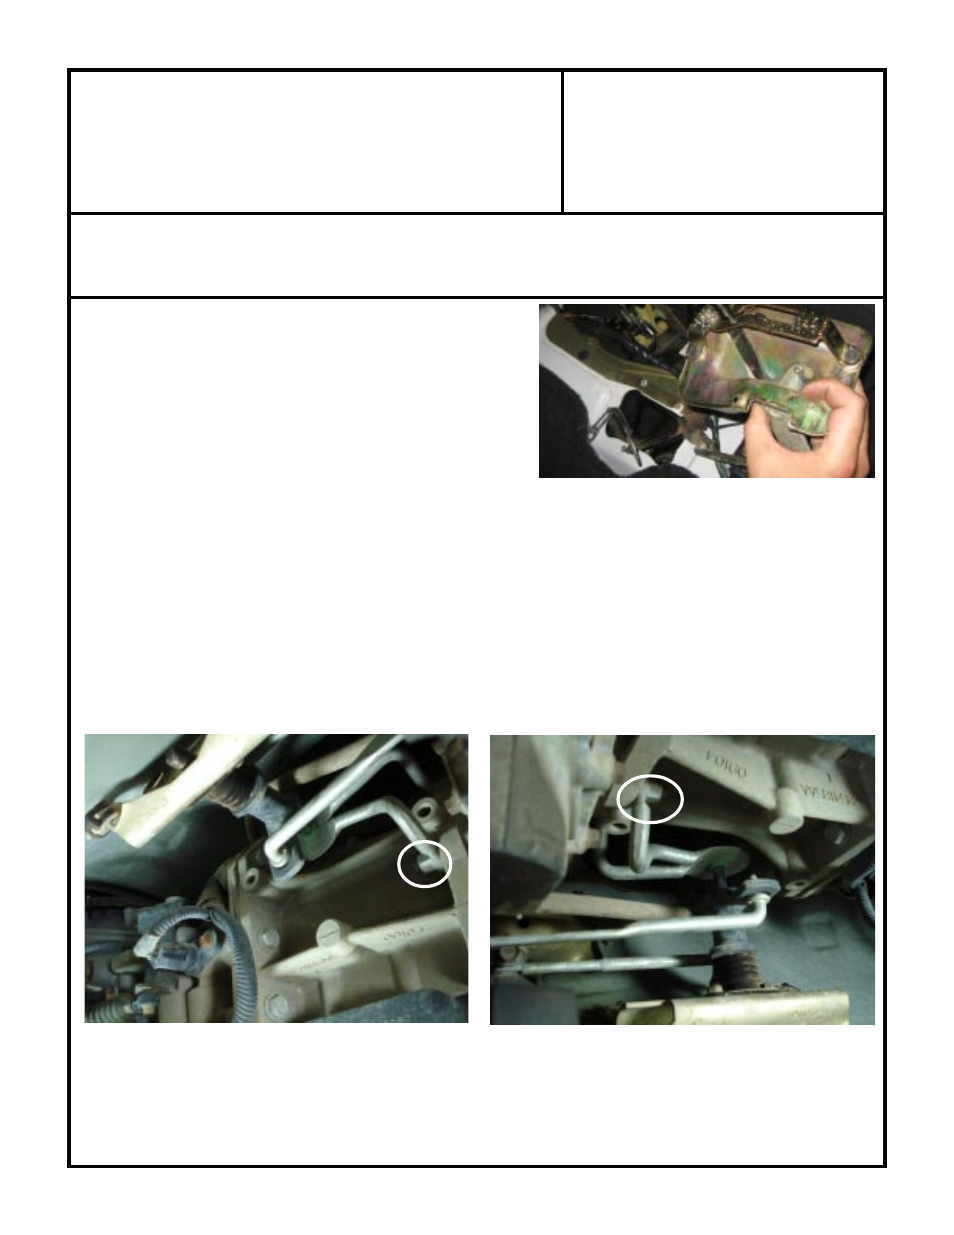
10. Remove the transfer case shifter and the linkage by lifting
it up and out through the floor. (See Figure 13)
11. Remove linkage assembly and remove the bracket from
the frontof the transfer case. The upper bolt can be
accessed through the shifter hole in the floor board if
needed. (Fig13A & 13B)
12. Take the new shifter housing and apply butyl tape around
the perimeter of the shifter box.
13. With the aid of another person, install the shifter box assembly ensuring that the transfer case cable is
routed under the transmission cooler line.
14. Route the new cable along side the transmission.
15. Bolt the shifter box assembly down using an 8 mm socket and the 5 stock OEM bolts removed prevously.
Figure 13: Remove Shifter Linkage
Figure 13A & B