Scan to ocr, Scan to ocr -8 – Brother DCP-8025D User Manual
Page 221
12 - 8 NETWORK SCANNING
Scan to OCR
When you select Scan to OCR your document will be scanned and
sent directly to the PC you designated on your network. The Brother
SmartUI will activate ScanSoft
®
TextBridge
®
and convert your
document into text for viewing and editing from a word processing
application on the designated PC. You can change the
Scan
configuration.
(For Windows
®
98/Me/2000: See Scan to OCR (Word Processor) on
page 9-12 to 9-13.) (For Windows
®
Changing the Scan to button configuration on page 10-5 to 10-11.)
1
Place the document face up in the ADF, or face down on the
scanner glass.
2
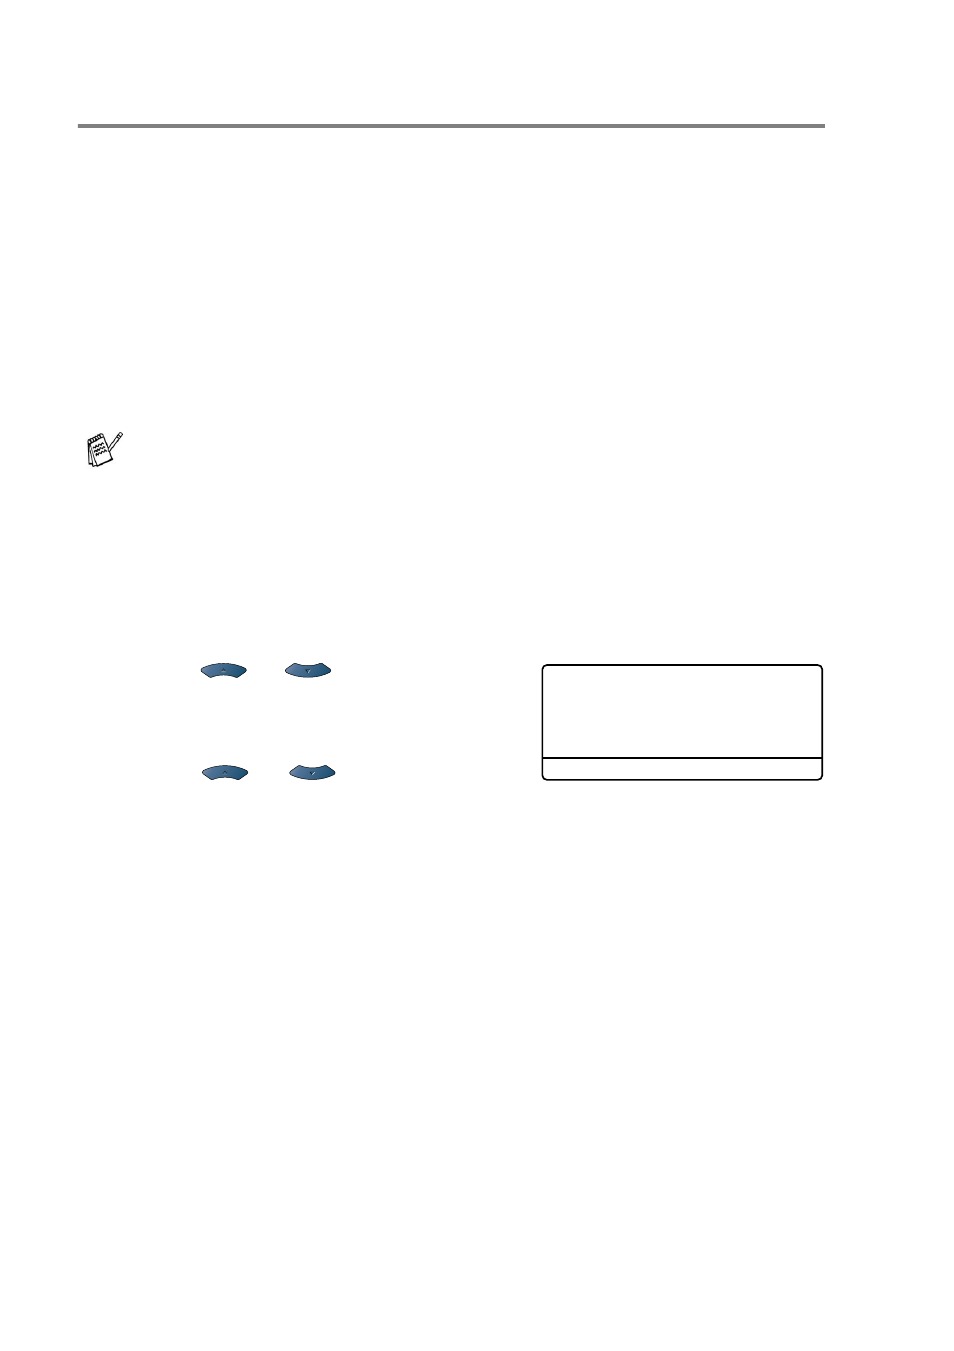
Press
Scan
.
3
Press
or
to select
Scan
to OCR
.
Press
Set
.
4
Press
or
to select a
destination you want to send.
Press
Set
.
If the LCD prompts you to enter a PIN Number, enter the 4-digit
PIN Number for the destination PC on the control panel.
Press
Set
.
The DCP will start the scanning process.
For Network Scanning the Brother Control Center (SmartUI)
selections are used only for configuring the Scan button. You
will not be able to initiate a network scan from the Brother
Control Center (SmartUI).
▲
Scan to E-Mail
Scan to Image
Scan to OCR
▼
Scan to File
Select
▲▼
& Set