Qsfp transceiver removal and replacement, Removing a qsfp transceiver, Replacing a qsfp transceiver – Brocade Communications Systems Brocade VDX 8770-4 User Manual
Page 87: Figure 22
Brocade VDX 8770-4 Hardware Reference Manual
67
53-1002563-02
QSFP transceiver removal and replacement
5
QSFP transceiver removal and replacement
Use this procedure to remove and replace a QSFP transceiver. Because each QSFP consists of four
10 GbE ports, be aware that any problems with one port could affect all four ports in the quad.
DANGER
All fiber-optic interfaces use Class 1 lasers.
DANGER
Laser radiation. Do not view directly with optical instruments. Class 1 laser products.
Removing a QSFP transceiver
Complete the following steps to remove a QSFP transceiver.
1. Remove the cable from the transceiver.
2. Using the integrated tab, remove the QSFP transceiver from the port.
3. Insert a protective plug into the transceiver and put it aside.
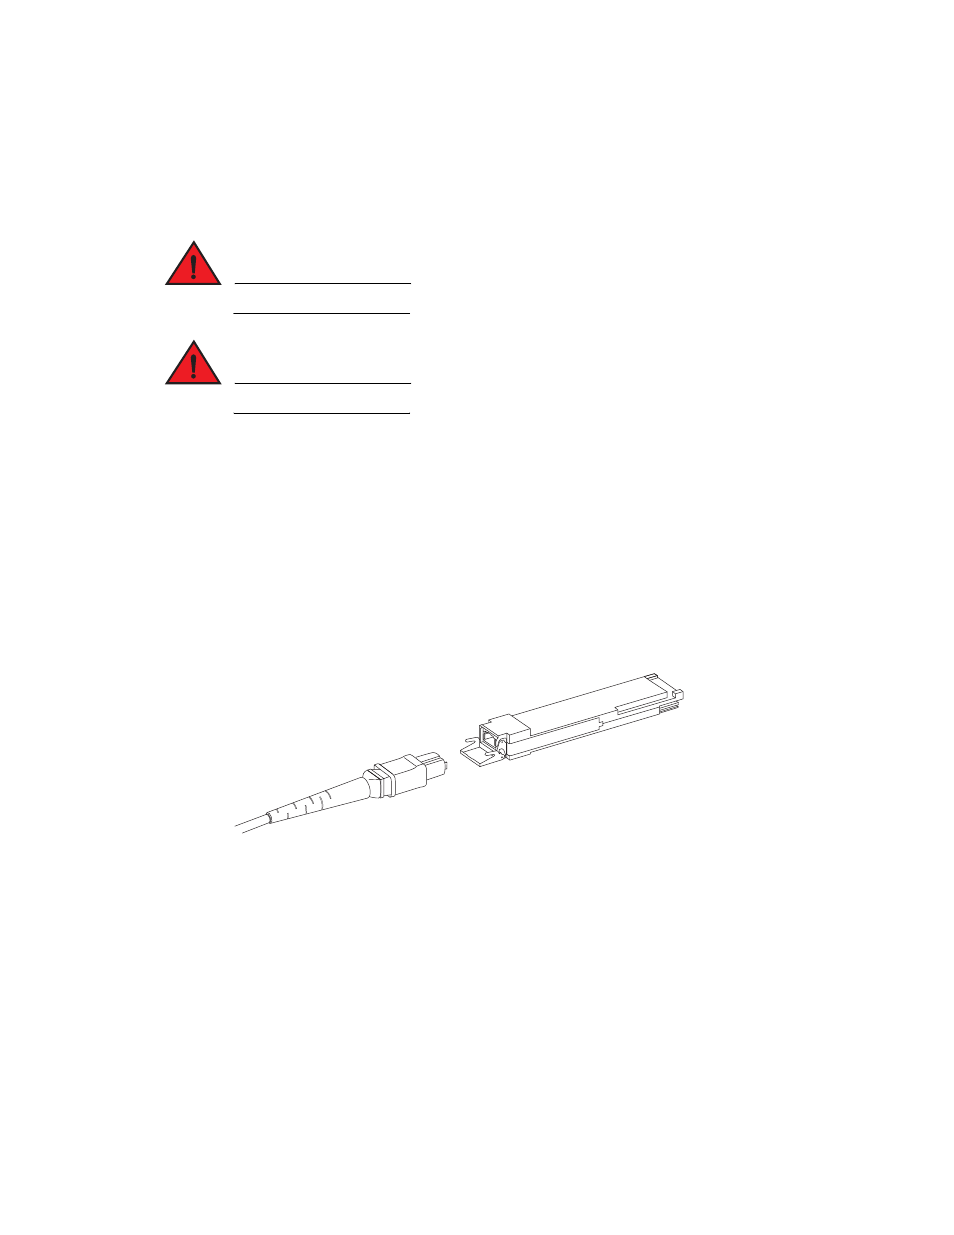
FIGURE 22
QSFP cable and transceiver with bail open
Replacing a QSFP transceiver
Complete the following steps to replace a QSFP transceiver.
1. Position the new QSFP transceiver so that the key is oriented correctly to the port.
2. Using the integrated tab, insert the transceiver into the port until it is firmly seated and the
latching mechanism clicks.
Transceivers are keyed so that they can only be inserted with the correct orientation. If a
transceiver does not slide in easily, ensure that it is correctly oriented.
3. Remove the protective plug from the transceiver.