Automatically recording from a tape, 4 getting started, 19 english – Pioneer PDR-F10 User Manual
Page 19
4 Getting Started
19
English
En
Automatically recording
from a tape
This feature, like automatically recording
from a CD, will start and stop the tape player
and the CD recorder together.
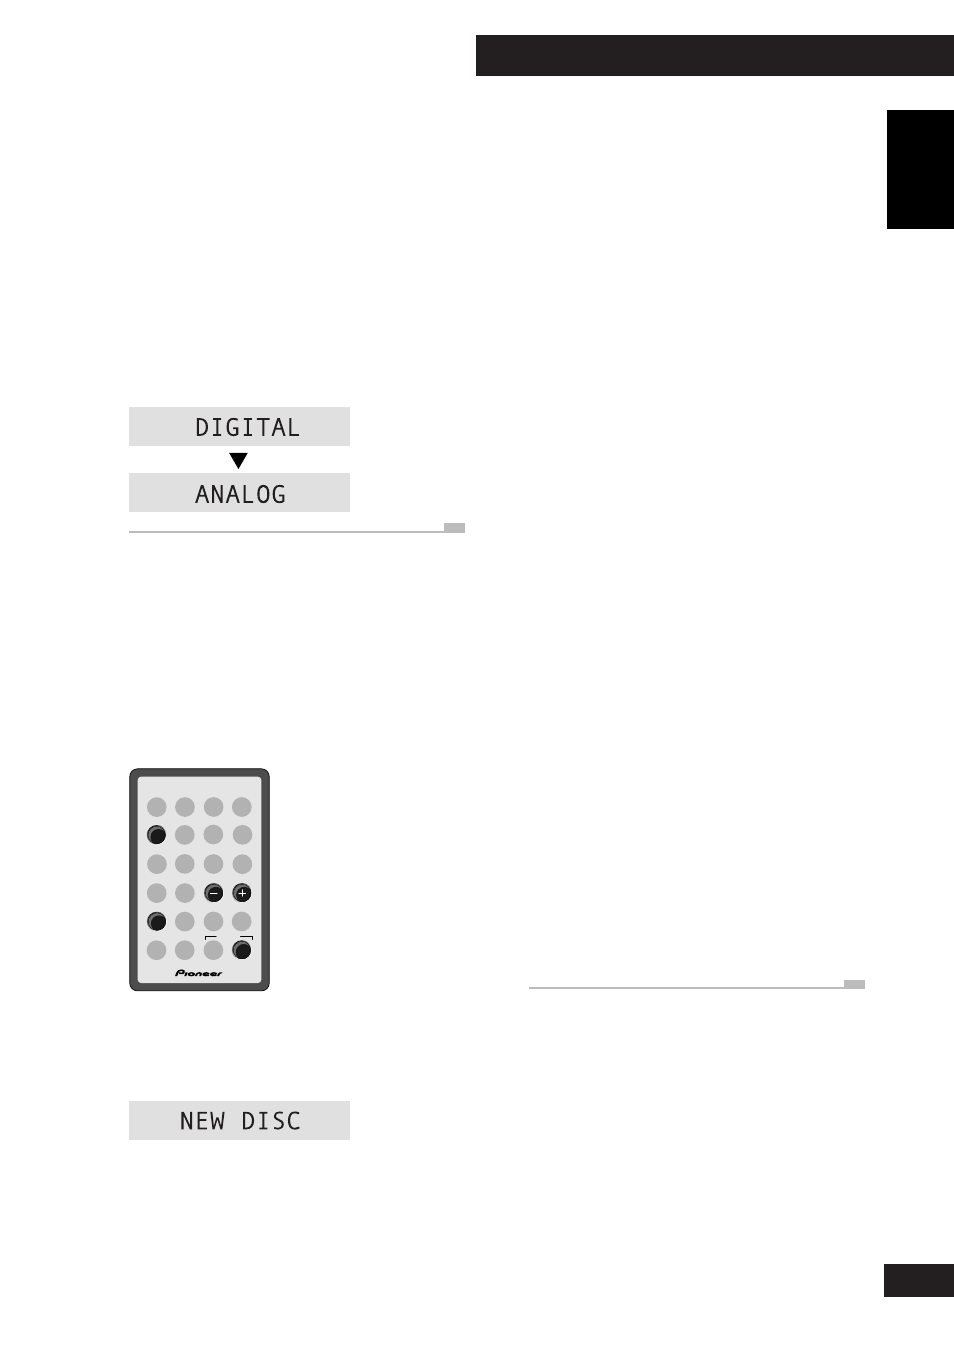
SYSTEM
CD
DISP
CHARACTER
7
4
¢
1
Load a CD–R or CD–RW disc.
If it’s a blank disc, the display indicates this.
If the disc isn’t blank, use the
DISP
button to
check that there’s enough space on it for what
you want to record.
Tip
If you want to record a copy-protected CD, you
can switch select analog recording over the
default digital. Between steps
3 and 4 above,
select the analog input:
•
Press INPUT SEL. (top panel only)
to set the input.
Pressing
INPUT
SEL
. repeatedly switches the
active input:
2
Press TAPE to switch to the tape
player.
3
Load the tape you want to record.
Select the appropriate tape player options
(auto reverse, Dolby B NR). See the operating
instructions included with the tape player for
more on this.
Press
7 to make sure that the tape is stopped.
4
Press REC (top panel only).
The CD recorder goes into record-pause,
waiting for you to start the tape player, and
the
SYNC
indicator lights.
5
Press TAPE to start the tape
playing.
Recording starts automatically with the tape.
Once the tape has finished playing, the CD
recorder goes back into record-pause.
• If you want to stop recording before the
end of the tape, press
7.
• If you run out of space on the CD before
the tape is finished, the CD recorder goes
back into record-pause.
6
If you're done, press
7.
After pressing
7, the recorder writes the track
information to the disc.
Take out the disc before switching the recorder
off.
• Manufactured under license from
Dolby Laboratories.
• “Dolby” and the double-D symbol are
trademarks of Dolby Laboratories.
G001 En