Step 2: proofing the vi job, Step 3: printing the vi job – Konica Minolta bizhub PRO C500 User Manual
Page 54
Module 3: Production Workflows
48
Activity Guide
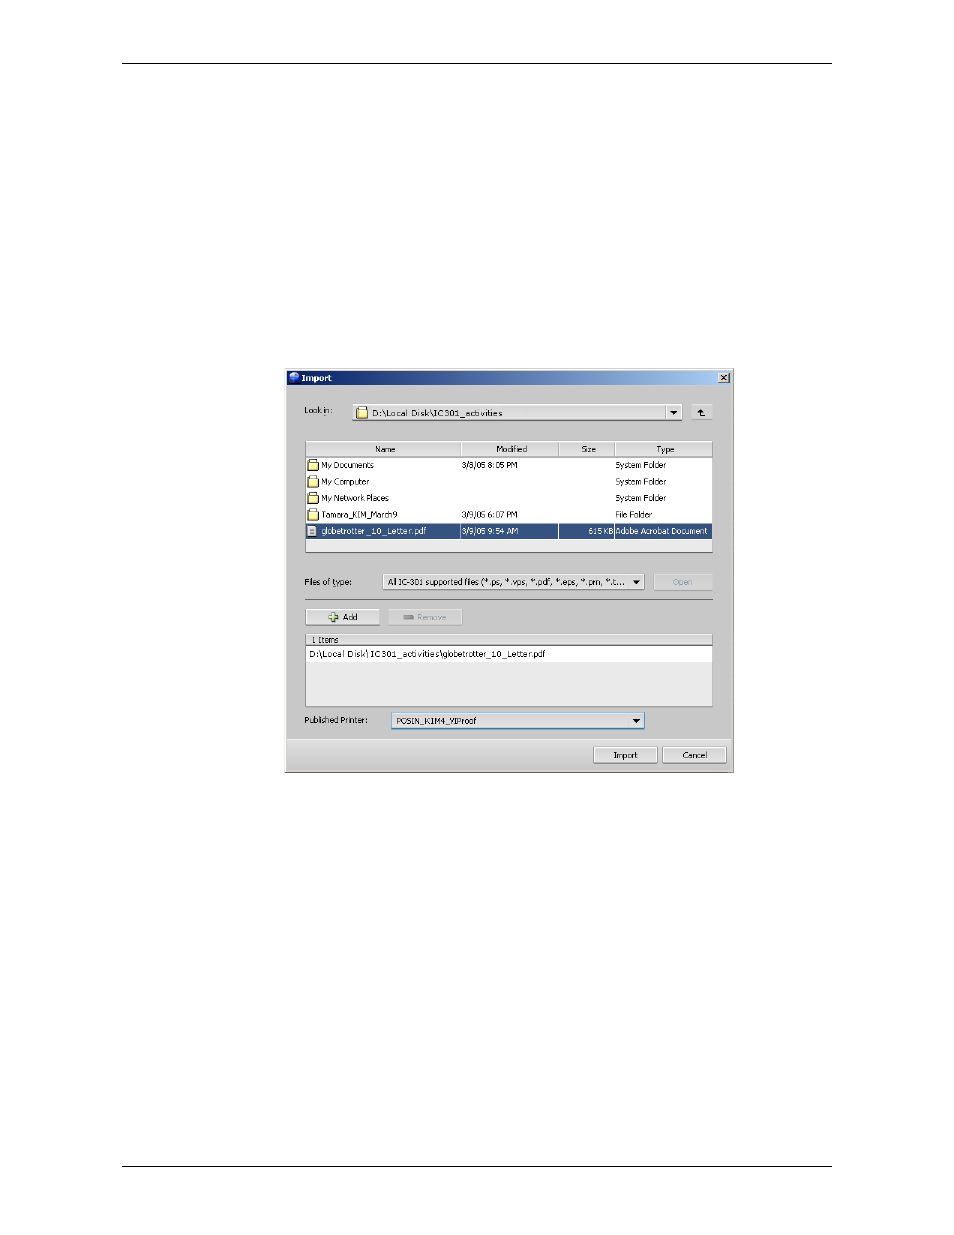
Step 2: Proofing the VI Job
After you’ve created the new virtual printer, you can start proofing VI jobs with it.
To proof the VI job:
1.
On the toolbar, click
Import
.
2.
Find the folder
IC301_activities
folder in
D:\Local Disk
, and double-click it.
3.
Find the file
Globetrotter_10_Letter.vps
file, and double-click it.
4.
In the
Virtual Printer
list, select the virtual printer that you created in
step 1:
VIProof
.
5.
Click
Import
.
When the processing stage finishes, the VI job is printed on the bizhub PRO
C500 printer. The letters are addressed to different customers according to the
data specified in the VI file.
Go to the printer and collect the printouts. You should have ten promotional letters,
in black and white. Verify that the VI elements are printed as required.
Step 3: Printing the VI Job
Once you checked that the printouts come out all right, you can print the copies that
will be sent to the customers.
Printing a VI job is as easy as printing a non-VI job. Actually, once you get the VI
file, you only need to import it into the IC-301 print controller and print it.