Konica Minolta bizhub PRO C500 User Manual
Page 16
Module 1: Printing From Your Computer
10
Activity Guide
8.
Click
Next
.
9.
Verify that
No
is selected when you are prompted to set the printer as your
default printer.
10.
Click
Next
.
11.
Click
Finish
to complete the setup process.
You have successfully added the virtual printer. Now you can start printing on the
bizhub PRO C500. In the next step, you will print a PowerPoint presentation on the
bizhub PRO C500 printer.
Step 2: Printing From Your Computer via the Virtual Printer
From the moment that you add the IC-301 print controller to your computer’s list
of printers, you can start sending files to print on the bizhub PRO C500 printer from
any application. In this step you will print a PowerPoint presentation.
Files Used in this Step
Before you start the activities, it is recommended that you copy all the files from
your CD to the IC-301 print controller’s local disk, as explained in Preparation on
page 2.
To print a PowerPoint presentation:
1.
Start the PowerPoint application.
2.
From the
File
menu, select
Open
.
3.
Find the file
Pres_Letter.ppt
in
D:\Local Disk
and open it.
4.
From the
File
menu, select
.
5.
From the
Name
list, select the printer that you set up in the previous step.
6.
Click the
Properties
button.
7.
In the Document Properties dialog box, click the
Advanced
button to edit the
job settings.
Note: Before you start this step, verify that you have PowerPoint installed in your computer.
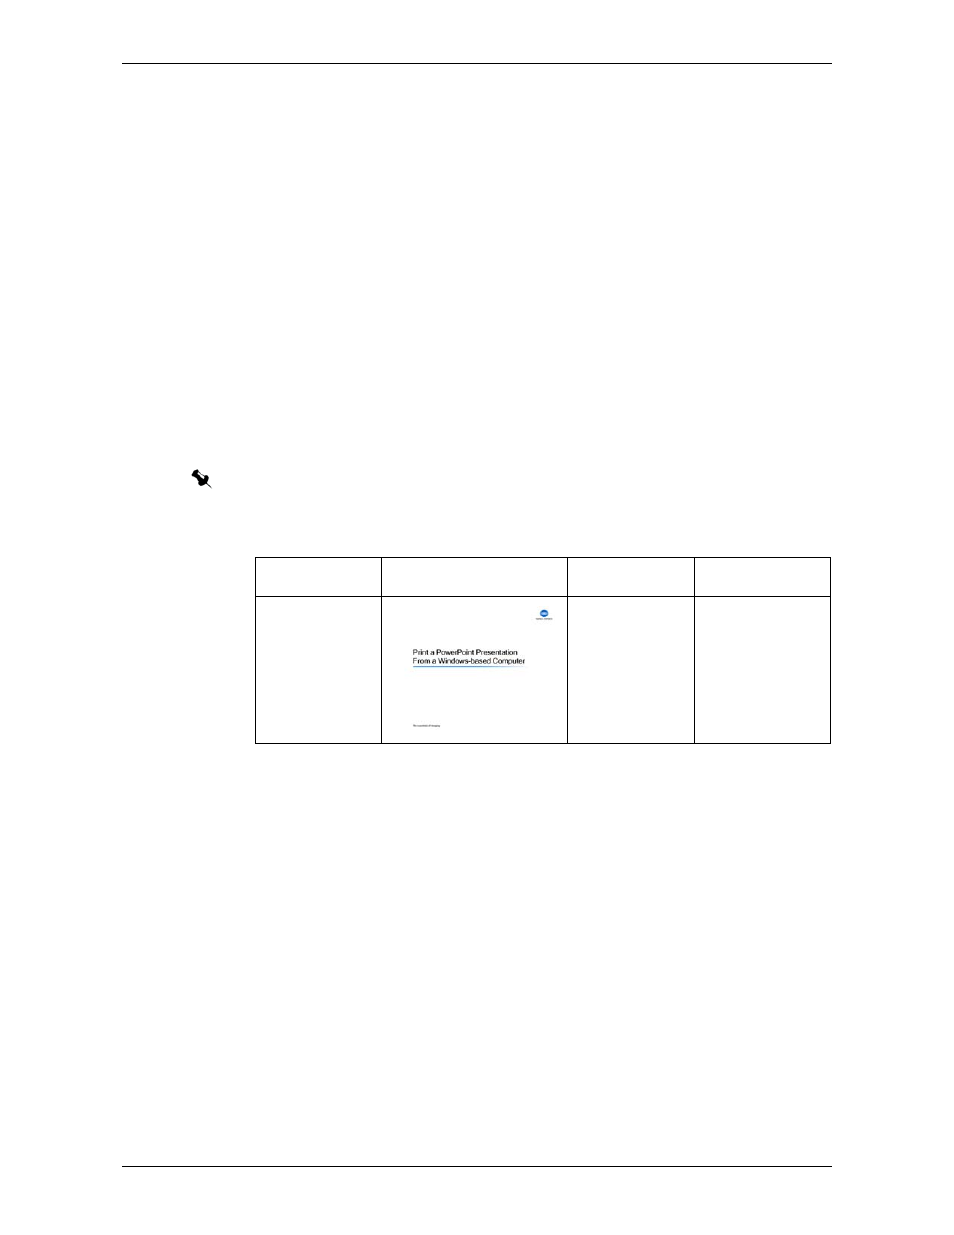
File Name
Thumbnail
Comments
Paper Stock
Pres_Letter.ppt
Pres_A4.ppt
You can use
any multi-page
PowerPoint file
that you have.
Letter (8.5 ×11)
or A4, Normal