Your xga / audio switcher – Kramer Electronics VP-161xl User Manual
Page 11
KRAMER: SIMPLE CREATIVE TECHNOLOGY
Your XGA / Audio Switcher
8
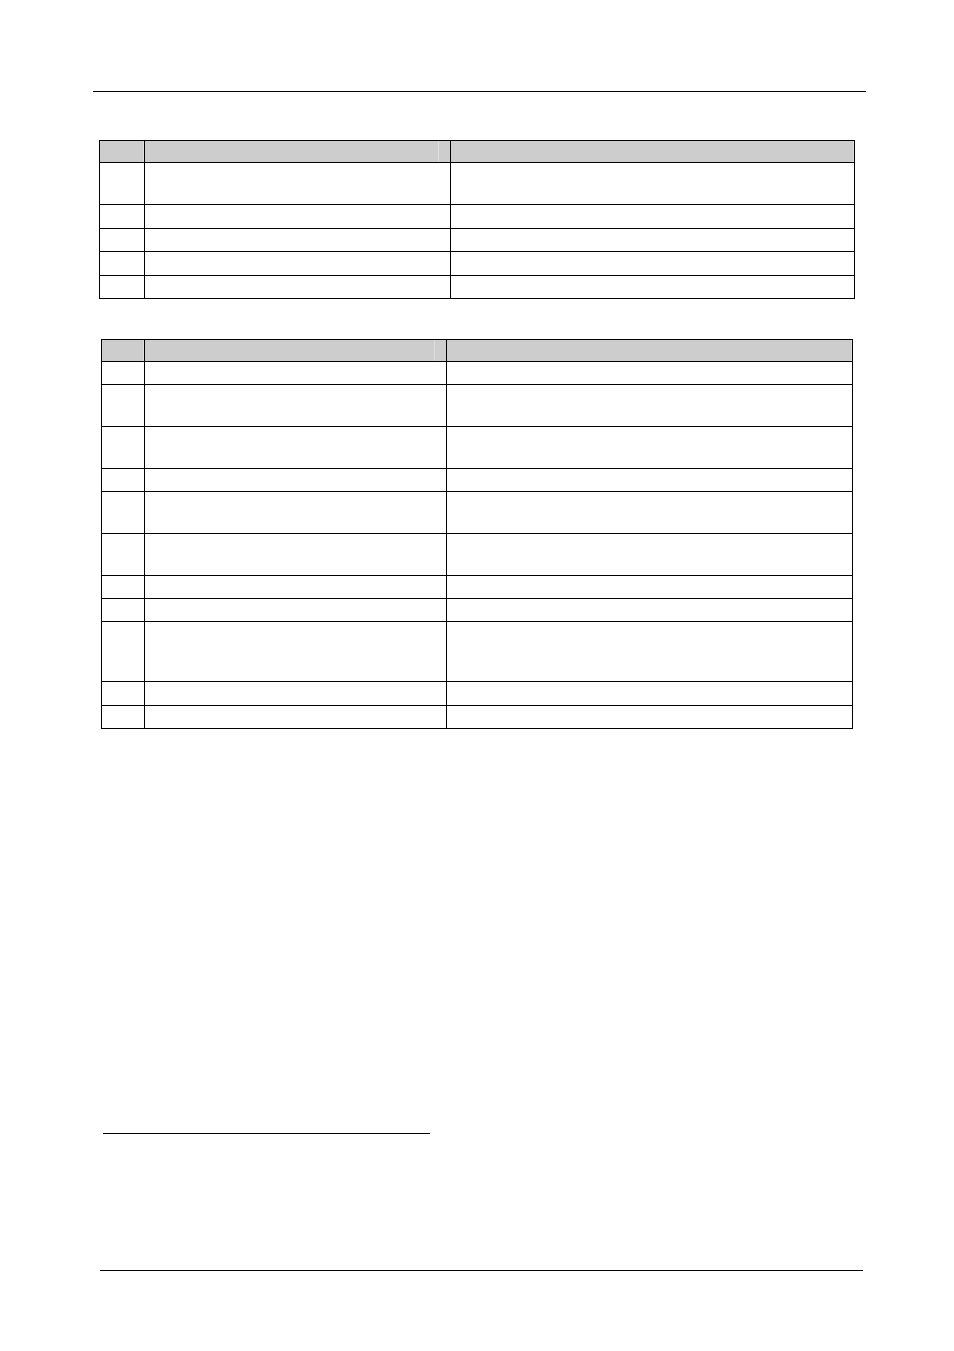
Table 5: Front Panel VP-321xl 32x1 XGA / Audio Switcher Features
#
Feature
Function
1
IR Receiver
The red LED is illuminated when receiving signals from
the Kramer Infra-red remote control transmitter
2
POWER
Switch
Illuminated switch supplying power to the unit
3
INPUT SELECTOR
Buttons
Select the input to switch to the output (from 1 to 32)
4
AUDIO
Button
When illuminated
1
actions relate to audio
5
VIDEO
Button
When illuminated
1
actions relate to video
Table 6: Rear Panel VP-321xl 32x1 XGA / Audio Switcher Features
#
Feature
Function
6
REMOTE
Terminal Block Connectors
Connect to the remote contact-closure switches
7
AUDIO OUTPUT
Terminal Block
Connector
Connect to the balanced audio acceptor
8
AUDIO INPUTS
Terminal Block
Connectors
Connect to the balanced audio sources (from 1 to 32)
9
RS-232
IN
DB 9F Port
Connects to the PC or RS-232 remote controller
10
RS-232
OUT
DB 9M Port
Connects to the RS-232 IN DB 9F port of the next unit
in the daisy-chain
11
RS-485
Detachable Terminal Block Port
Pin # 1 is for Ground connection, and Pins # 2 and # 3
are for RS-485
12
Power Connector with
FUSE
AC connector enabling power supply to the unit
13
SETUP
Dipswitches
Dipswitches for setup of the unit
14
ID BIT
Switch
Selects the ID BIT when switched ON (when outputting
the input signal from a notebook connected to an
external VGA monitor)
2
15
INPUT
HD15F Connectors
Connect to the VGA/XGA sources (from 1 to 32)
16
OUTPUT
HD15F Connector
Connects to the VGA/XGA acceptor
1 If the AUDIO and VIDEO buttons both illuminate, the unit operates in the audio-follow-video mode. If only one button
illuminates (AUDIO or VIDEO), the unit operates in the breakaway mode
2 Sometimes notebook computers refuse to output a VGA signal to an external VGA monitor if they do not detect the ID BIT
as ON. Set the ID BIT to ON using this button so that the notebook will output to an external VGA monitor