ROTHENBERGER ROWELD ROFUSE Print Plus V2.0 User Manual
Page 32
ENGLISH
30
“Buzzer Volume – M – ” means that by pressing the MENU key, the
user can access a sub-menu for setting the volume of the status
Display 21
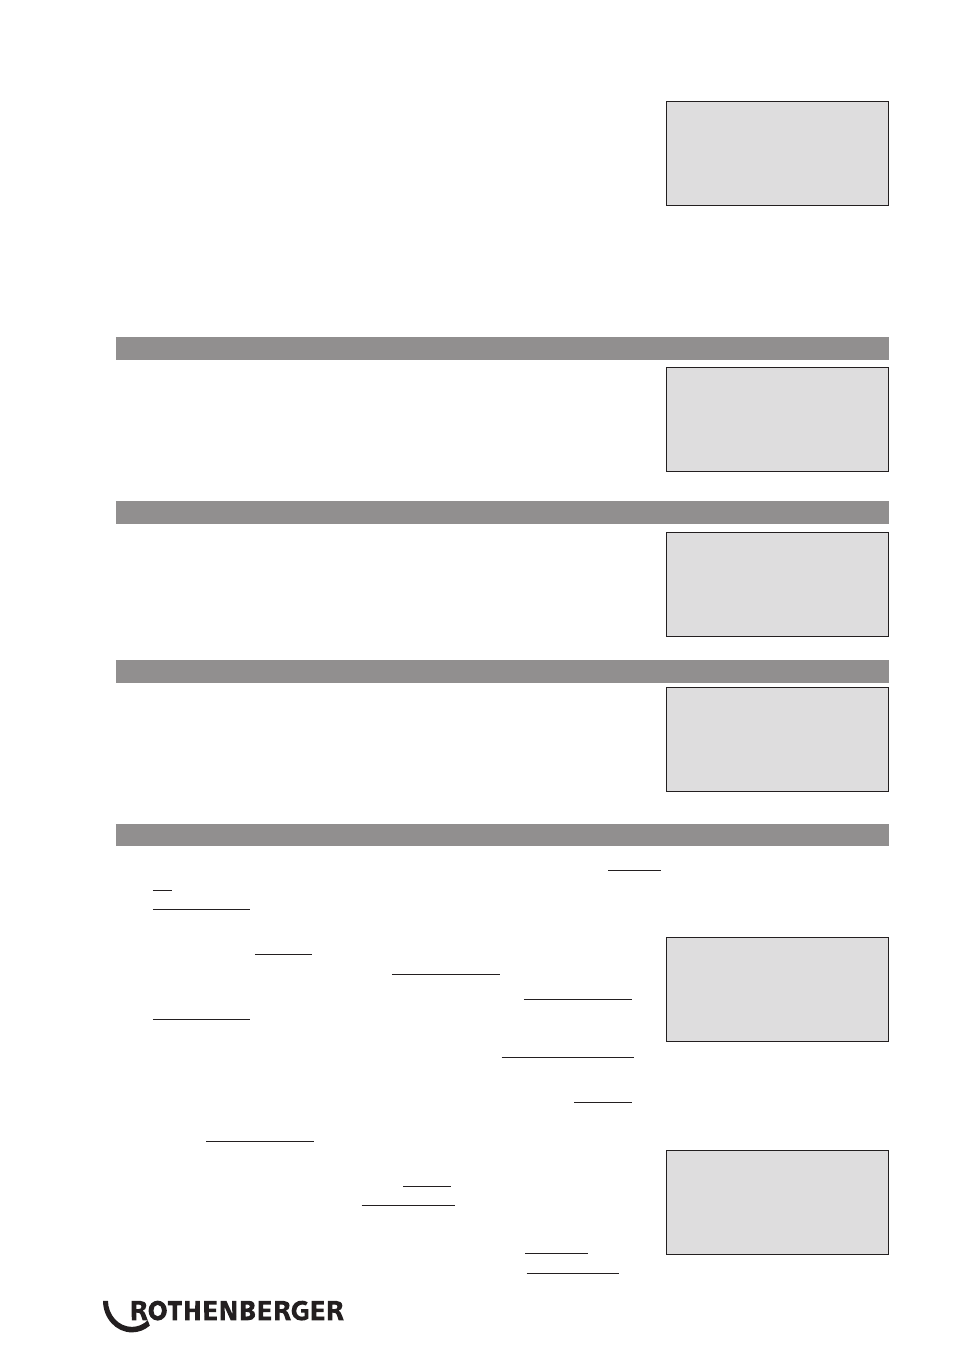
*** SET-UP MENU ***
>Temp. Unit -M-
Inventory No. -M-
Number of Tags -M-
buzzer (see Sect. 10.1.3).
„“Temperature Unit – M – ” means that by pressing the MENU
key, the user can access a sub-menu for selecting centigrade or
Fahrenheit as the unit for the temperature.
“Inventory Number – M – ” means that by pressing the MENU key,
the user can access a sub-menu for entering the number under
which the unit is inventorized with the operating company.
“Number of Tags – M – ” means that by pressing the MENU key,
the user can access a sub-menu for entering the number of tags
that are printed automatically after welding with the optional
label tag printer if such a printer is connected.
10.1.1 Selecting the Display Language
When the “Select Language” sub-menu was selected, the screen
changes and the display reproduced in Display 22 appears
Display 22
***** LANGUAGE *****
>Deutsch
English
Francais
.
Use the arrow keys ñ and ò to select one of the options,
“Deutsch,” “English,” and “Français” and confirmby pressing the
START/SET key.
10.1.2 Setting the Clock
When the “Set Clock” sub-menu was selected, the screen changes
Display 23
Date/Time
21.06.13 14:28
and the display reproduced in Display 23 appears.
The time of day and the date can be set using the keypad. The
portions “Hour,” “Minute,” “Day,” “Month,” and “Year” are set
separately. Press the START/SET key to confirm your settings.
10.1.3 Setting the Buzzer Volume
When the “Set Volume” sub-menu was selected, the screen
changes
Display 24
Buzzer Volume
< ------20-------- >
and the display reproduced in Display 24 appears. The
buzzer can also be heard. Turn the buzzer volume up or down to
the desired value using the п, р arrow keys (from 0 to 100) and
confirm your setting by pressing the START/SET key.
10.2
Understanding the “Recording” Sub-menu
“Welder Code on” means that the welder identification code has to
be entered as set with “Welder Code Options,” “off,” that this
is impossible.
“Commission Number on” means that the commission number (job
number)
Display 25
Data Recording
Welder Code on
>Commission No. on
Joint No. off
will have to be entered or confirmed before every new
welding, “off” that the user is not prompted to enter it.
“Joint Number on” means that the unit assigns an automatically
incremented joint number to every welding operation belonging
to a commission already known, and displays this number on the
screen next to the report number, “off” that no joint numbers
will be assigned at all.
“Additional Data on” means that the additional data will have to be
entered or confirmed before every new welding, “off” that the
user is not prompted to enter them.
“Fitting Code on” means that the second, so-called traceability,
Display 26
Data Recording
Additional Data on
>Fitting Code on
Pipe Codes on
code of the electrofusion fitting has to be entered before every
welding, “off,” that this is not possible.
“Pipe Codes on” means that the codes of both pipes/components
(ISO-compliant welding and treaceability codes) have to be
entered before every welding, “off,” that this is not possible.