Installing the switch in the rack, Installing the switch in the rack -5 – Allied Telesis AT-8126XL User Manual
Page 27
AT-8118, AT-8124XL, and AT-8126XL Installation Guide
2-5
Installing the Switch in the Rack
Caution
Do not use power tools to perform this installation.
To rack mount the unit
1. Remove all cables and power cord from the switch (if previously
attached).
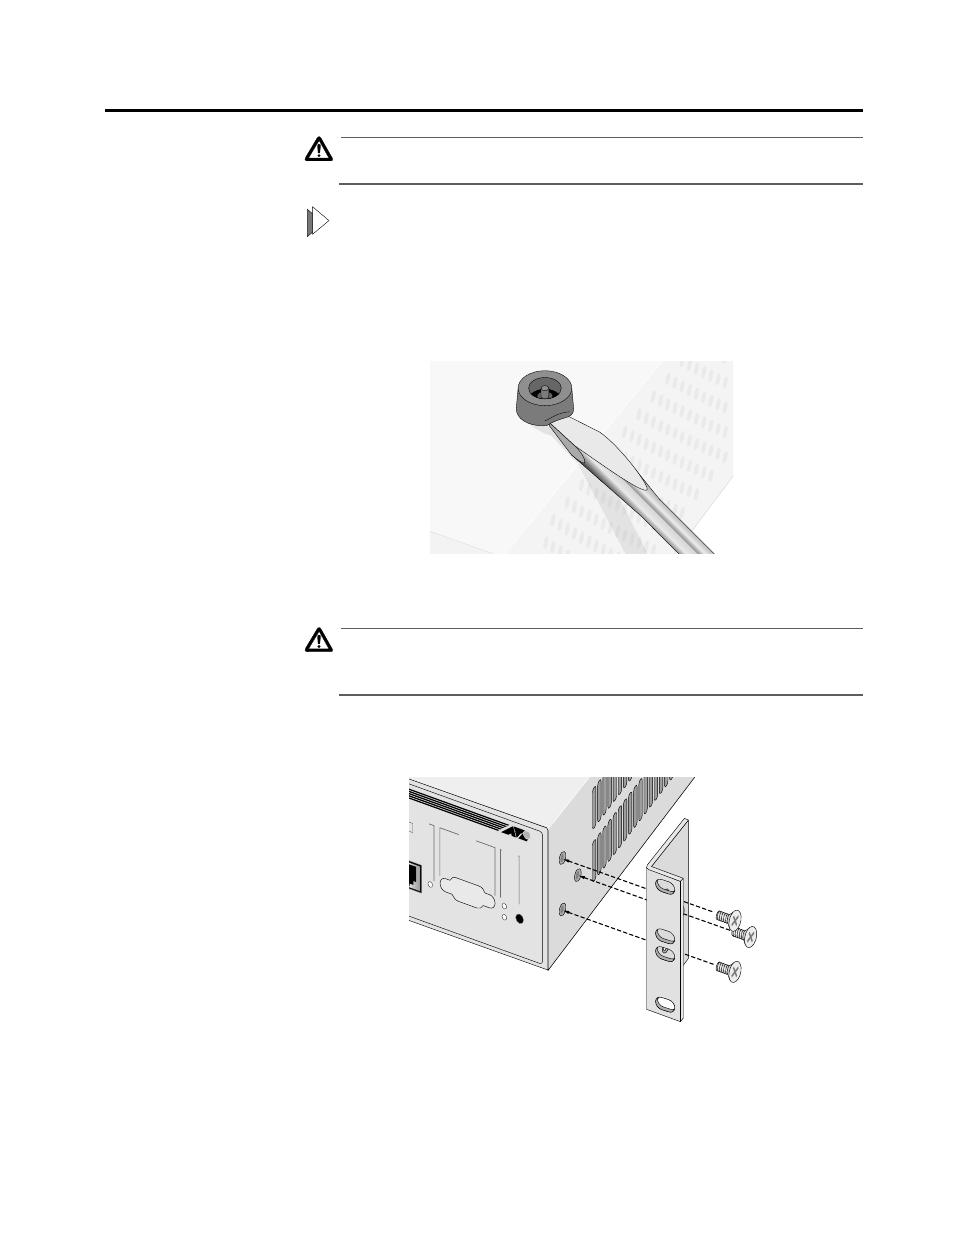
2. Remove the snap-on plastic feet, as shown in Figure 2-1.
Figure 2-1 Removing the Feet
Caution
Air vents must not be blocked and must have free access to the
room ambient air for cooling.
! 13
3. Attach the rackmounting brackets to each side of the switch,
using the 6 flathead screws that came with the switch package.
Figure 2-2 Attaching Rackmounting Brackets
R POR
T
RS-232
TERMINAL POR
T
STATUS
RESET
FAUL
T
POWER