Installing the switch on a wall using brackets – Allied Telesis AT-x230-18GP User Manual
Page 58
Chapter 2: Installation
48
Installing the switch on a wall using brackets
These instructions show you how to install an AT-x230-10GP or AT-x230-
18GP switch on a wall. Wall mount kits can be purchased separately from
your Allied Telesis dealer.
Note
In the following illustrations, only the AT-x230-10GP switch is
shown.
To install the switch on a wall, perform the following procedure:
1. Turn the switch over and place it on a table.
2. If the rubber feet are attached to the bottom of the switch, remove
them with a screwdriver (Figure 18), then turn the switch back over.
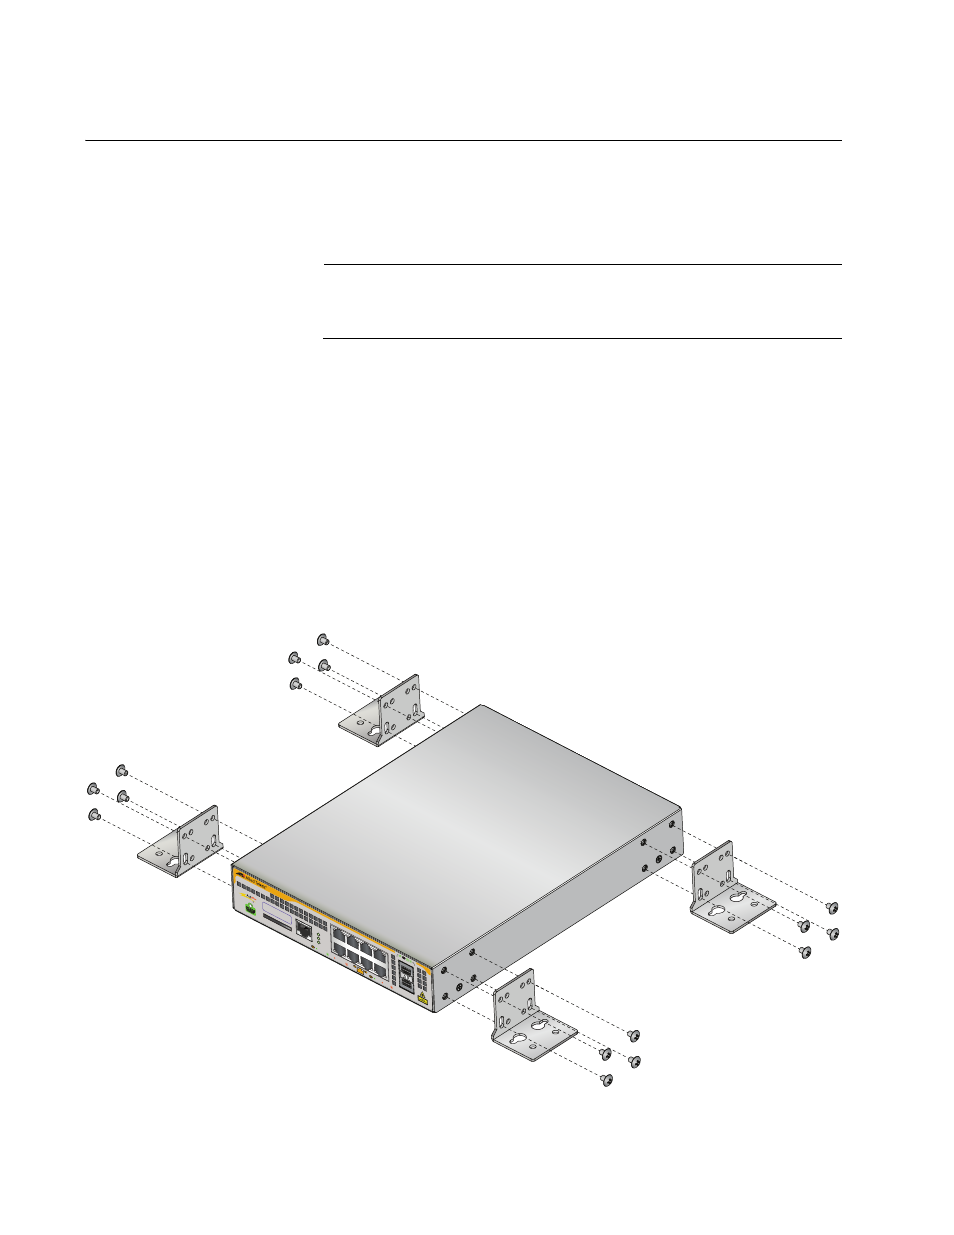
3. Orient the brackets against the sides of the switch as shown in Figure
21, and secure them to the unit with the 16 brackets screws included in
the wall mount kit.
F
IGURE
21. A
TTACHING
THE
WALL
MOUNT
BRACKETS
TO
THE
SIDE
OF
THE
SWITCH
x230-10GP
CONSOLE
RS-232
SD
FAUL
T
POWER
SD
1000 LINK
ACT
10/100 LINK
ACT
PD ON
PD ERR
MAX CURRENT
1
3
5
7
MA
C A
ddr
ess Label