5. top view of rain gage – Campbell Scientific TurfWeather Weather Station User Manual
Page 54
TurfWeather Weather Station
1. Sensor Removal:
a. Follow steps provided in Section 6.9.1, Removing the TurfWeather
Station from a Mast or Pole.
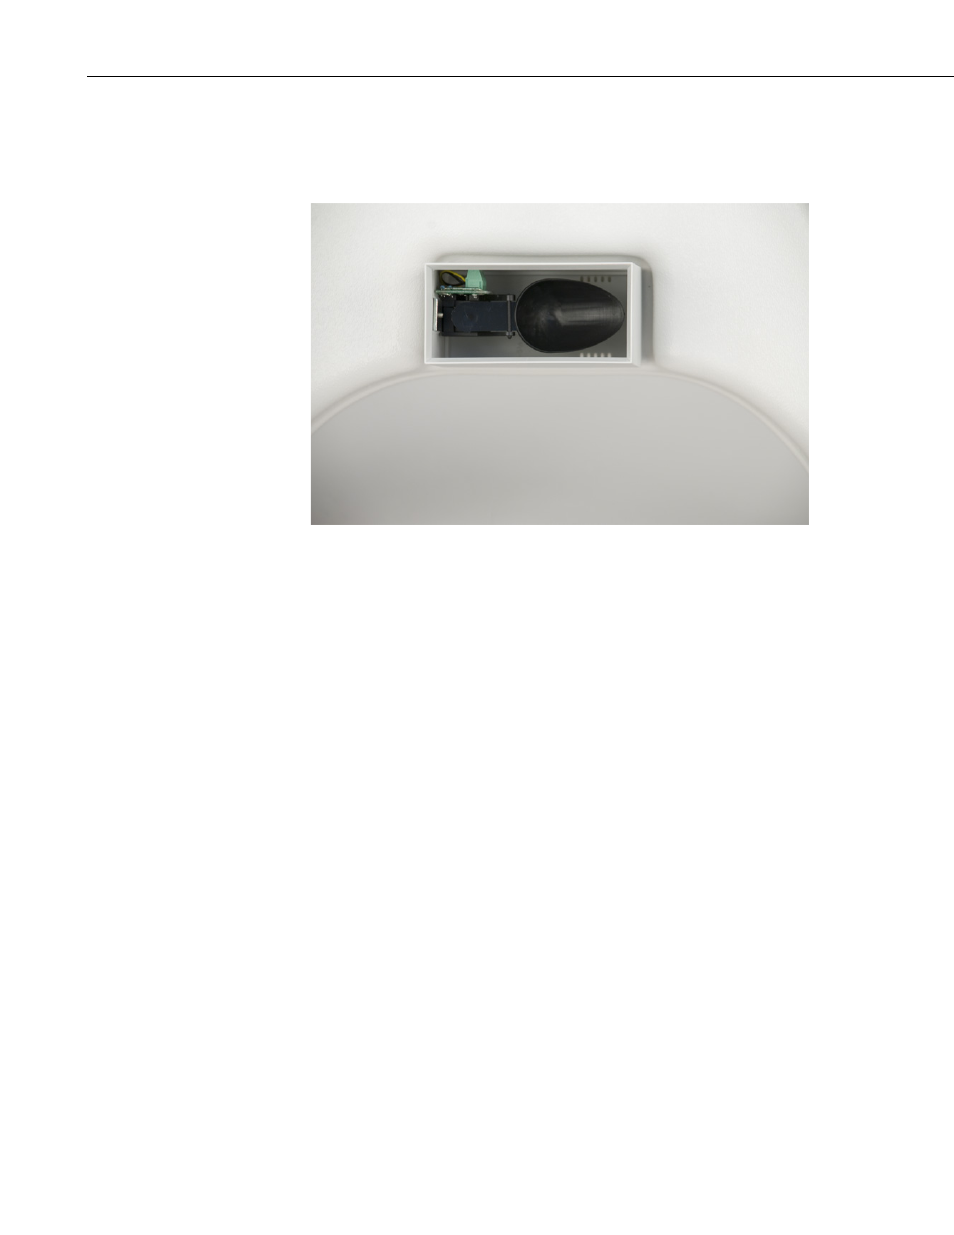
FIGURE 6-5. Top view of rain gage
b. Bring the weather station to an enclosed location, preferably near the
host computer, and place it on a flat stable surface with an area of at
least three times the size of the weather station base.
c. Identify the rain gage as the white rectangular box located in the
center, on top of the weather station (FIGURE 6-5).
d. Grasp the main body of the rain gage and gently pull it off of the
weather station. This will expose two wires, leaving the rain gage
base attached to the weather station.
e. Remove the wires from their connections inside the rain gage. The
wires are screwed to a terminal strip, then loosen the screws and
remove the wires.
2. Sensor Replacement:
a. Connect the wires to the replacement rain gage. Tighten the terminal
screws. It does not matter which wire is attached to which pin, this
connection is not polarity sensitive.
b. Notice that the rain gage wires pass through a small indented location
on one side of the rain gage base. When you replace the rain gage
back onto its base, make sure that the wires are within the indent to
assure they will not be crushed or crimped by the rain gage.
c. Place the rain gage on its base and gently press it down until it is
firmly seated.
44