5 sp5 solar panel installation, 6 16775 ground kit installation, Sp5 solar panel installation – Campbell Scientific TurfWeather Weather Station User Manual
Page 32: 16775 ground kit installation, N 5.4.6
TurfWeather Weather Station
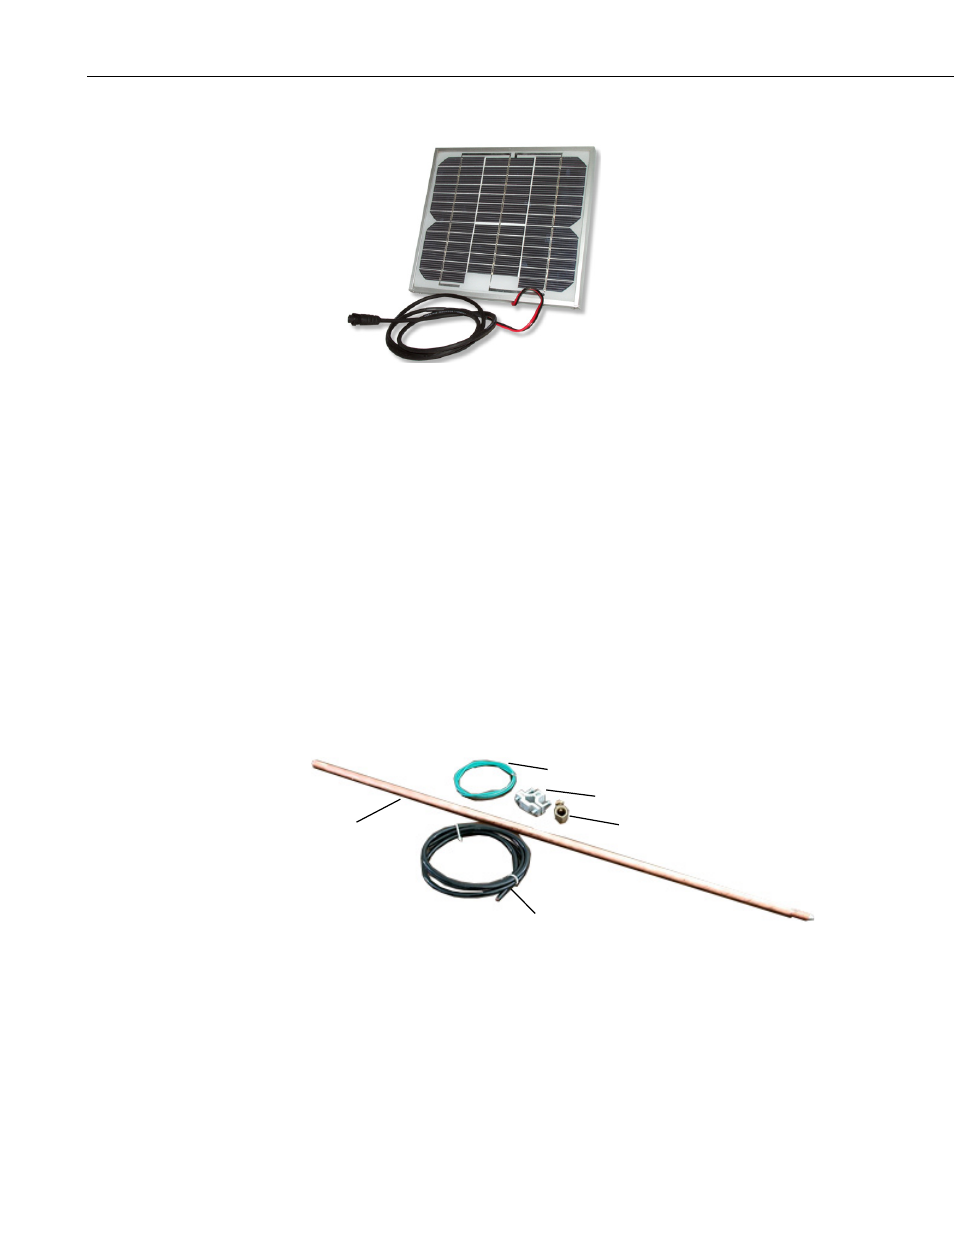
5.4.5 SP5 Solar Panel Installation
1. Place the solar panel on the mast below the station not to exceed the
maximum distance allowed by the solar panel cable.
2. Loosely tighten the U-bolt so that the solar panel is stable but can be
rotated on the mast or pole.
3. Use a compass (supplied in the optional Tripod Installation Kit) to
properly align the solar panel. If your installation site is in Northern
hemisphere locations, such as the United States and China, the glass
surface of the panel should face South. If your installation site is in
Southern hemisphere locations, such as Brazil and Australia, the glass
surface of the panel should face North.
4. Connect the solar panel cable to the connector on the bottom of the
weather station marked
Solar/DC Charger.
5.4.6 16775 Ground Kit Installation
Before installing the ground kit, see Section 2, Cautionary Statements. The
16775 grounding kit is for ground installations only.
1. Connect the lug of the 14 AWG copper wire to the connector labeled
Ground Lug on the bottom of the weather station (FIGURE 5-12).
5 W Solar Panel
14 AWG Copper Wire
Tripod Clamp
Ground Rod Clamp
#4 Stranded Copper Cable
Ground Rod
22