2 ground installations, Ground installations, 5. the mast fits in the center of the tripod – Campbell Scientific TurfWeather Weather Station User Manual
Page 26
TurfWeather Weather Station
Do not use a metal hammer to pound in the mast extension
since this will deform the top of the mast extension.
3. If using the guy-wire kit, loosely install the guy-wire kit (Section 5.4.3,
16772 Guy-wire Kit Installation).
Do not tighten the turnbuckles yet. The turnbuckles will be
tightened in step 5 of Section 5.4.4, Mounting the TurfWeather
Station on a Tripod or Pole.
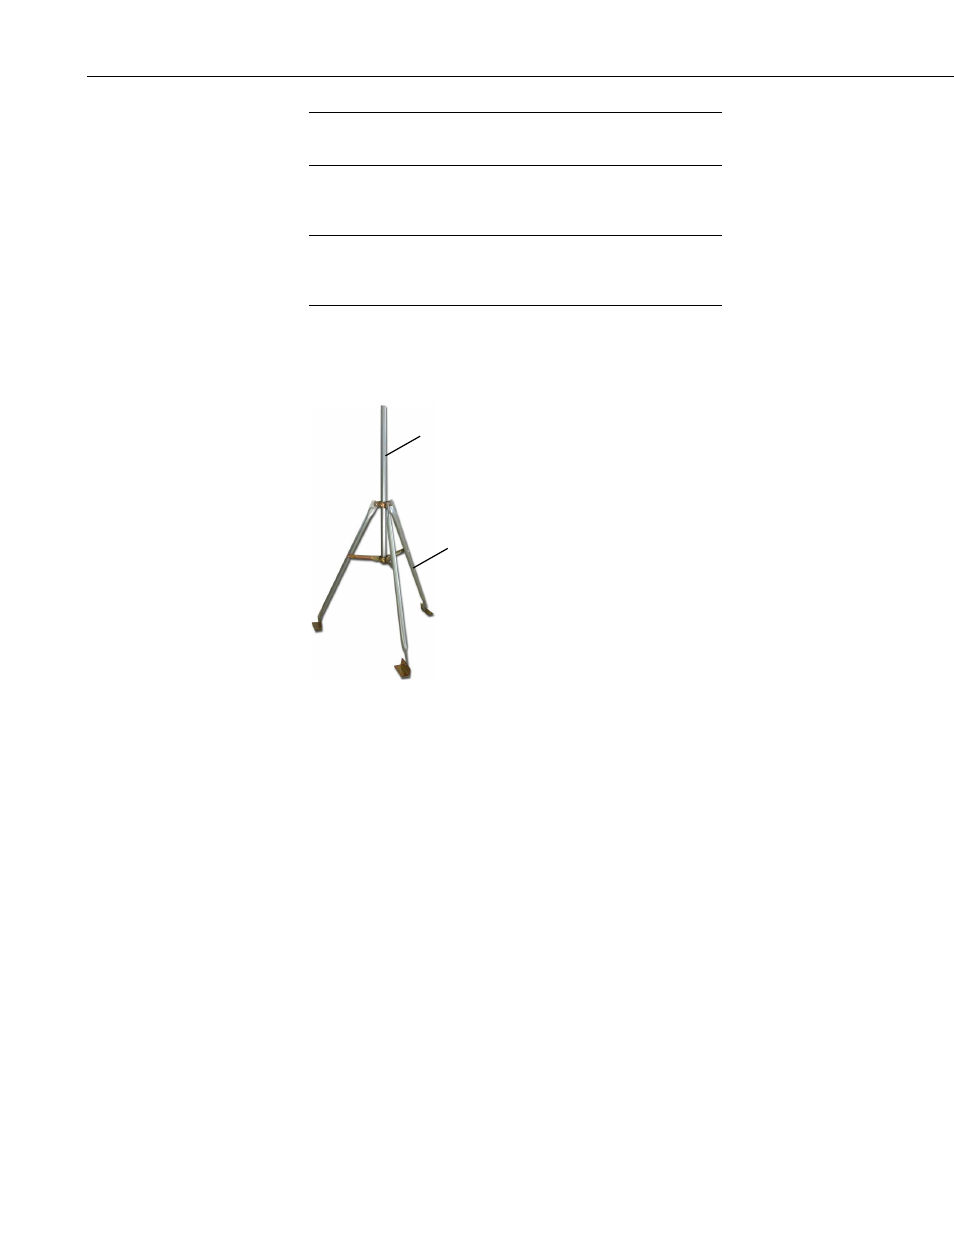
4. Install the mast in the tripod and adjust mast height if necessary (FIGURE
5-5). The mast height is adjusted by moving the tripod legs or removing
the mast cup and sliding the mast up or down in the collars.
FIGURE 5-5. The mast fits in the center of the tripod
5. Once the mast height has been set, tighten all six collar bolts.
6. Install the tripod at the site (see Section 5.4.2, Ground Installations).
5.4.2 Ground Installations
1. If needed, prepare the site. A temporary site may require brush or tall
weeds to be removed and footings dug if the site is not level. A permanent
site may require pouring a concrete pad or fabricating some other form of
a permanent base.
2. Use a rubber band to attach a level device, such as the one in the 16770
Tripod Installation Kit, to the midpoint of the tripod mast.
3. Place the tripod on the site.
4. Adjust tripod footings until the mast is level. Some adjustment is available
by loosening/tightening the upper and lower collar bolts. If more
adjustment is required, then for temporary sites, remove or replace soil
under the feet. For permanent installations, use shims to adjust the foot
foundation height.
CAUTION
NOTE
Mast
Tripod
16