Defining the store identity, Defining the register identity, Changing the user password – Videoswitch Vi-POSCON User Manual
Page 9: Setting the date and time
Vi-POSCON System User's Guide
Pos603a.doc
9 of 28
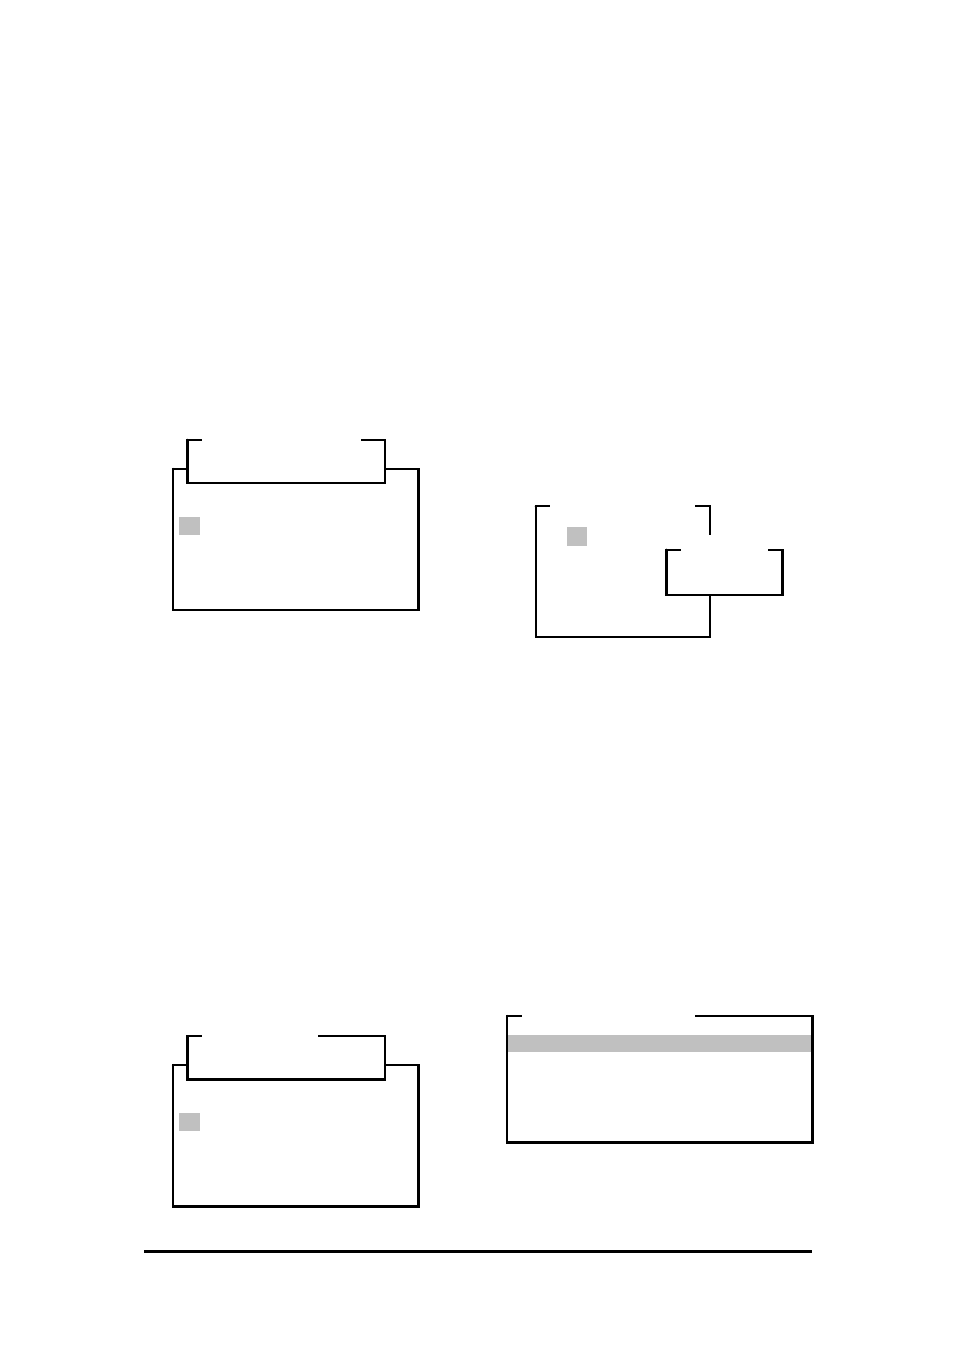
Note: When monitoring only one of the
active channels, the Channel Bar at the
bottom of the screen is replaced with an
individual box displaying the selected
Channel number and flashing asterisks on
both sides of the box.
The MANAGER MENU reappears displaying
the selected option.
Defining the Store Identity
Use this option to define the Store Identity. The
store identity is displayed centred at the top of
the screen while the system is in the
Surveillance Mode.
1. Highlight and click Store Id. on the
MANAGER MENU
. The Store Identifier
window and an on-screen QWERTY
keyboard window open.
2. Use the mouse to highlight and click up to
20 characters (including spaces) for the
name of the store. Highlight and click
Shift
to toggle between uppercase and
lowercase letters.
(To correct a character, highlight and click
Error
as required to erase, from right to
left, characters entered.)
3. Highlight and click OK to save the name.
The MANAGER MENU reappears displaying
the same.
Defining the Register Identity
Use this option to define the Register Identity.
The register identity is displayed on the top left
of the Transaction widow while the system is in
the Surveillance Mode. The default is DATA.
1. Highlight and click Register Identity
on the MANAGER MENU. The Register Id.
window and an on-screen QWERTY
keyboard window open.
2. Use the mouse to highlight and click up to
12 characters (including spaces) for the
register identifier. Highlight and click
Shift
to toggle between uppercase and
lowercase letters.
(To correct a character, highlight and click
Error
as required to erase, from right to
left, characters entered.)
3. Highlight and click OK to save the identifier.
The MANAGER MENU reappears displaying
the Register Identity.
Changing the User Password
Use this option to change the User (Manager)
Password. This password is used to access the
Manager Menu. If you forget the Manager
password, contact your representative for
instructions on restoring the default password.
1. Highlight and click Change User
Password
on the SERVICE MENU. The
ENTER PASSWORD
window appears.
2. Highlight and click up to eight digits for the
new password. An asterisk (*) appears in
the PASSWORD window for each number
entered.
(To correct a number, highlight and click
Error
to erase, from right to left, numbers
entered.)
3. Highlight and click OK to save the new
password. The MANAGER MENU
reappears.
Setting the Date and Time
Use this option to set the system date and time.
In the Surveillance Mode, the date is displayed
at the top right of the monitored scene, and the
time is displayed at the top left.
Highlight and click Set Date and Time on
the MANAGER MENU. The DATE AND TIME
MENU
appears.
! @ # $ % ^ & * ( ) _ +
1 2 3 4 5 6 7 8 9 0 - =
Q W E R T Y U I O P [ ] \
A S D F G H J K L ; ' :
Z X C V B N M , . / < > ?
Shift Space Error
OK Cancel
....................
Store Identifier
! @ # $ % ^ & * ( ) _ +
1 2 3 4 5 6 7 8 9 0 - =
Q W E R T Y U I O P [ ] \
A S D F G H J K L ; ' :
Z X C V B N M , . / < > ?
Shift Space Error
OK Cancel
............
Register Id.
1 2 3
4 5 6
7 8 9
0
Error
OK Cancel
ENTER PASSWORD
******
PASSWORD
Current Date : 07/04/2000
Current Time : 13:28
Date Format : DD/MM/YY
Hour Format : 24 Hour
Daylight Saving : Disabled
Set/Return to Manager Menu
DATE AND TIME MENU