Videoswitch Vi-POSCON User Manual
Page 14
Vi-POSCON System User's Guide
Pos603a.doc
14 of 28
Setting/Activating End of Day Printing
Use this option to activate the automatic
printing of Daily Reports at the end of the day
(i.e. midnight). The default setting is Off.
Note: To enable End of Day Printing, the VI-
POSCON System must be configured for a 40-
column or 80-column printer. If necessary,
contact your Customer Engineer to add the
printer.
1. Highlight and click End of Day
Printing
in the DAILY REPORTS menu.
The End of Day Printing menu
appears.
2. Highlight and click the required option. The
DAILY REPORTS
menu appears.
Off disables this facility.
Daily Report will print the previous day's
Daily Report.
Detailed Event Report will print a Detailed
Event Report of the previous day's events
only.
Daily + Detailed Event will print the
previous day's Daily Report followed by a
Detailed Event Report of the previous
day's events only.
Displaying/Printing Daily Report
Use this option to print or display on-screen a
Daily Report of the total number of events
occurring per hour for each enabled EPoS and
alarm exception and other events for a specific
day.
1. Highlight and click one of the listed days
from the DAILY REPORTS menu. The
EVENT CHANNEL
menu appears.
2. Highlight and click the option you want to
display.
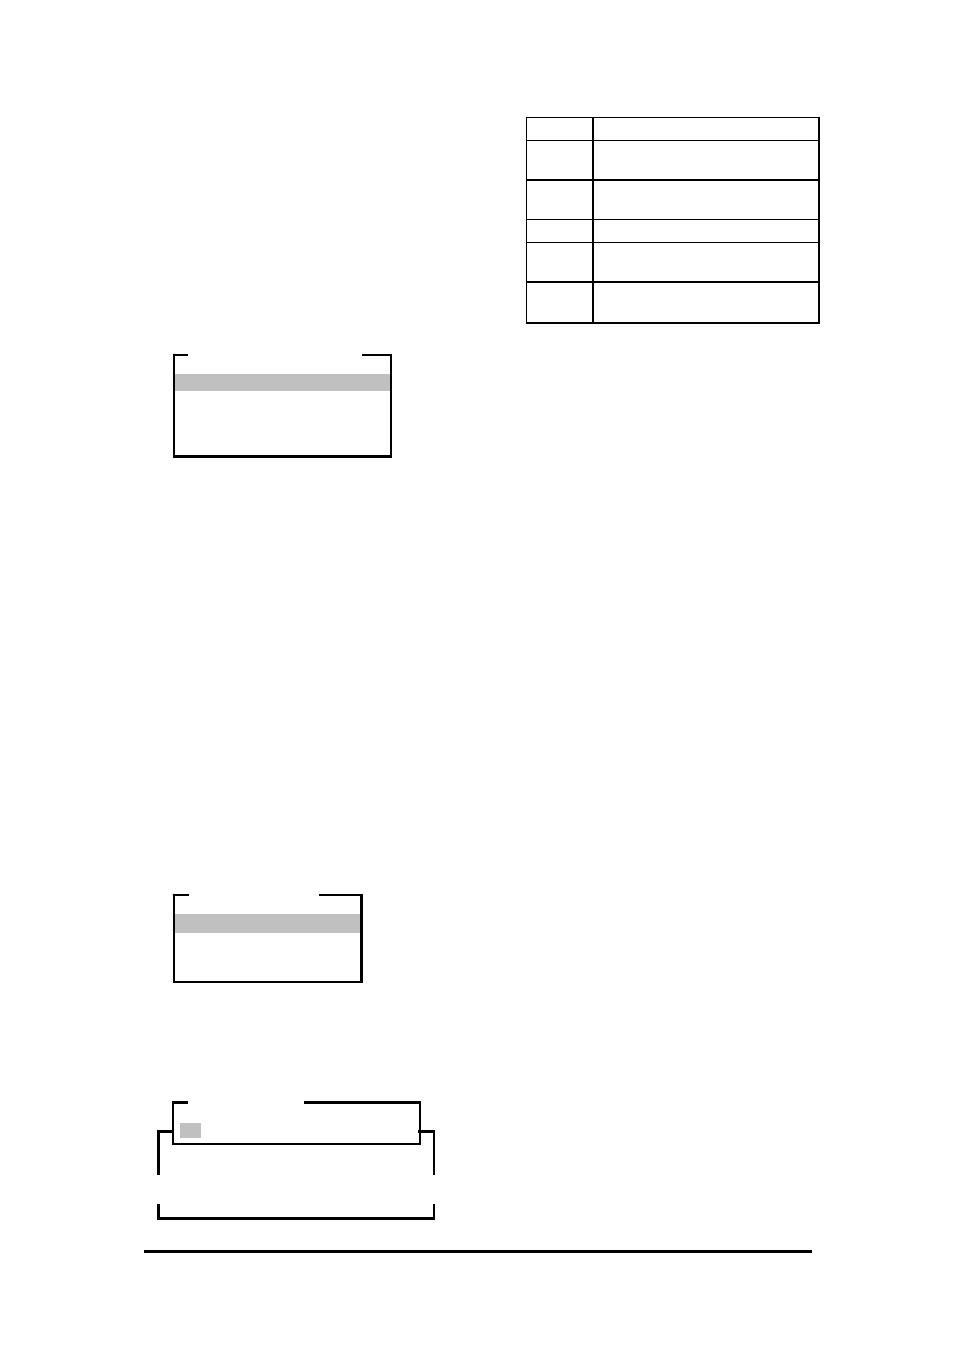
3. The
DAILY REPORT
navigation window
and the report window appear
The navigation options are:
<
Scrolls the report to the left.
Up
Scrolls the report up one screen
at a time.
Down
Scrolls the report down one
screen at a time.
>
Scrolls the report to the right.
Prints the report on the system
printer.
Exit
Return to the DAILY REPORT
menu.
4. Highlight and click the navigation options
as required to view and/or print the report.
5. Highlight and click Exit to return to the
DAILY REPORTS
menu. The DAILY
REPORTS
menu reappears.
Setting/Activating EPoS Events
Use this option to define and activate up to 10
EPoS exception events you want the system to
monitor. The VI-POSCON System monitors all
registers for all activated exception events. You
cannot assign specific exception events to
individual registers.
The main steps in defining an exception event
are:
• Inputting
the
event string, such as void,
refund, check, merchandise, etc.
• Defining
the
event condition, such as =
(equal to), > (greater than), < (less than),
or "no test" (no monetary value required).
• Specifying
the
event amount. This is the
monetary value the system uses to test the
event to determine if it is an exception.
(The currency display format (decimal or
integer) is set in the Service Menu.)
Examples:
VOID > 24.99 (voids greater than $24.99
are exceptions.)
REFUND > 49.99 (refunds greater than
$49.99 are exceptions.)
CHECK > 19.99 (checks greater than
$19.99 are exceptions.)
LEATHER BELT < 15.00 (leather belts
less than $15.00 are exceptions.)
Off
Daily Report
Detailed Event Report
Daily + Detailed Event
END OF DAY PRINTING
All
Channel 1
Channel 2
Channel 3
EVENT CHANNEL
Daily Report Window
(see examples on page 22)
< Up Down > Print Exit
DAILY REPORT
Z
Z