Videoswitch Vi-POSCON User Manual
Page 17
Vi-POSCON System User's Guide
Pos603a.doc
17 of 28
Setting the Event Status
Use this option to enable or disable the current
event. When you enable an event, the "X" in
the left-most column of the EPoS EVENTS
window is replaced by a ">". The default setting
is Disabled.
1. Highlight and click Event Status on the
EPoS EVENT
menu. The EVENT STATUS
menu appears.
2. Highlight and click the option for the
current event. The EPoS EVENT menu
reappears displaying the selected status.
Setting the Event Duration
In normal Surveillance Mode (if you are using
more than one video input channel), when an
exception event occurs, the display switches to
the channel reporting the event. You can set
the length of time that the event is displayed
from 0 to 60 seconds. The default setting is 30
Seconds
.
1. Highlight and click Event Duration on
the EPoS EVENT menu. The SET EVENT
TIME
menu appears.
2. Highlight and click Increment to increase
the event time by one second for each
click. Highlight and click Decrement to
decrease the event time by one second for
each click.
3. Highlight and click Exit to save the
setting. The EPoS EVENT menu reappears
displaying the event duration.
Setting the Active Period
Use this option to set the period during which
the event is active. The Active Period is defined
by the Start Time and End Time and is
inclusive. The default setting is All.
1. Highlight and click Active Period on
the EPoS EVENT menu. The ACTIVE
PERIOD
menu appears.
2. Highlight and click All to set the alarm for
all day (24 hours) or
Highlight and click Timed to enable the
event for a shorter period. Use the Start
Time
and End Time options to set the
active period.
The EPoS EVENT menu reappears
displaying the selected active period.
Setting the Start Time
Use this option to set the start time of a timed
event's active period. The default setting is
00:00
.
1. Highlight and click Start Time on the
EPoS EVENT
menu. The SET TIME menu
appears.
2. Highlight and click the item (hour, minute)
to set. Each click increases (increments) or
decreases (decrements) the item by one
unit.
3. Highlight and click Exit to save the
setting. The EPoS EVENT menu reappears
displaying the start time.
Setting the End Time
Use this option to set the end time of a timed
event's active period. The default setting is
23:59
.
1. Highlight and click End Time on the EPoS
EVENT
menu. The SET TIME menu
appears.
2. Highlight and click the item (hour, minute)
to set. Each click increases (increments) or
decreases (decrements) the item by one
unit.
3. Highlight and click Exit to save the
setting. The EPoS EVENT menu reappears
displaying the end time.
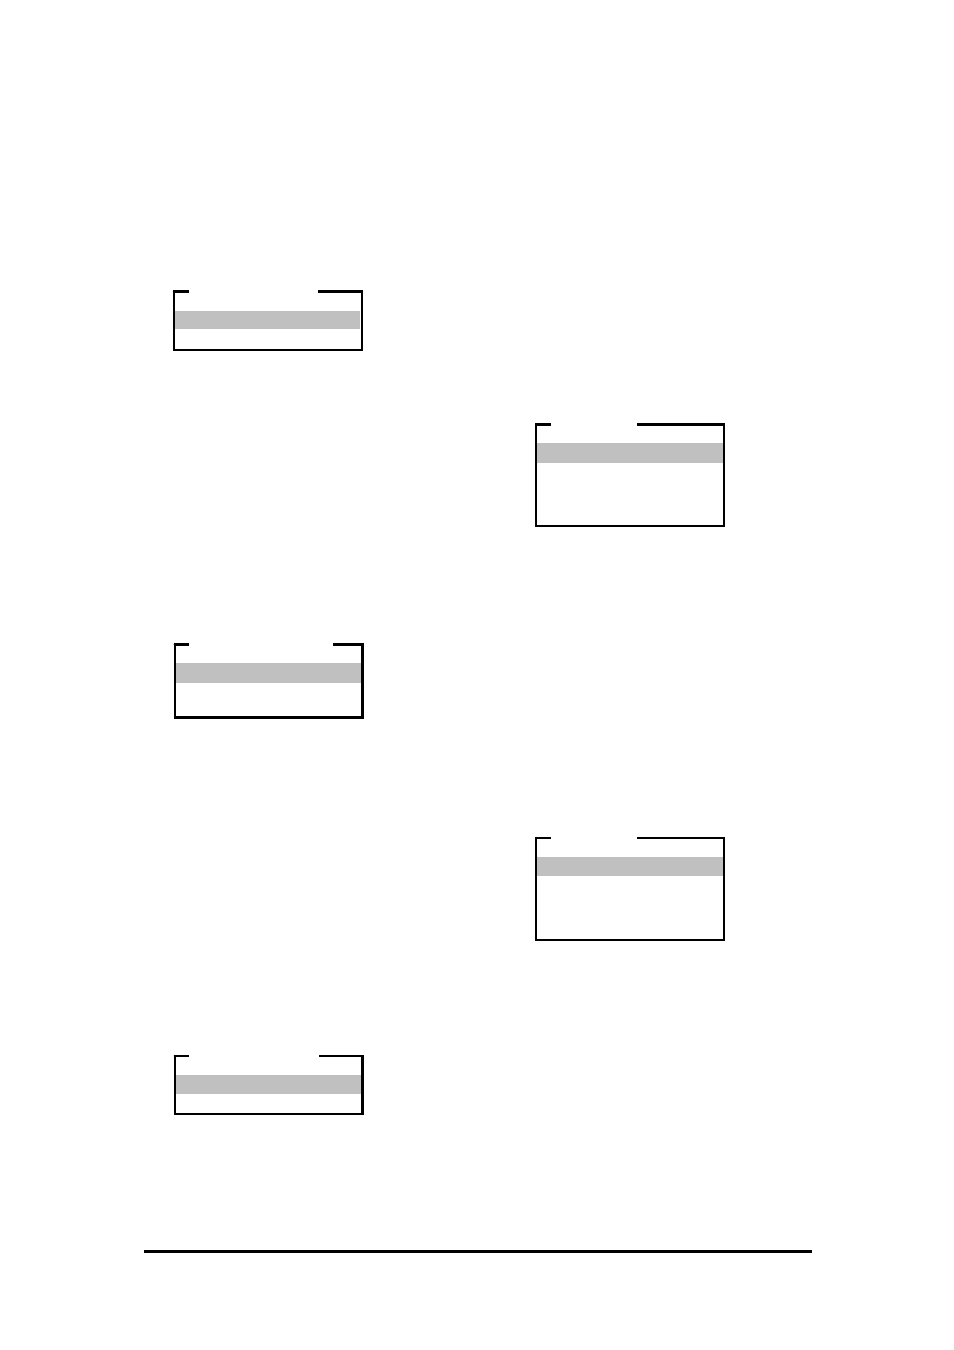
Enabled
Disabled
EVENT STATUS
Increment
Decrement
Exit
SET EVENT TIME
All
Timed
ACTIVE PERIOD
Increment Hour
Decrement Hour
Increment Minute
Decrement Minute
Exit
SET TIME
Increment Hour
Decrement Hour
Increment Minute
Decrement Minute
Exit
SET TIME