Numbering the probes, Feeding the offset correction, Feeding the gain correction – Vaisala HM44 User Manual
Page 10
User's Guide _______________________________________________________________________
_________________________________________________________________________________
8
Numbering the probes
The first number of the second line of display indicates the currently selected probe (1-10).
Connect a probe and change the number on the display by pressing ENTER and
simultaneously buttons
▲ or ▼. Remember to write the probe number (1-10) in the product
label to be able to identify the probes.
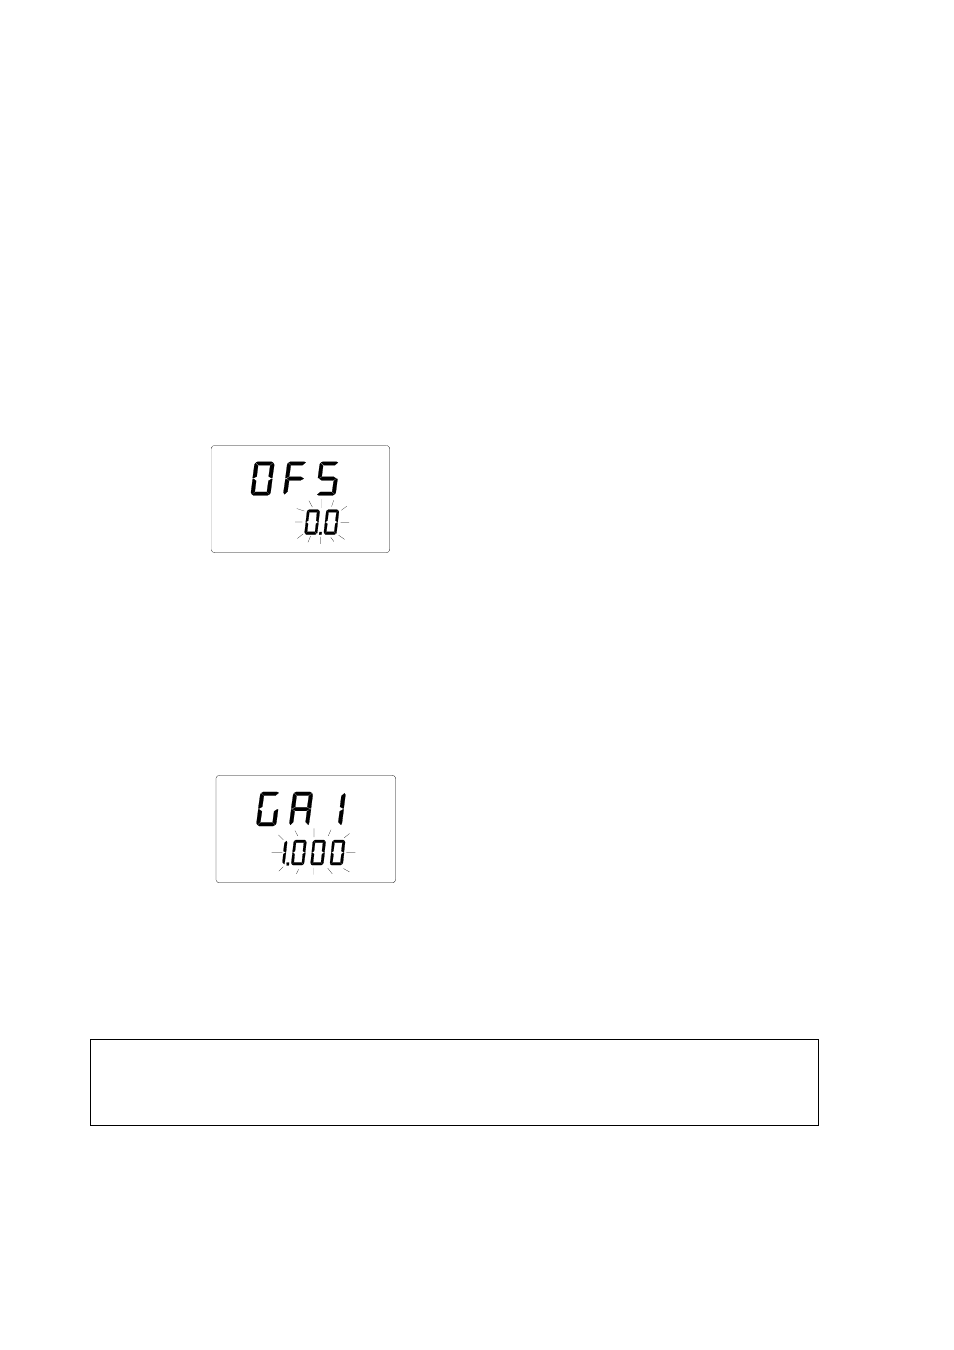
Feeding the offset correction
1. Press the button ENTER continuously for about 5 seconds until a text similar
to the following appears on the display (numbers on the second line are
blinking):
RH
set
2. Feed the individual offset correction (see the calibration certificate) in the
HMI41 memory with buttons
▲ and ▼. Each time the button is pressed, the
numbers change 0.1 %RH. If the button is pressed continuously, the numbers
change in a faster rate.
3. When the reading is correct, press ENTER and the display changes to show
the gain correction.
Feeding the gain correction
RH
set
4. Numbers on the second line are blinking; you can now enter the individual
gain correction in the HMI41 memory. The numbers are changed with
buttons
▲and ▼. Each time the button is pressed, numbers change 0.001. If
the button is pressed continuously, the numbers change in a faster rate.
NOTE
If the correction given in the calibration certificate has only two
decimals (e.g. 1.03), enter a zero in place of the third decimal (e.g.
1.030).