Step 7. initial test, Step 7. i – DAVIS DriveRight Installation - GD (All DriveRight Models) User Manual
Page 19
18
Step 7. I
NITIAL
T
EST
To check the installation of the DriveRight, follow the test procedure below.
NOTE:
It is not necessary to enter a code in order to perform this test. DO NOT ENTER A CODE
UNTIL YOU READ THE USER’S MANUAL.
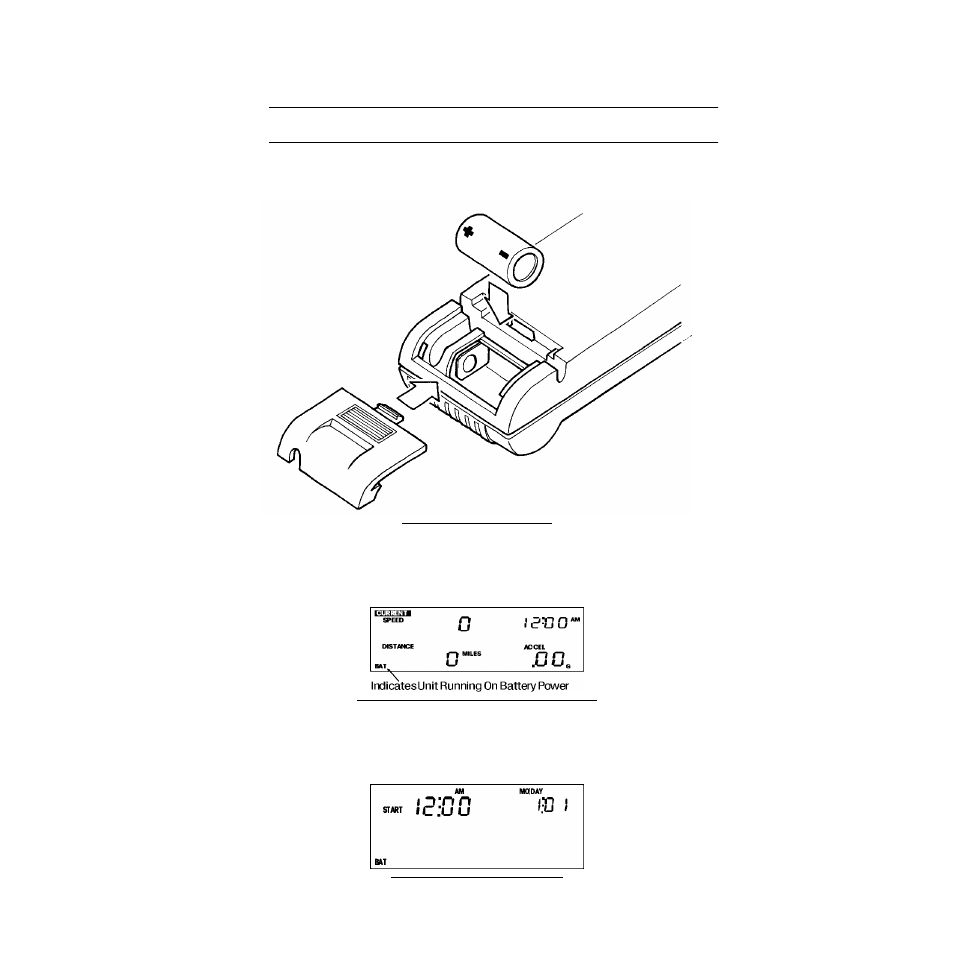
1. Insert the battery (2) into the display as shown in Figure 24. (If your battery is
already installed, you may need to press MODE to “wake up” the unit.)
Figure 24: Installing the Battery
The screen you should see is the current readings screen. The word “BAT”
should appear in the lower left corner, indicating that the unit is operating on
battery power.
Figure 25: Battery Indicator (Lower Left of Screen)
2. Press and hold MODE for 3-5 seconds until the last correct code screen appears.
If you have already used the display, you may see the tamper time screen instead.
If so press
MODE
once to display the last correct code screen.
Figure 26: Last Correct Code Screen