Installing the wind vane, Securing the cable, Securing cable – DAVIS Anemometer (7911, 7914) User Manual
Page 6: Maintenance
Maintenance
6
Installing the wind vane
1. Slide the wind vane down onto the shaft as far as it will go. (Because of the
shape of the shaft, the vane will only go on one way.)
2. Use the allen wrench provided to tighten the set screw on the side of the
wind vane.
3. Test your assembly by pointing the wind vane in any direction and (using
the compass or map as a guide) making sure the console displays the correct
wind direction.
4. Because of the low pass filter used by the station, allow the wind direction
reading approximately 5 seconds to stabilize after you turn the vane.
5. Spin the wind cups to make sure you get a wind speed reading. Readjust the
cups if necessary.
6. Secure the cable to the metal mast or pipe with electrical tape. Secure the
rest of the cable according to the directions below.
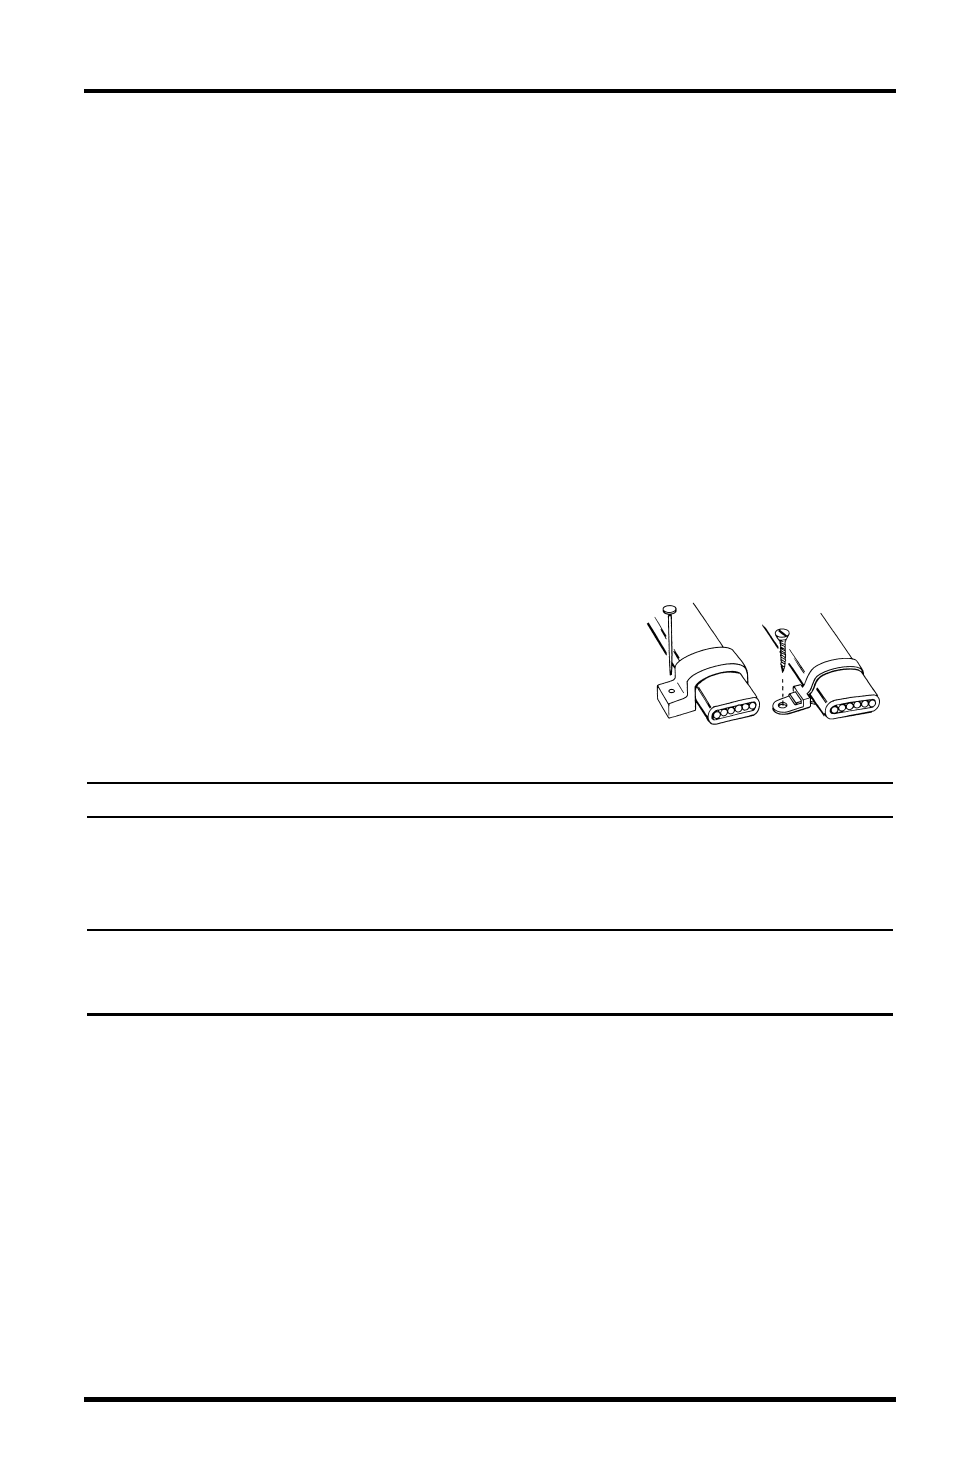
Securing the Cable
To prevent fraying or cutting the anemometer
cable where it is exposed to weather, secure it so
it doesn’t whip about in the wind. Use cable clips
or weather resistant cable ties to secure the cable.
Place clips or ties approximately every 3 to 5 feet
(1 to 1.6 m).
Securing cable
Note: Do not use metal staples to secure cables. Metal staples can cut the cables.
Maintenance
Your anemometer does not require any regular maintenance.
CAUTION: DO NOT attempt to lubricate the wind cup shaft and bearings or the wind vane
shaft. Natural or synthetic lubricants will inhibit the normal operation of the
anemometer.