Gain access to secure disk erase, Additional information, Security lock – HP LaserJet M9059 Multifunction Printer series User Manual
Page 172: Authentication, Lock the control-panel menus
This feature will not impact data that is stored on flash-based product non-volatile RAM (NVRAM) that
is used to store default settings, page counts, and similar data. This feature does not affect data that is
stored on a system RAM disk (if one is used). This feature does not impact data that is stored on the
flash-based system boot RAM.
Changing the Secure Disk Erase mode does not overwrite previous data on the disk, nor does it
immediately perform a full-disk sanitization. Changing the Secure Disk Erase mode changes how the
MFP cleans up temporary data for jobs after the erase mode has been changed.
Gain access to Secure Disk Erase
Use HP Web Jetadmin to gain access to and set the Secure Disk Erase feature.
Additional Information
For additional information about the HP Secure Disk Erase feature, go
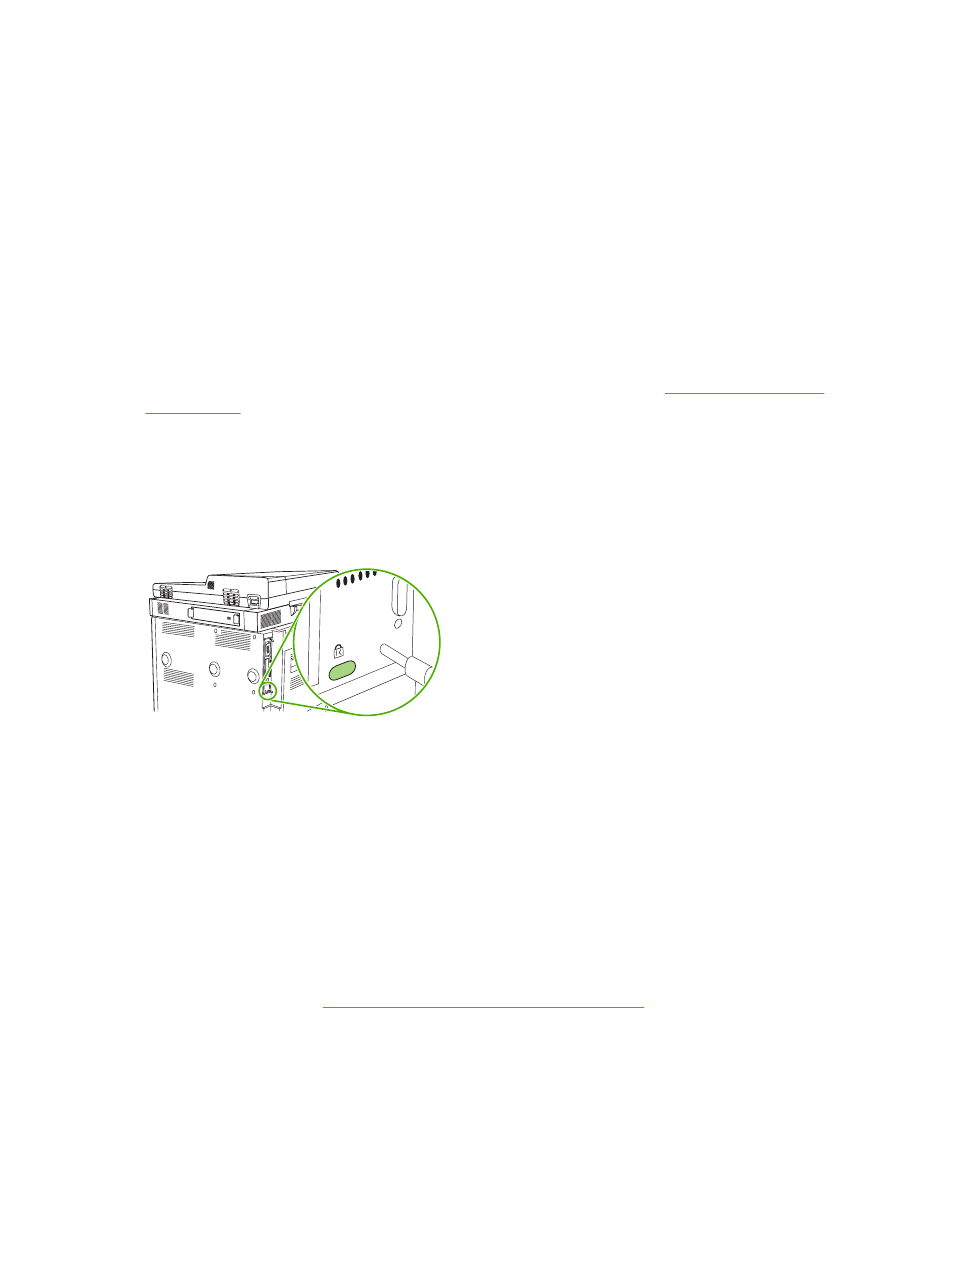
Security Lock
The security lock is a mechanical lock that is used to prevent the removal of internal computer
components. Optional EIO accessories are not protected, however. Purchase the security lock
assembly separately, and then install it on the MFP.
Figure 11-1
Security lock
Authentication
This MFP offers several embedded authentication methods. These methods include Kerberos, LDAP,
LDAP over SSL, and PIN.
Optional HP Digital Send Software supports Windows SPNEGO, LDAP, LDAP over SSL, and Novell
authentication.
Lock the control-panel menus
To prevent someone from changing the MFP configuration, you can lock the control-panel menus. This
prevents unauthorized users from changing the configuration settings such as the SMTP server. The
following procedure describes how to restrict access to the control-panel menus by using the HP Web
Jetadmin software. (See
Use HP Web Jetadmin software on page 152
1.
Open the HP Web Jetadmin program.
2.
Open the DEVICE MANAGEMENT folder in the drop-down list in the Navigation panel. Navigate
to the DEVICE LISTS folder.
3.
Select the MFP.
158 Chapter 11 Manage and maintain
ENWW