5 removing and installing the digital camera, 1 removing the digital camera – Canon CX-1 User Manual
Page 61
7. Daily Inspection and Maintenance
-61-
7.5 Removing and Installing the Digital Camera
It is not necessary to remove and re-install the digital camera during normal usage.
The procedure below should be followed to remove and install the digital camera during maintenance and
inspection of the digital camera or other work.
Note: Do not touch the lens of the main unit or the mirror of the digital camera when attaching
and detaching the digital camera from the retinal camera body. If any dirt, fingerprints,
dust, and other foreign objects attach to the lens or mirror, you will not be able to take a
good image.
7.5.1 Removing the Digital Camera
Note: If the digital camera is removed and left unattached, dust and other foreign objects can
enter the main unit and digital camera. After removing the digital camera, be sure to also
attach the caps to each mount.
1
Turn off the power for the retinal camera and digital camera.
Set the power switch of the digital camera to the OFF position.
Press the power switch of the retinal camera to the O side (OFF).
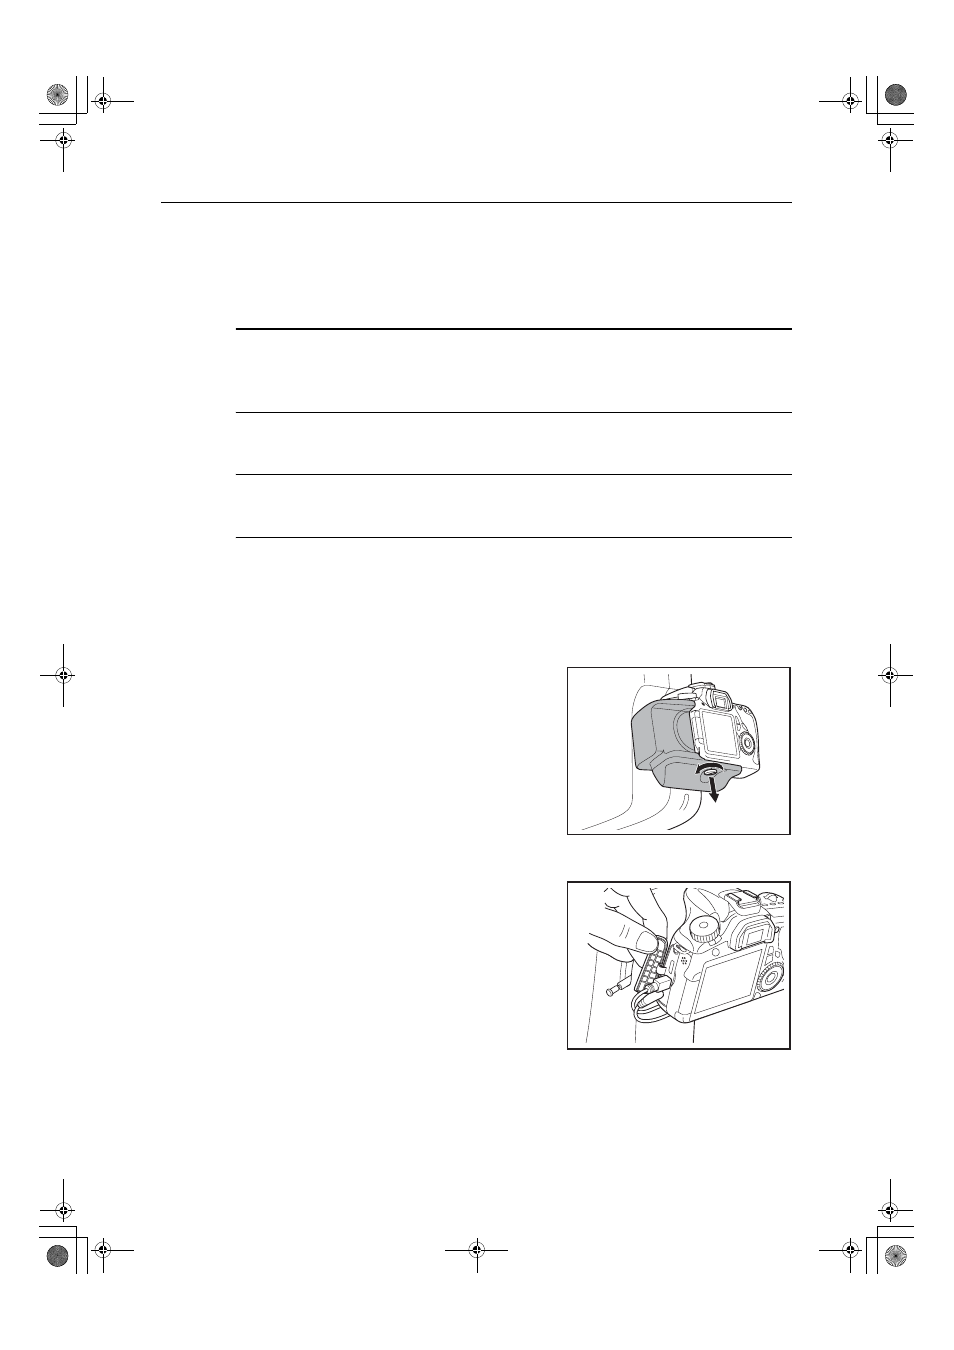
2
Remove the camera cover.
Loosen the screws of the camera cover to remove the
cover.
3
Disconnect the cables.
Remove the respective cables from the digital terminal,
PC terminal, and remote control terminal.
000_L-IE-5169D_CX-1.book Page 61 Monday, July 29, 2013 10:42 AM