Caution, Attaching the embroidery unit, Adjusting the brightness of the led pointer – Brother Innov-is V5 User Manual
Page 62: About the embroidery unit
BEFORE EMBROIDERING
B-60
d
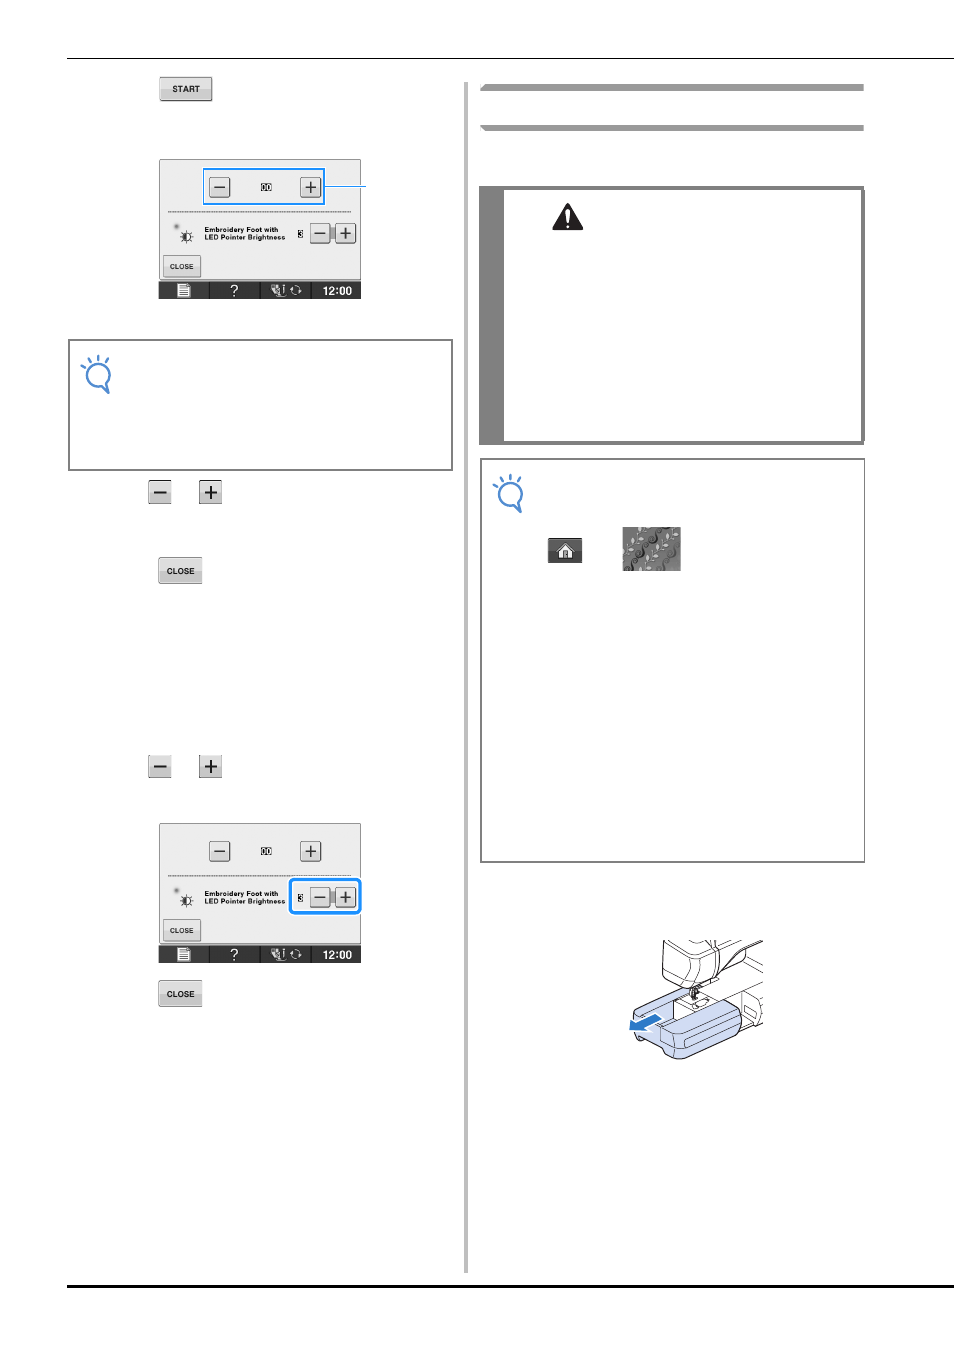
Press .
→ The Embroidery Foot “W+” with LED Pointer
Adjustment screen appears.
a LED pointer adjustment
e
Use
or
to adjust the LED pointer so
that it indicates the actual needle drop
point.
f
Press
twice to return to the original
screen.
■ Adjusting the Brightness of the LED
Pointer
a
Follow the steps from
a
to
d
to display
the embroidery foot with LED pointer
adjust screen.
b
Use
or
to adjust the brightness of
the LED pointer.
c
Press
twice to return to the original
screen.
Attaching the Embroidery Unit
■ About the Embroidery Unit
a
Turn the main power to OFF, and remove
the flat bed attachment.
Note
• The specified setting is saved in the
machine’s memory. This is useful for
positioning during continuous
embroidering.
• For normal use, return the setting to “00”.
a
CAUTION
• Do not move the machine with the embroidery
unit attached. The embroidery unit could fall
off and cause injury.
• Keep your hands and foreign objects away
from the embroidery carriage and frame when
the machine is embroidering. Otherwise,
injury may result.
• To avoid distorting your embroidery design, do
not touch the embroidery carriage and frame
when the machine is embroidering.
Note
• You can also sew utility/decorative stitches
with the embroidery unit attached. Touch
and
. The feed dog will
automatically raise for utility and decorative
stitching.
• Be sure to turn off the power before
installing the embroidery unit. Otherwise,
the machine may be damaged.
• Do not touch the inner connector of the
embroidery unit. The pins on the
embroidery unit connection may be
damaged.
• Do not apply strong force to the embroidery
unit carriage or pick up the unit by the
carriage. Otherwise, the embroidery unit
may be damaged.
• Store the embroidery unit in the proper
storage case.