Badger Meter M-Series M2000 User Manual
Page 7
Follow these steps to install the daughterboard:
1 Prior to installing the daughterboard, verify or configure the M2000 Communication Port B Access the port settings
at Main Menu > Communications > Port B Settings
Parameter
Value
Comments
Port Address
001
—
Extended Port Address
—
Not applicable for HART
Baud Rate
38400
HART Daughterboard auto-bauds, all baud rates supported
Data Bits
8
—
Parity
EVEN
—
Stop Bits
1
—
2 Verify or configure the analog output range at 4…20 mA
Access the analog output range at Main Menu > Inputs/Outputs > Analog Output Range
3 Power off the M2000
DISCONNECT THE INPUT POWER BEFORE ACCESSING THE EQUIPMENT.
This step is important for the M2000 to properly recognize the HART daughterboard and fulfill HART compliance
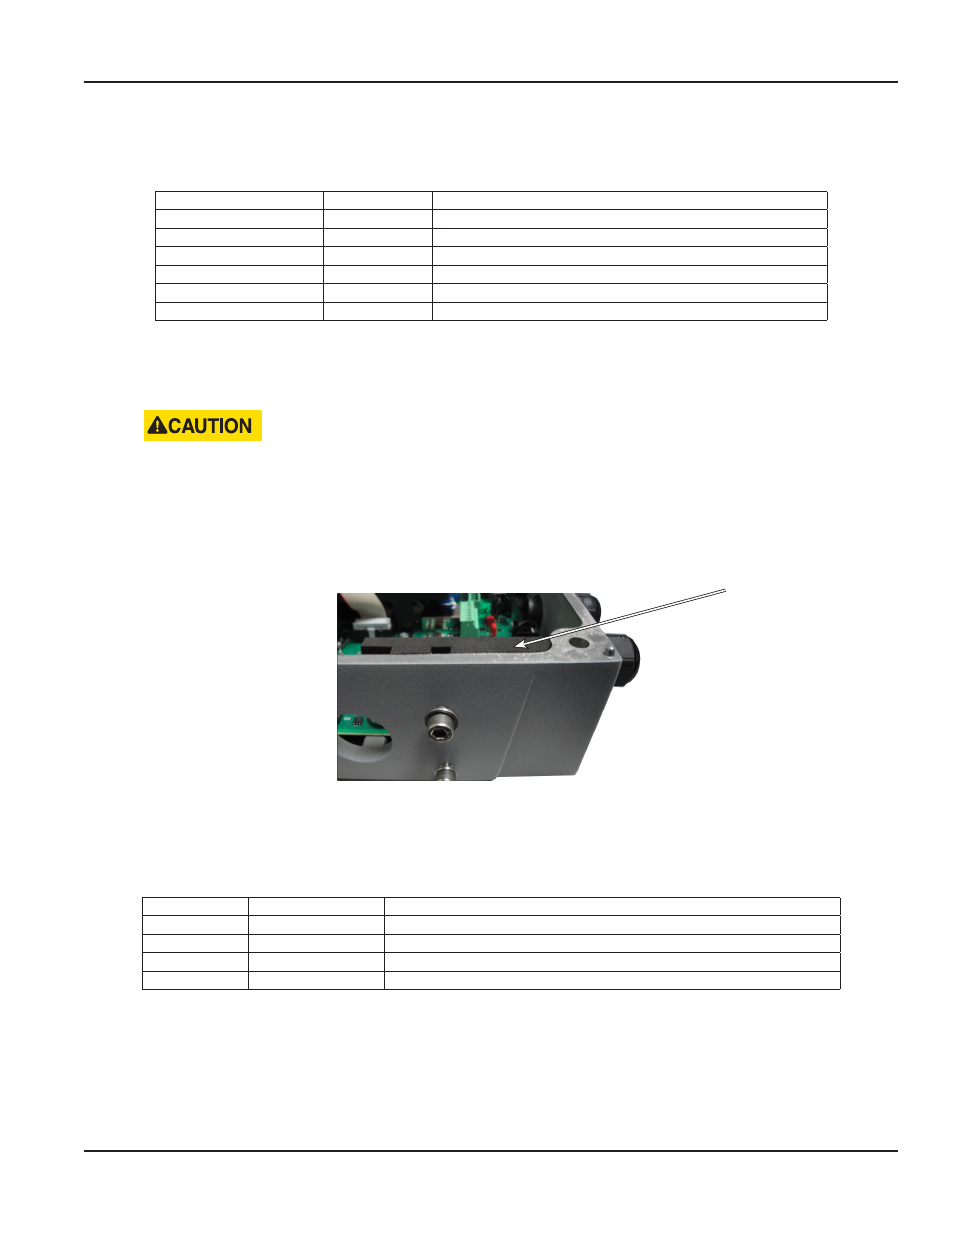
4 Prior to inserting the daughterboard, install the foam insulation pad as shown below Be sure to align the groove with
the two screws attaching the detector or wall mount bracket to the enclosure The primary purpose of this pad is to
ensure the daughterboard is insulated from the enclosure wall It is important to install this pad flush with the top of
the enclosure wall
Figure 4: Installing Foam Insulation Pad
5 Insert the daughterboard into the 11-pin connector
6 Use the following information to make appropriate wiring of analog wires to the 4-pin customer connector
Pin Number
Pin Description
Comments
41
Analog Ground
—
42
Analog Signal
Requires minimum loop impedance of 230 Ω for communication
43
Analog Shield
Only for shielded wires
44
Chassis Jumper
Connect to screw in corner
7 Power on the M2000
8 Allow time for the daughterboard to properly power up and be recognized by the M2000 before navigating the
menus This time is typically 5 seconds If the HART daughterboard is not recognized, then the M2000 should be
power cycled
9 Verify recognition of the HART daughterboard Navigate to Main Menu > Info > Help The Daughterboard Info field
indicates the Daughterboard Type is HART
Apply insulation pad
flush with the top of
the housing
Installation & Operation Manual
Page 7
December 2012