Recording video – Revo R4-8DVR4 User Manual
Page 39
4 & 8 Channel Digital Video Recorder
33
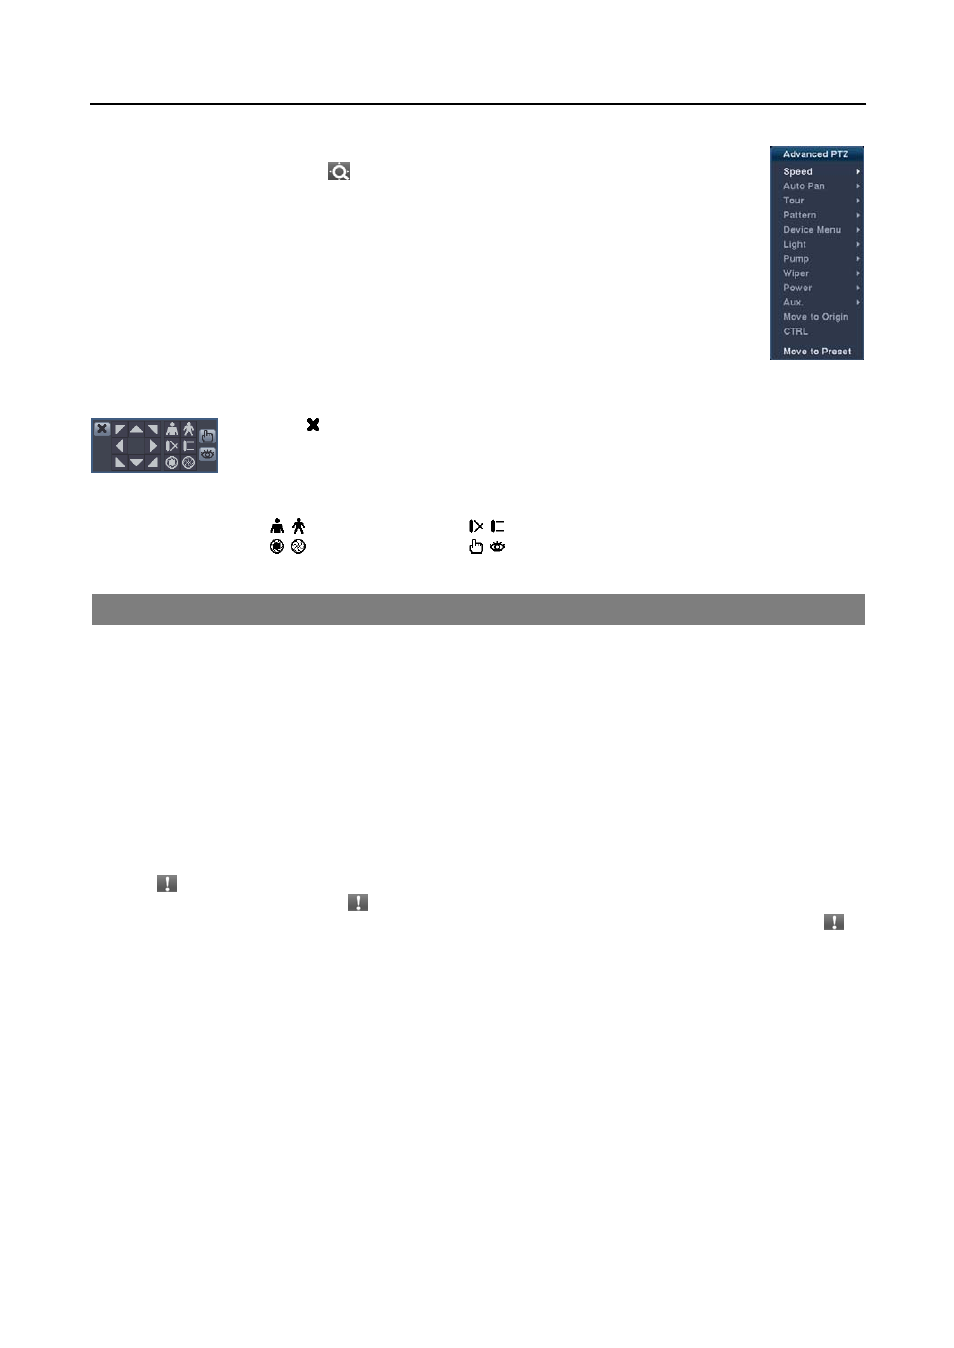
While in the PTZ mode, pressing the MENU button on the remote control displays the menu icons at
the top of the screen. Selecting the
(Advanced PTZ) icon displays the following the PTZ menu.
Set the feature you wish to control by selecting it from the menu. Refer to the camera’s instructions
for the proper settings. Depending on the camera specifications, some features may not be supported.
You also can use the mouse for convenient PTZ control. Position the mouse pointer at the bottom of the screen, and
the following PTZ toolbar displays.
Clicking on the left side exits the toolbar. If you want to display the toolbar again, position
the mouse pointer at the bottom of the screen. Change the toolbar location by clicking the empty
space on the left side of the toolbar and dragging it to where you want it located on the screen.
Use the arrow buttons on the toolbar to pan or tilt the camera in the direction you want. The
other controls on the toolbar perform as described below:
Zoom In or Out
Focus Near or Far
Iris Open
or Close
Set
or Load Preset
RECORDING VIDEO
Once you have installed the DVR following the instructions in Chapter 2 — Installation and Configuration, it is ready
to record. The DVR will start recording based on the settings you made in the Record setup screen.
Recycle On
or Recycle Off. The factory default is Recycle On (Recycle When Disk Full). It does this by recording
over the oldest video once the hard disk is full. Setting the DVR to Recycle Off causes it to stop recording once the
hard disk is full.
Standard (CIF)
, High (Half D1) or Very High (D1). The factory default resolution is High. When set to High, the
DVR has a maximum recording speed of 120 ips (60 ips for 4-channel DVR). When set to Standard, the DVR has
a maximum recording speed of 240 ips (120 ips for 4-channel DVR). When set to Very High, the DVR has a maximum
recording speed of 60 ips (30 ips for 4-channel DVR).
Selecting (Panic) in the Live Monitoring menu or pressing the PANIC button on the remote control starts panic
recording of all cameras, and selecting
again stops panic recording. If you set the Panic Recording Duration in the
Panic Record setup screen, panic recording will stop automatically according to the preset duration as long as is
not selected or the PANIC button is not pressed.
NOTE: When the DVR is not in the Recycle mode and all available storage space has been used, panic recording
will not operate.
Although you will be able to record without changing the unit from its original factory settings, you will want to take
advantages of the DVR’s many tools. See Chapter 2 — Installation and Configuration, Record Setup for detailed
descriptions of the recording mode options.
If the DVR was set up to record audio, it will record audio from up to eight inputs when video is recording.
NOTE: Make certain you comply with all local and federal laws and regulations when recording audio.