Revo R4-8DVR4 User Manual
Page 16
User’s Manual
10
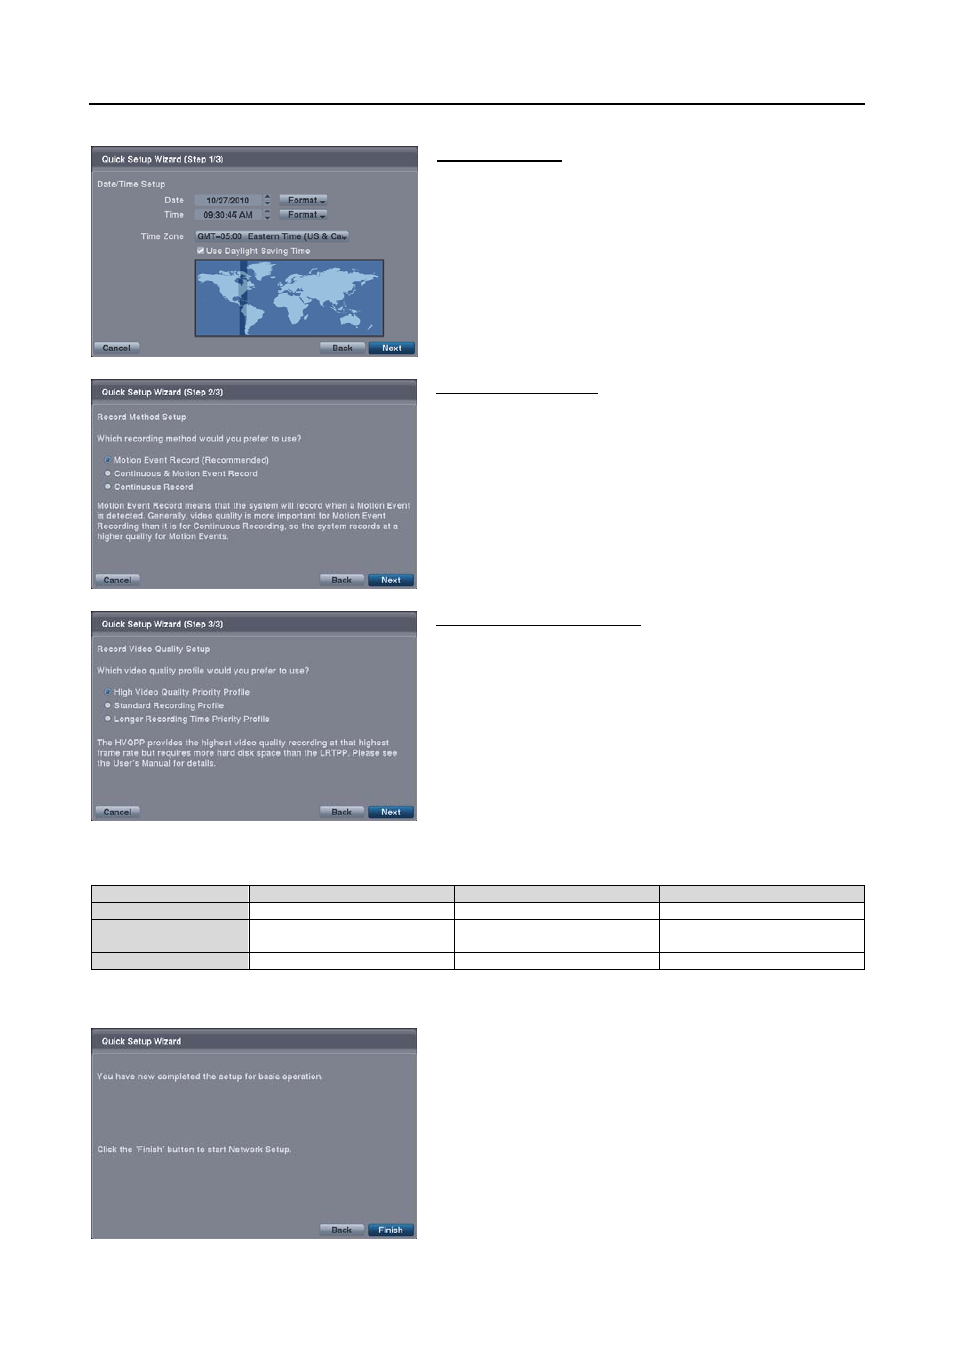
Date/Time Setup
Date: Set the system date and select the date format.
Time: Set the system time and select the time format.
Time Zone: Select your time zone. The Time Zone can be
selected on the map.
Use Daylight Saving Time: Selecting the box sets the system
to use daylight saving time.
NOTE: The Date/Time will be set, and the clock will start when
you click the Next button.
Record Method Setup
Select the desired recording mode from:
– Motion Event Record (Recommended)
– Continuous & Motion Event Record
– Continuous Record
NOTE: You should understand each recording mode before
setting the DVR’s recording method.
Record Video Quality Setup
Select the desired video quality profile from:
– Higher Video Quality Priority Profile
– Standard Recording Profile
– Longer Recording Time Priority Profile
NOTE: The higher quality setting requires more storage space.
NOTE: The recording resolution will be set to Very High when
selecting High Video Quality Priority Profile, High (Very High for
Post-Event Record) when selecting Standard Recording Profile,
and Standard (High for Post-Event Record) when selecting
Longer Recording Time Priority Profile.
NOTE: The recording quality and recording speed of each camera channel will be set as shown below according
to the Record Method and Record Video Quality you set.
HVQPP*
SRP*
LRTPP*
Motion Event Record
Very High / 30 ips
High / 5 ips
Standard / 2.5 ips
Continuous &
Motion Event Record
Very High / 30 ips (Time)
Very High / 30 ips (Post-Event)
High / 5 ips (Time)
Very High / 30 ips (Post-Event)
Standard / 2.5 ips (Time)
High / 5 ips (Post-Event)
Continuous Record
Very High / 30 ips
High / 5 ips (Time)
Standard / 2.5 ips
* Record Video Quality: HVQPP (High Video Quality Priority Profile), SRP (High Video Quality Priority Profile), LRTPP (Longer Recording
Time Priority Profile)
Select the Finish button to finish the Quick Setup Wizard and start
the Network Setup.