1 pre-camera setup – Aposonic A-H2A8D2 User Manual
Page 39
- 39 -
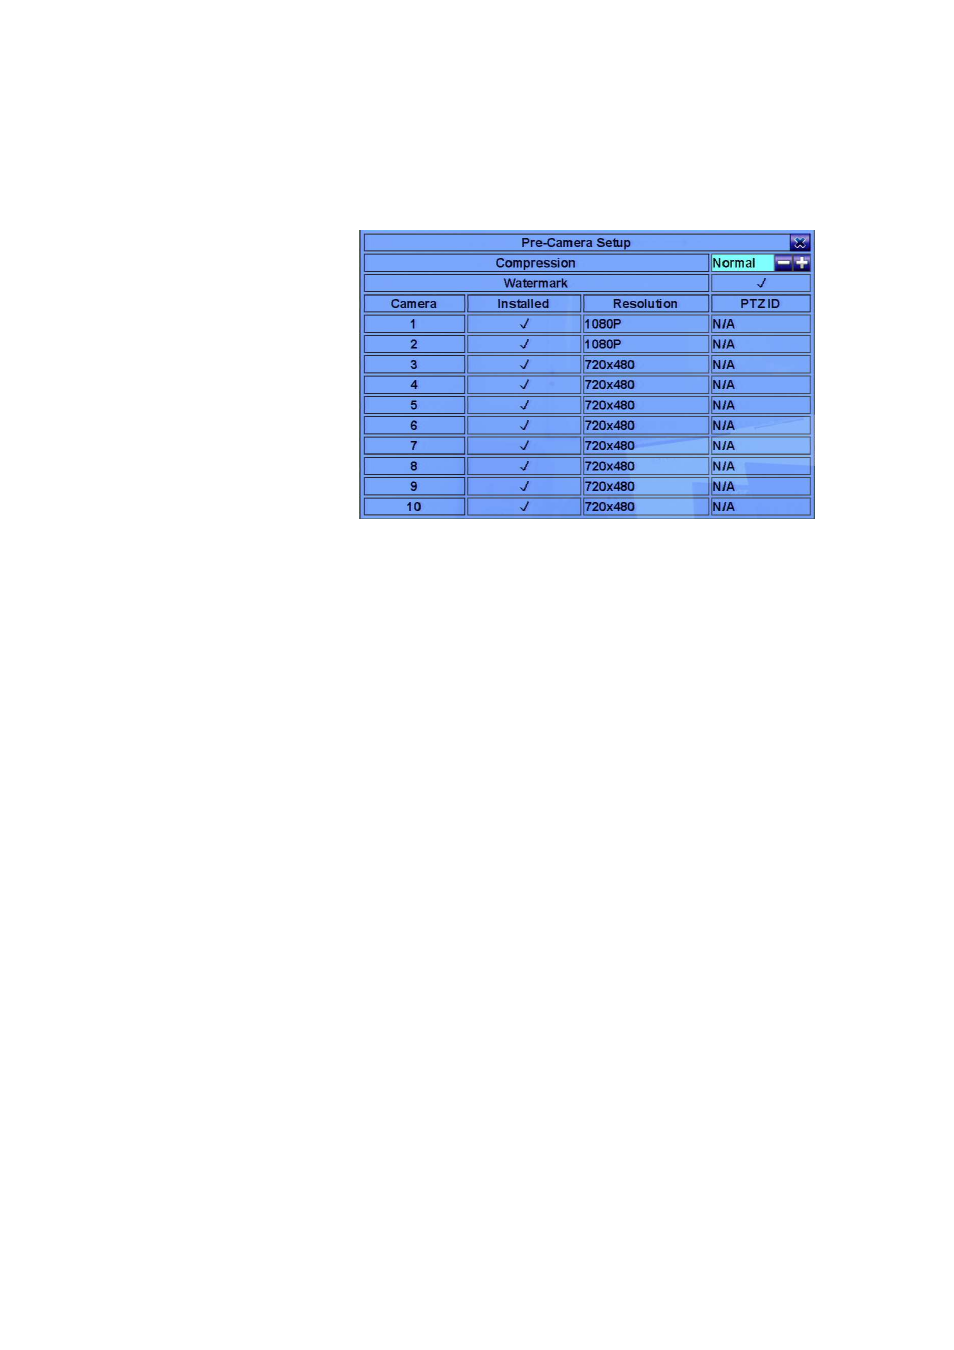
6.1 Pre-Camera Setup
In Setup Menu display,
press
▲▼◄►
to
change the highlighted
option to Pre-Camera,
and then press
ENTER
(Mouse: Left click)
to call up Pre-Camera
Setup display.
There are up to 16/10/4
cameras which can be
connected
to
the
system.
The
Pre-Camera Setup allows the administrator to define some fundamental attributes,
which may relate one camera to the others, for all the installed cameras.
The general operations are as below:
▲▼◄►
Press these buttons to select the items. The display will scroll up/down if the
selected item is not shown on the screen.
Numeric (ENTER)
Press these buttons to select the camera.
ESC
(Mouse: Right Click)
Press this button to escape from this screen, and return to Setup Menu display. If
the contents have been modified, a Save dialog will be shown to ask the user to
save the changes, press
ENTER
to exit and save,
ESC
to exit without saving.
Please note that the estimated total recording time (in days) will be shown in
the dialog.
Following is a brief description for each item and its specific operations:
Watermark – to record with digital watermark or not. If yes, all the recorded
images for all the cameras will have digital watermark embedded. Press
ENTER
or
+/-
(Mouse: Left click)
to check/uncheck this item. The default
setting is “ˇ
ˇ
ˇ
ˇ” - checked.
Installed – whether this camera is installed or not. If installed, the following
items will be settable. Press
ENTER
or
+/-
to check/uncheck this item. The
default setting is “ˇ
ˇ
ˇ
ˇ” - checked.